Have you ever wondered how your engine works? I sure have. Thanks to Chevrolet’s “engine build experience”, I’m a little closer to understanding how that fire-breathing dragon works.
We ordered our 2019 Corvette ZR1 on February 9, 2018. Picking out the options for the car was pretty special. ZTK Track Performance Package? Of course. B4Z: PTM Performance Traction Management? You bet. MEK 7-speed manual transmission with active rev match? Well, duh, no 755hp ZR1 should ever have an automatic transmission.
PBC Build Own Engine Program? Hmm, build our own engine? Really? You could do that?
I was on the fence about picking this option, but it seemed like such a unique opportunity. When else would I be able to visit the Corvette Assembly Plant, build an engine, and have an experience of a lifetime with my boys? Probably never. Suddenly the thought of not picking this option seemed crazy to me.
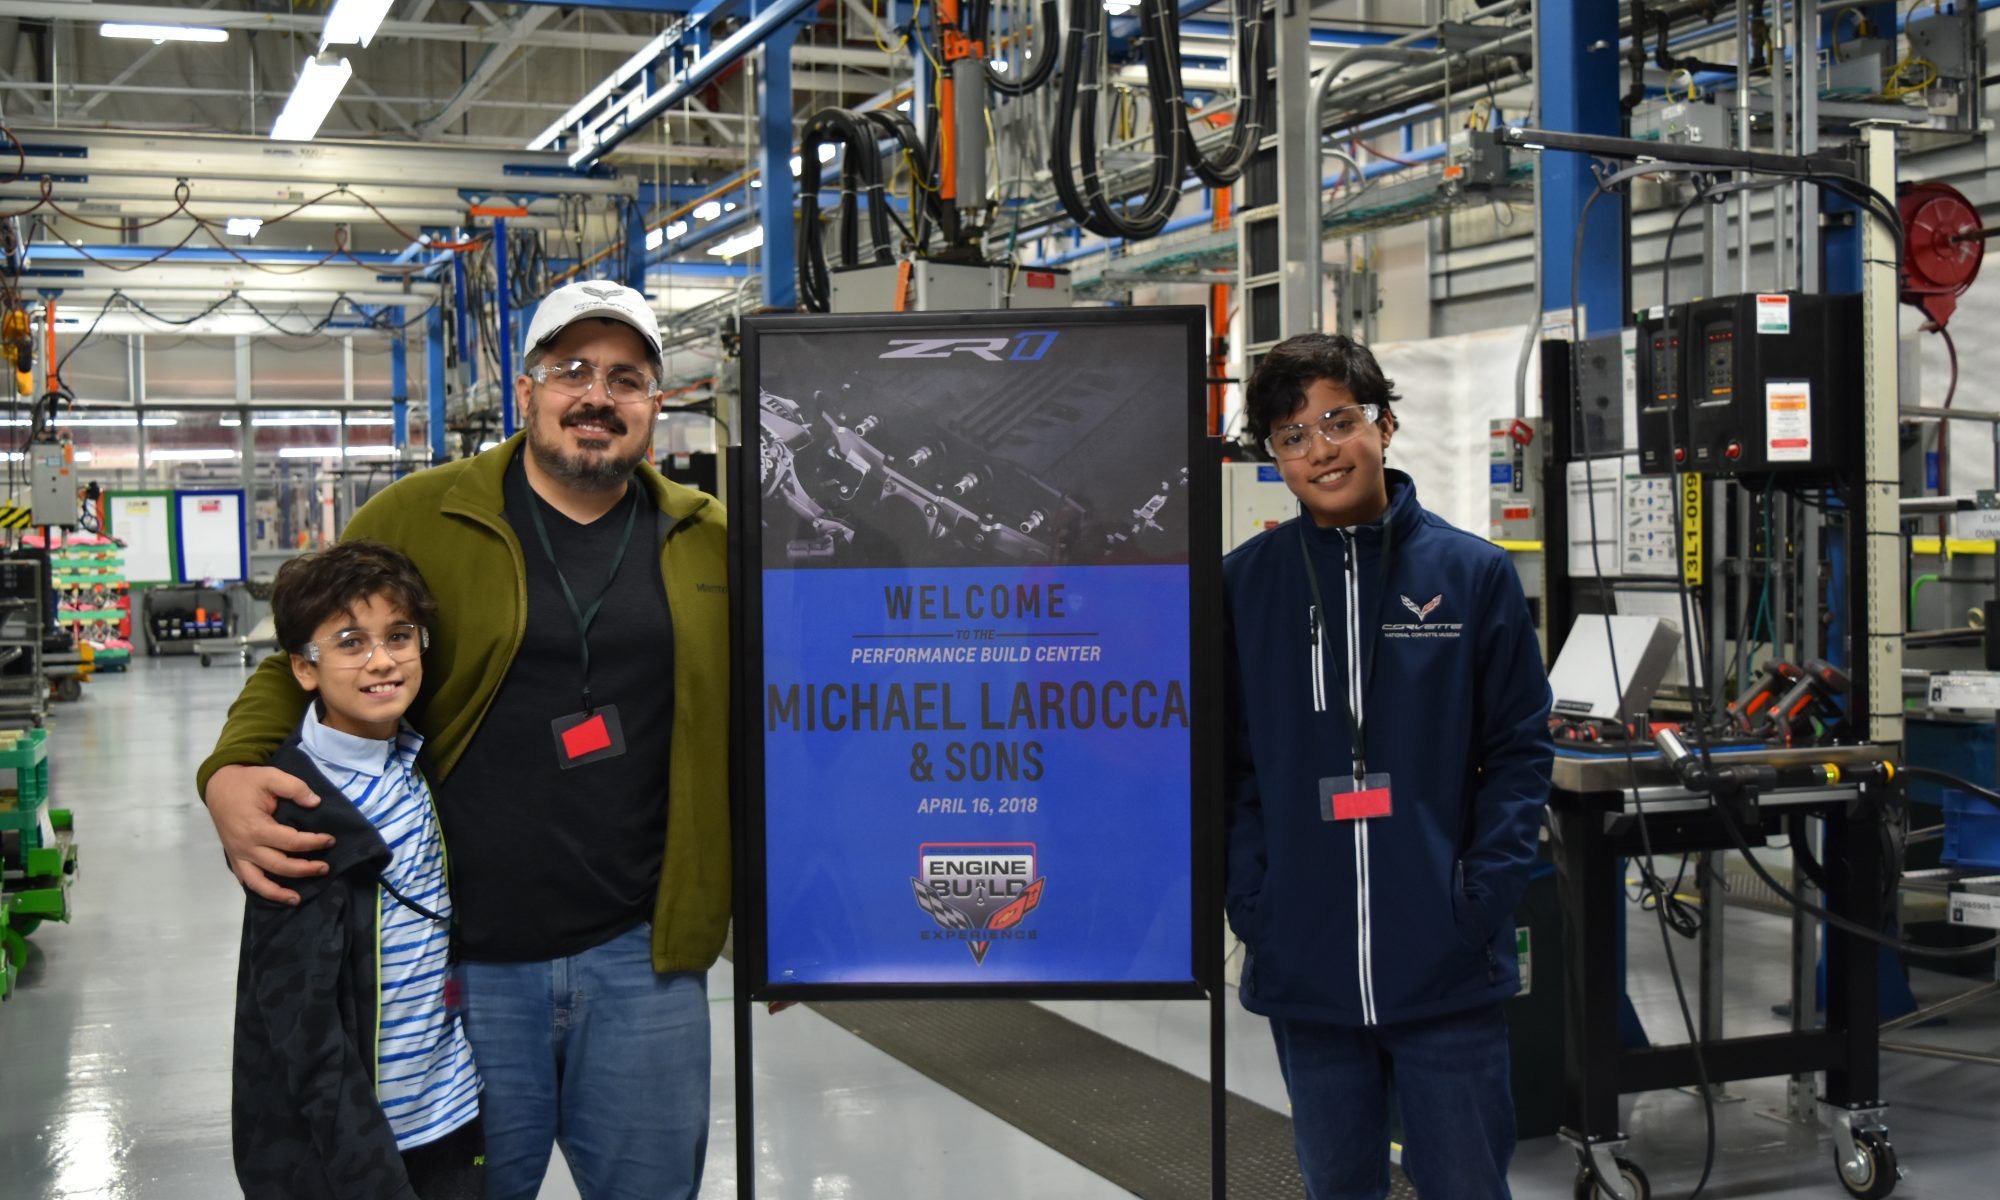
On Monday, April 16, 2018, just over 2 months after we ordered our car from Open Road Chevrolet, our big day came. 5am. Yes, that’s right. 5am Bowling Green, KY time. That’s when we got there, and that’s after being so psyched the night before that we couldn’t sleep. Coffee would prove to be one of our most important tools that day.
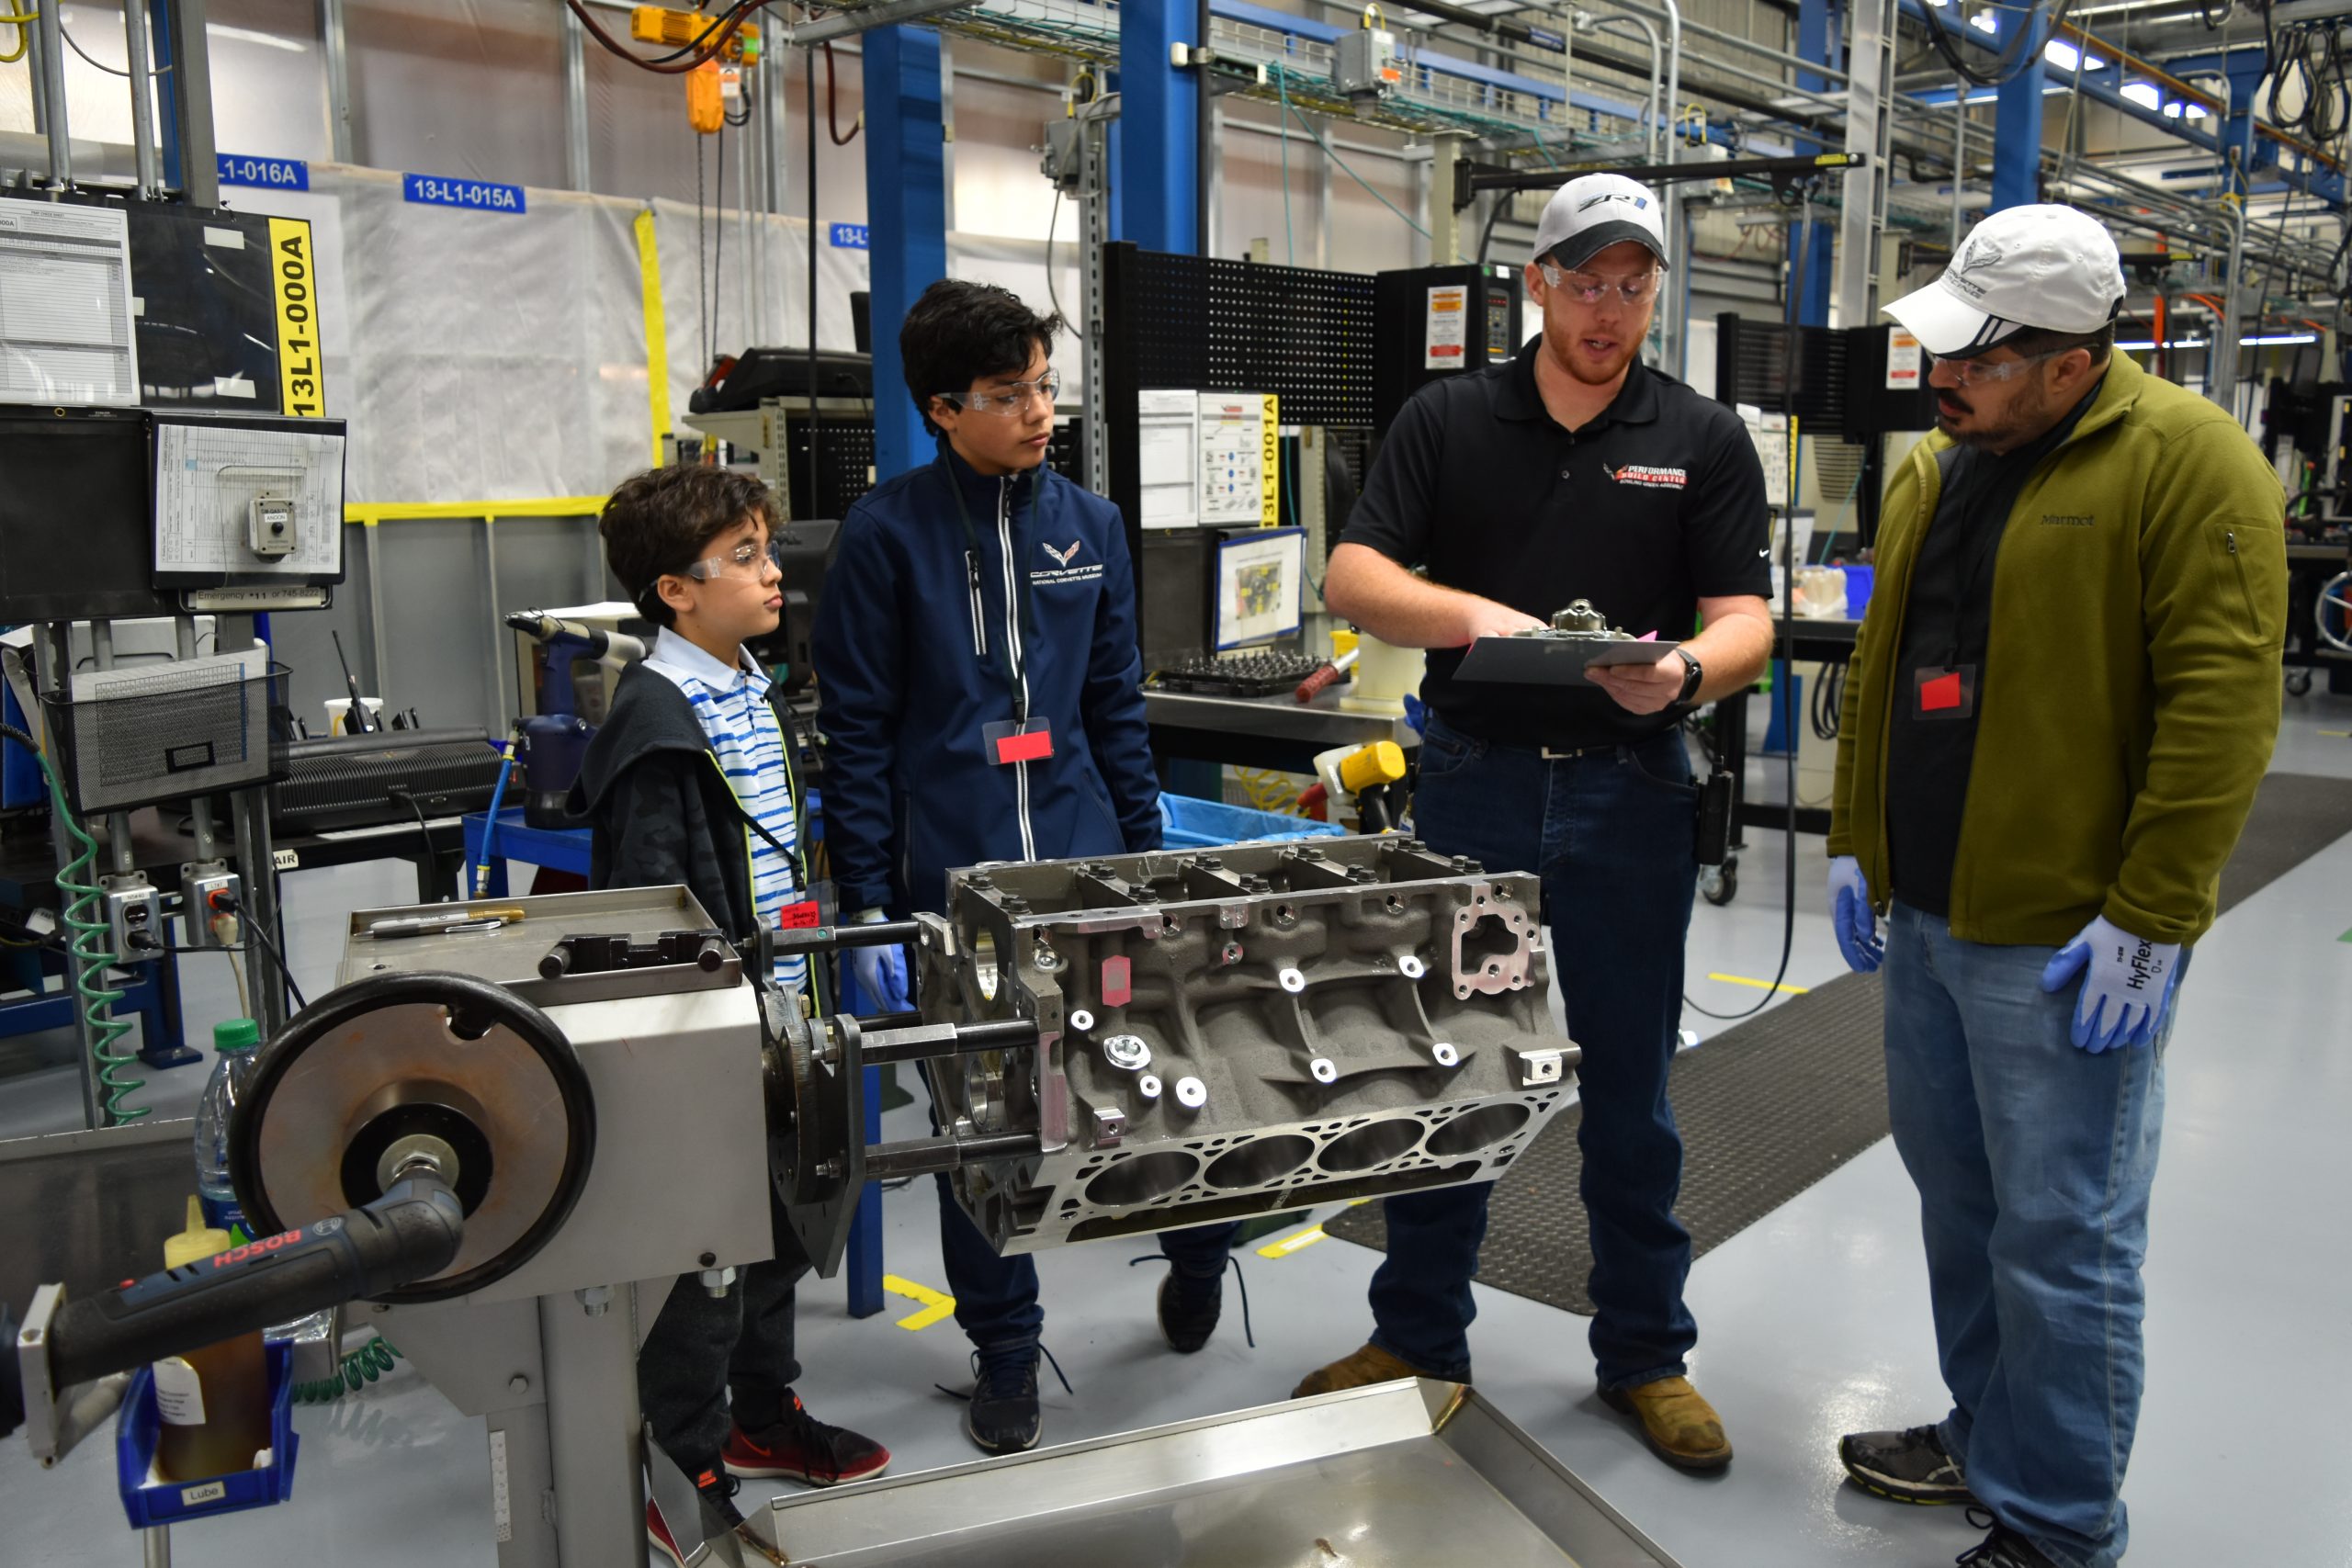
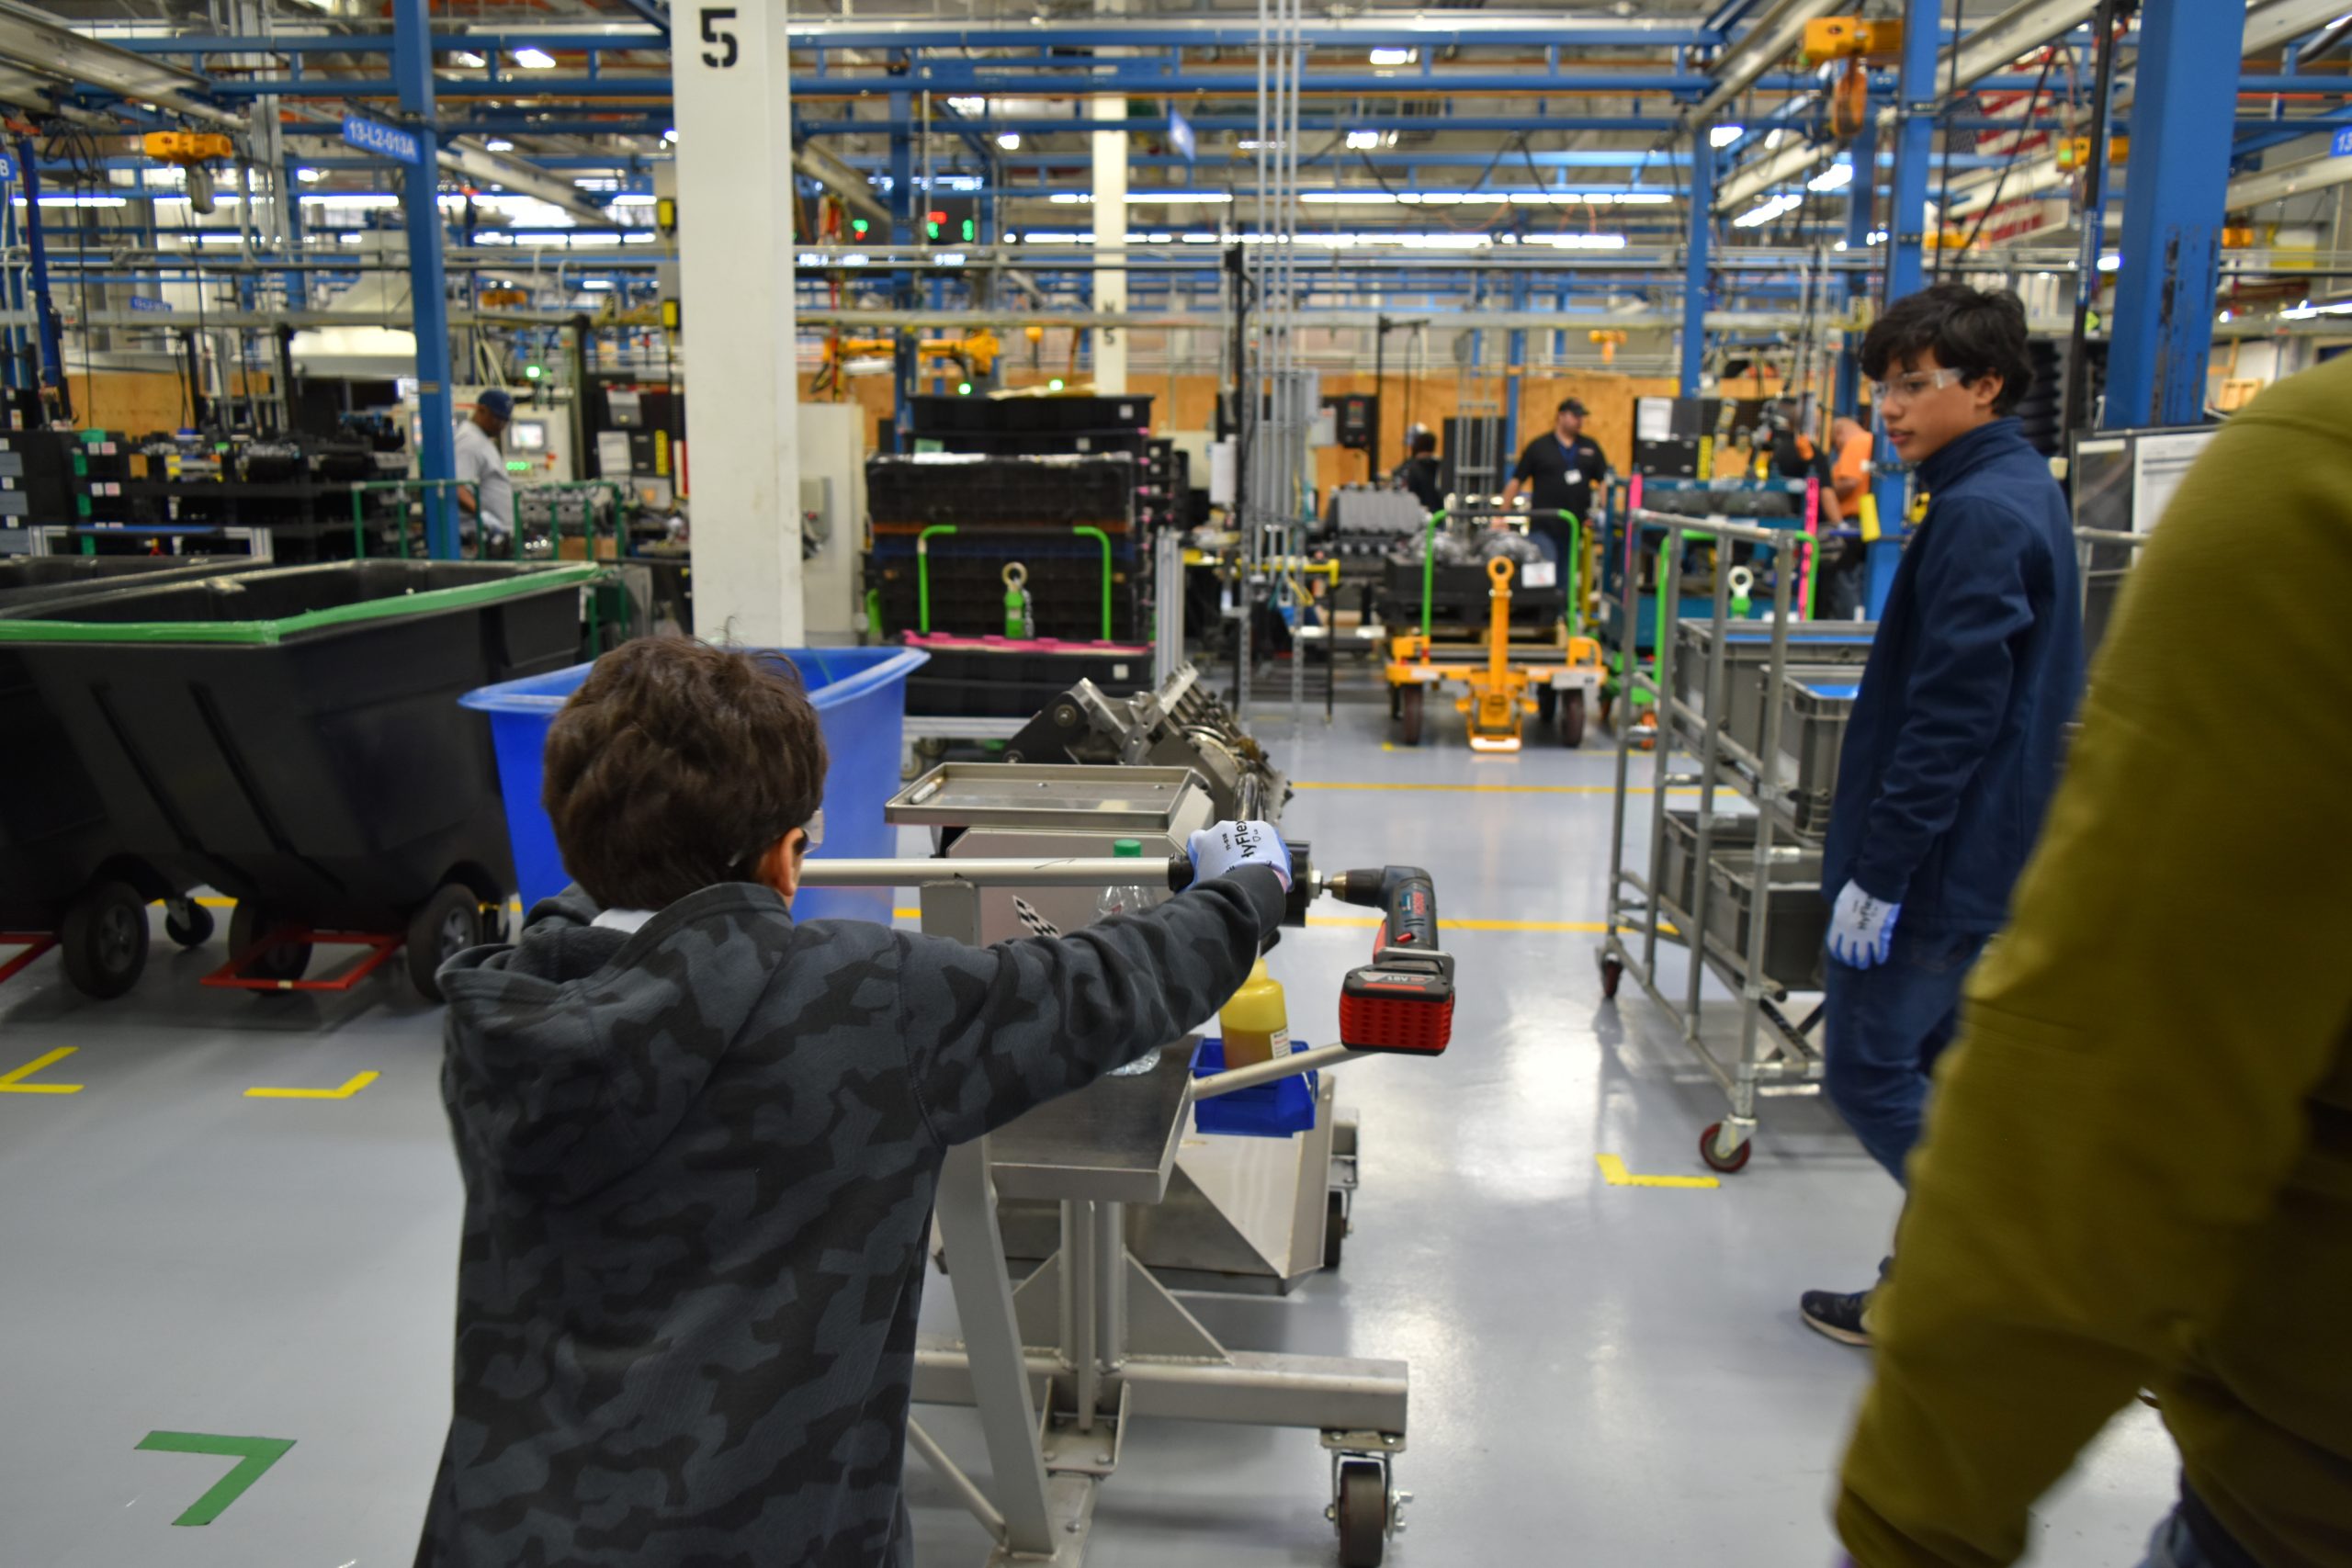
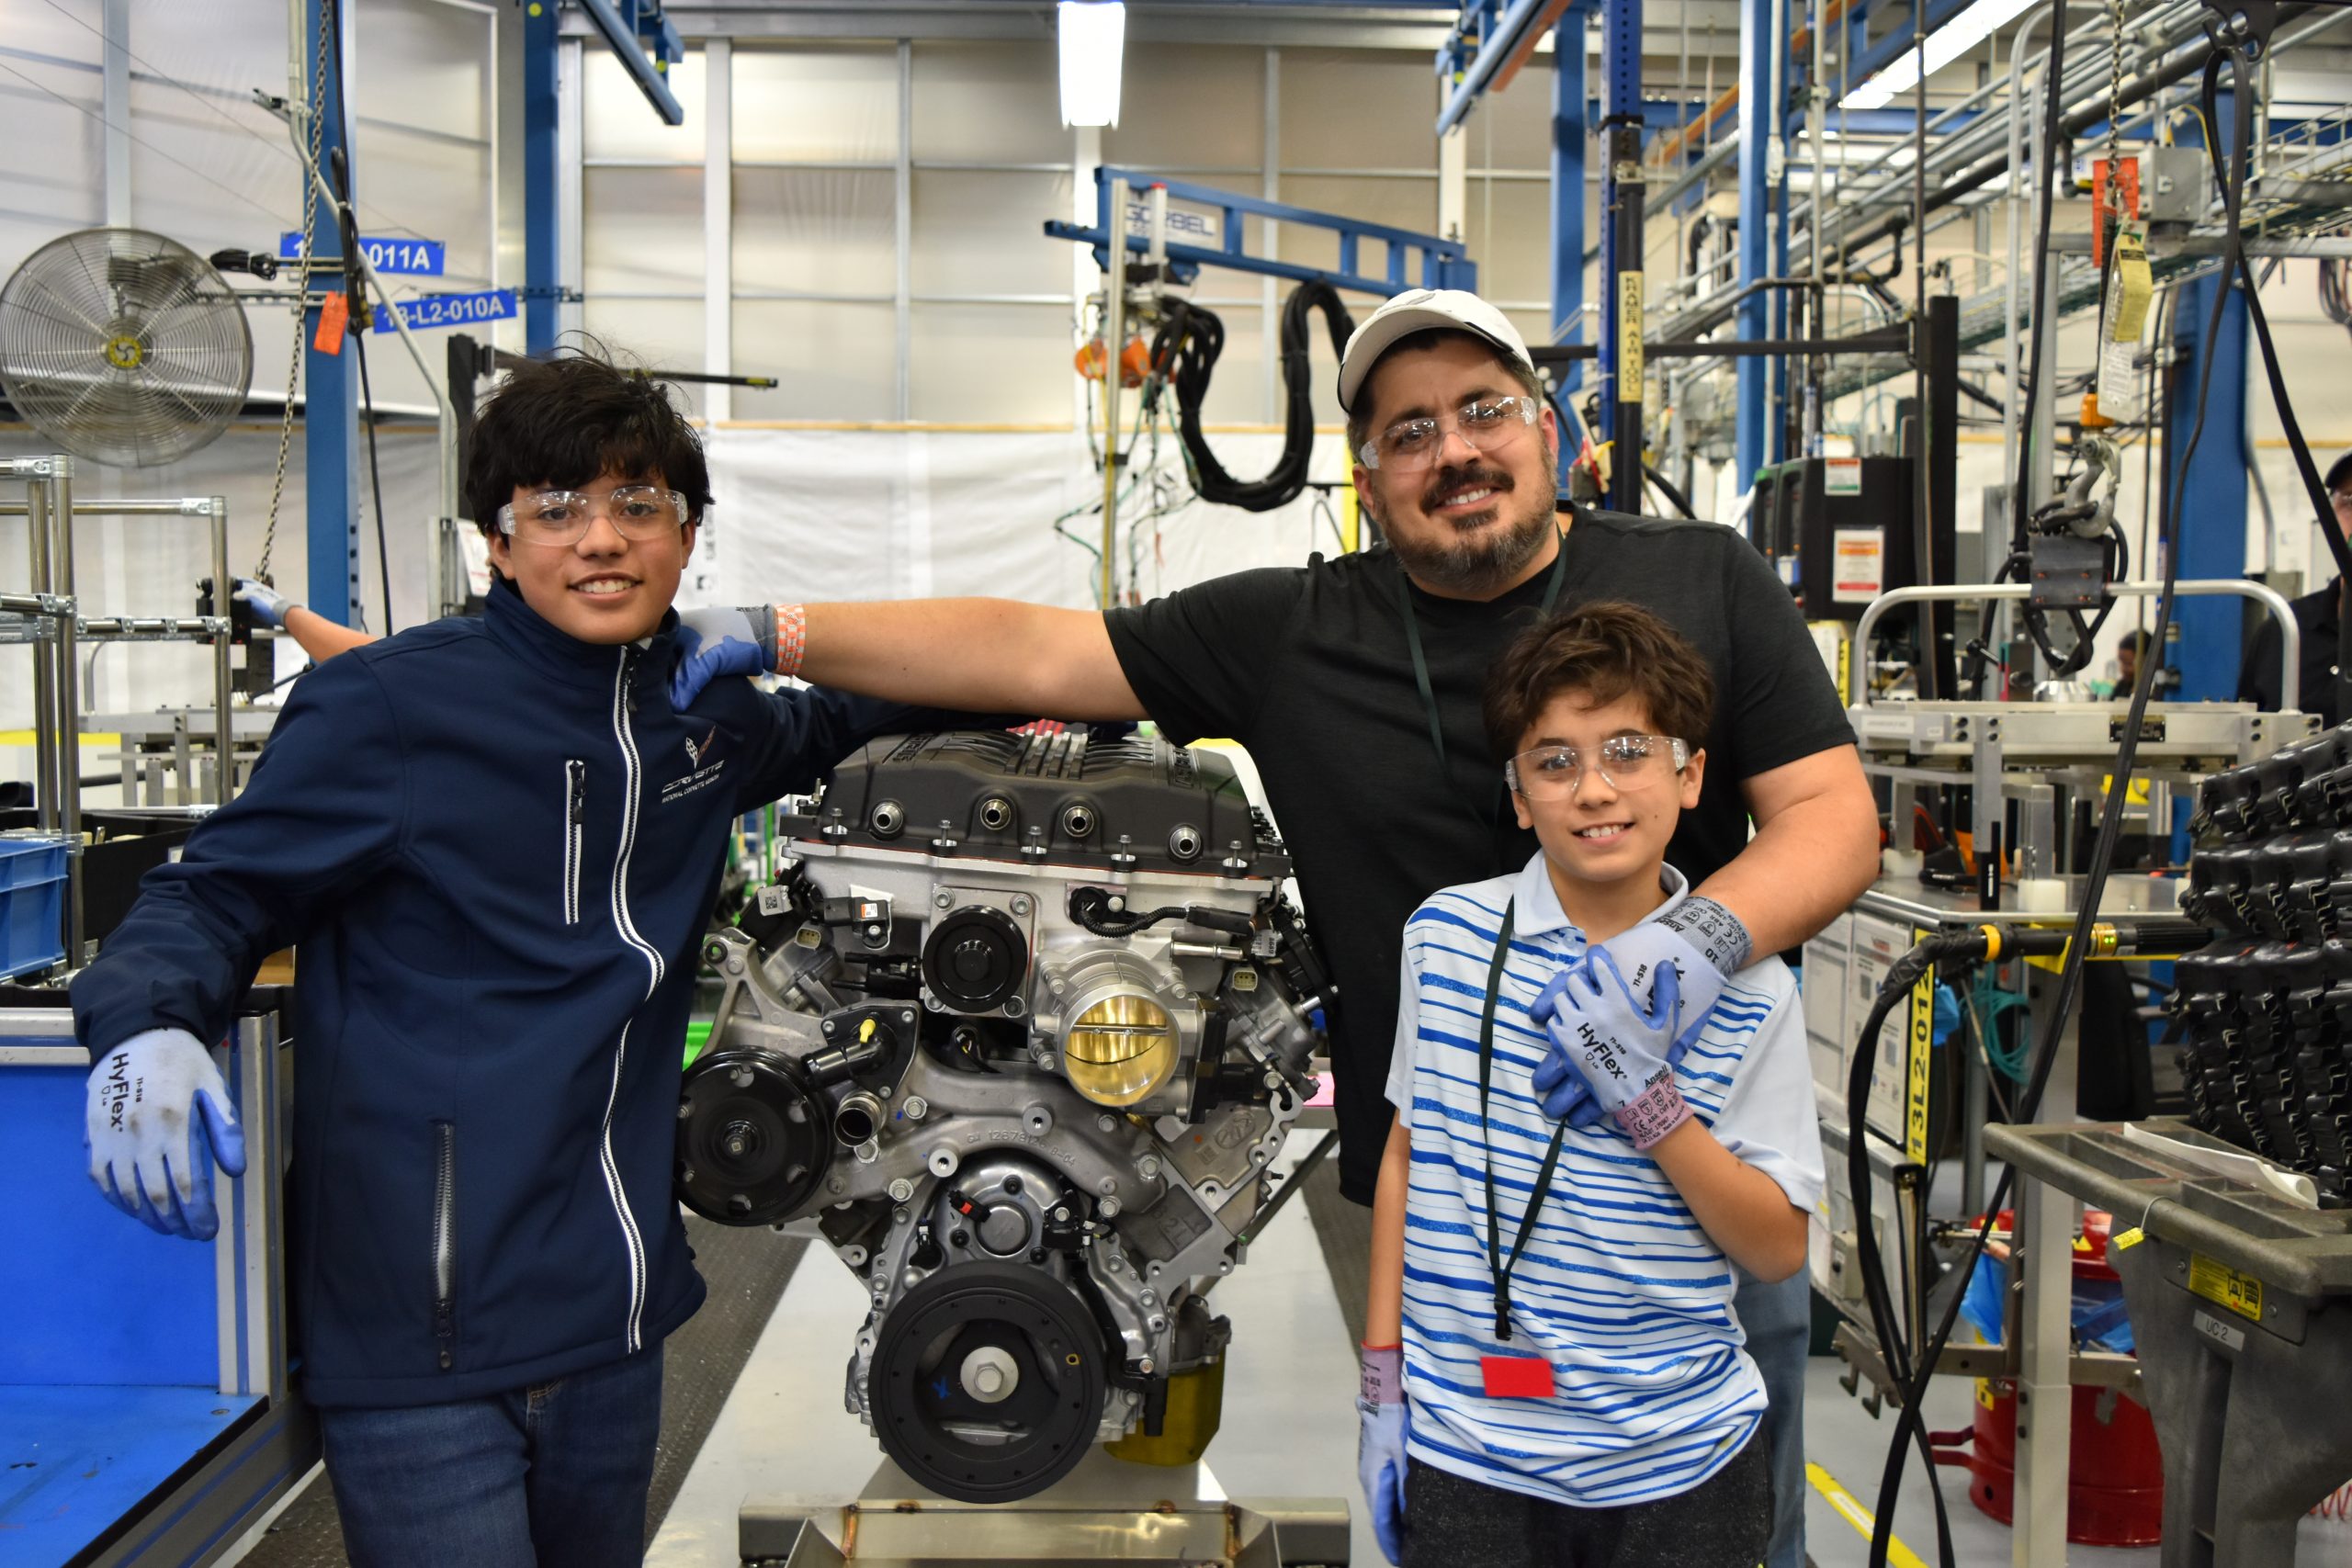
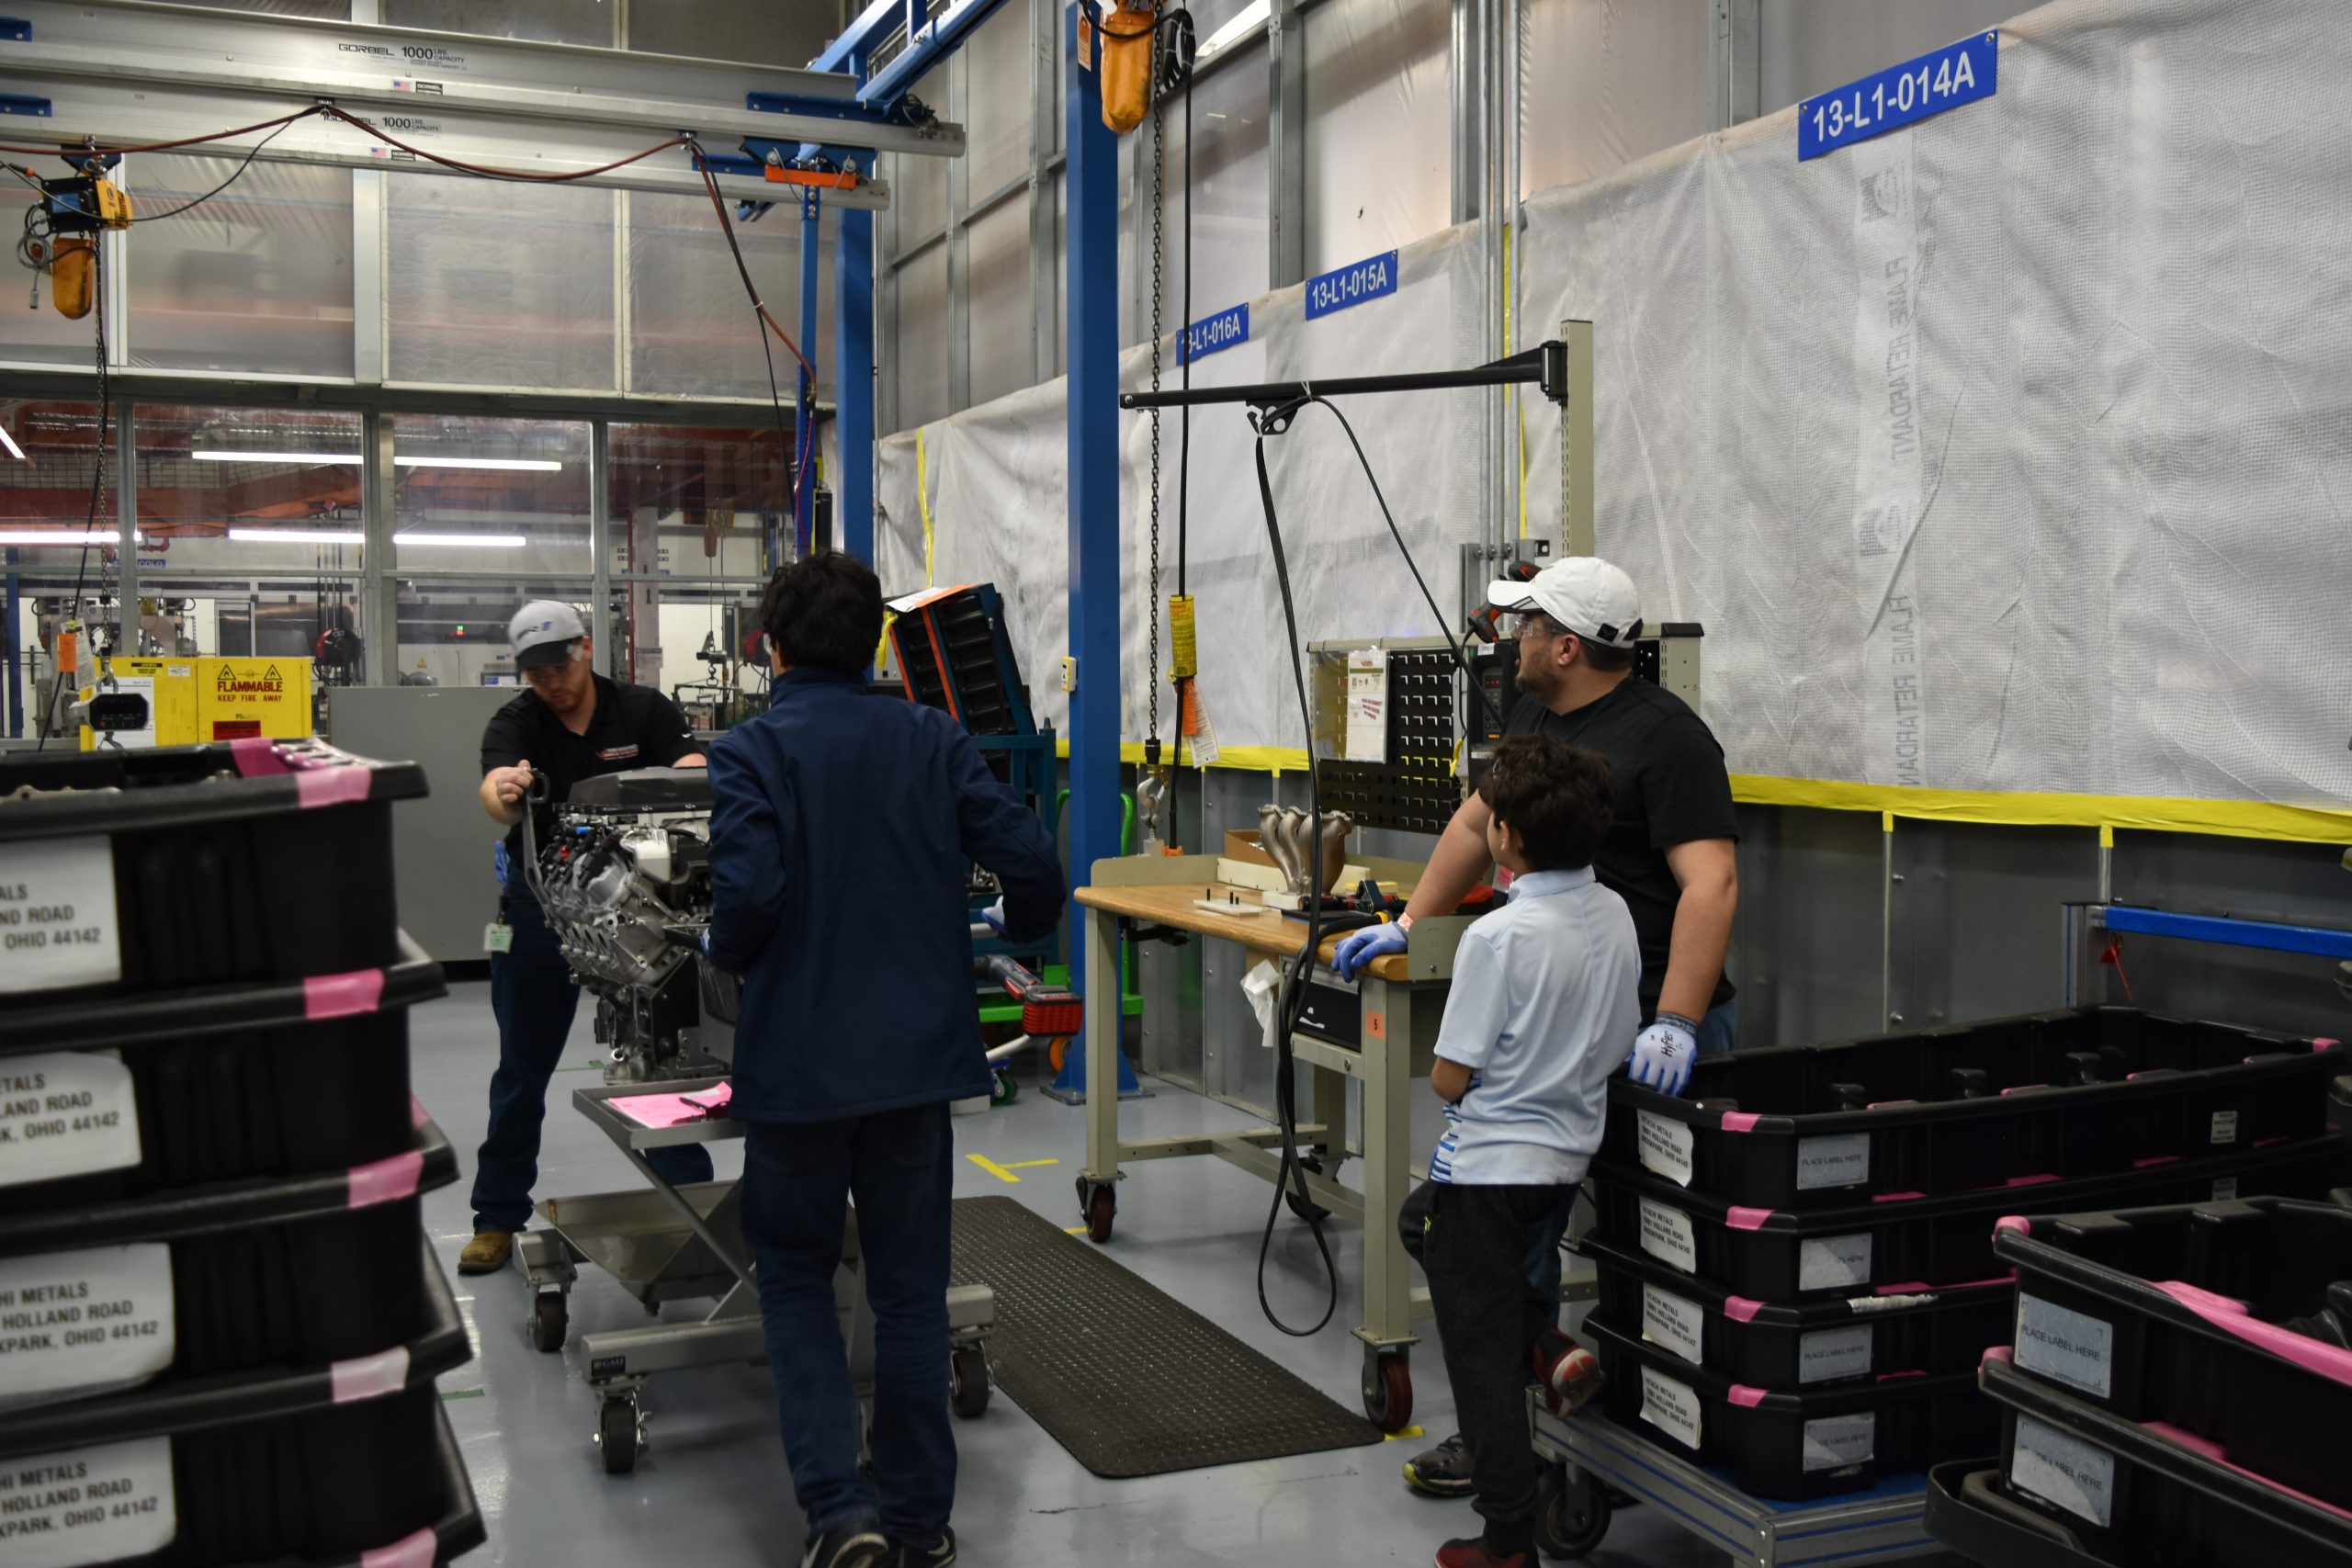
Bright and early, our first task was to watch the mandatory safety video. After all, we, a few wannabe engine builders, would find ourselves in the trenches of the engine build assembly line, and we’d better get some basic instruction on how to survive in there. After the video, we met with the Plant Manager and the Assistant Plant Manager (both proud ZR1 owners), the Area Leader, the Quality Engineer, our fearless Engine Builder that would guide us, and our Photographer that would document the masterful work we performed that day.
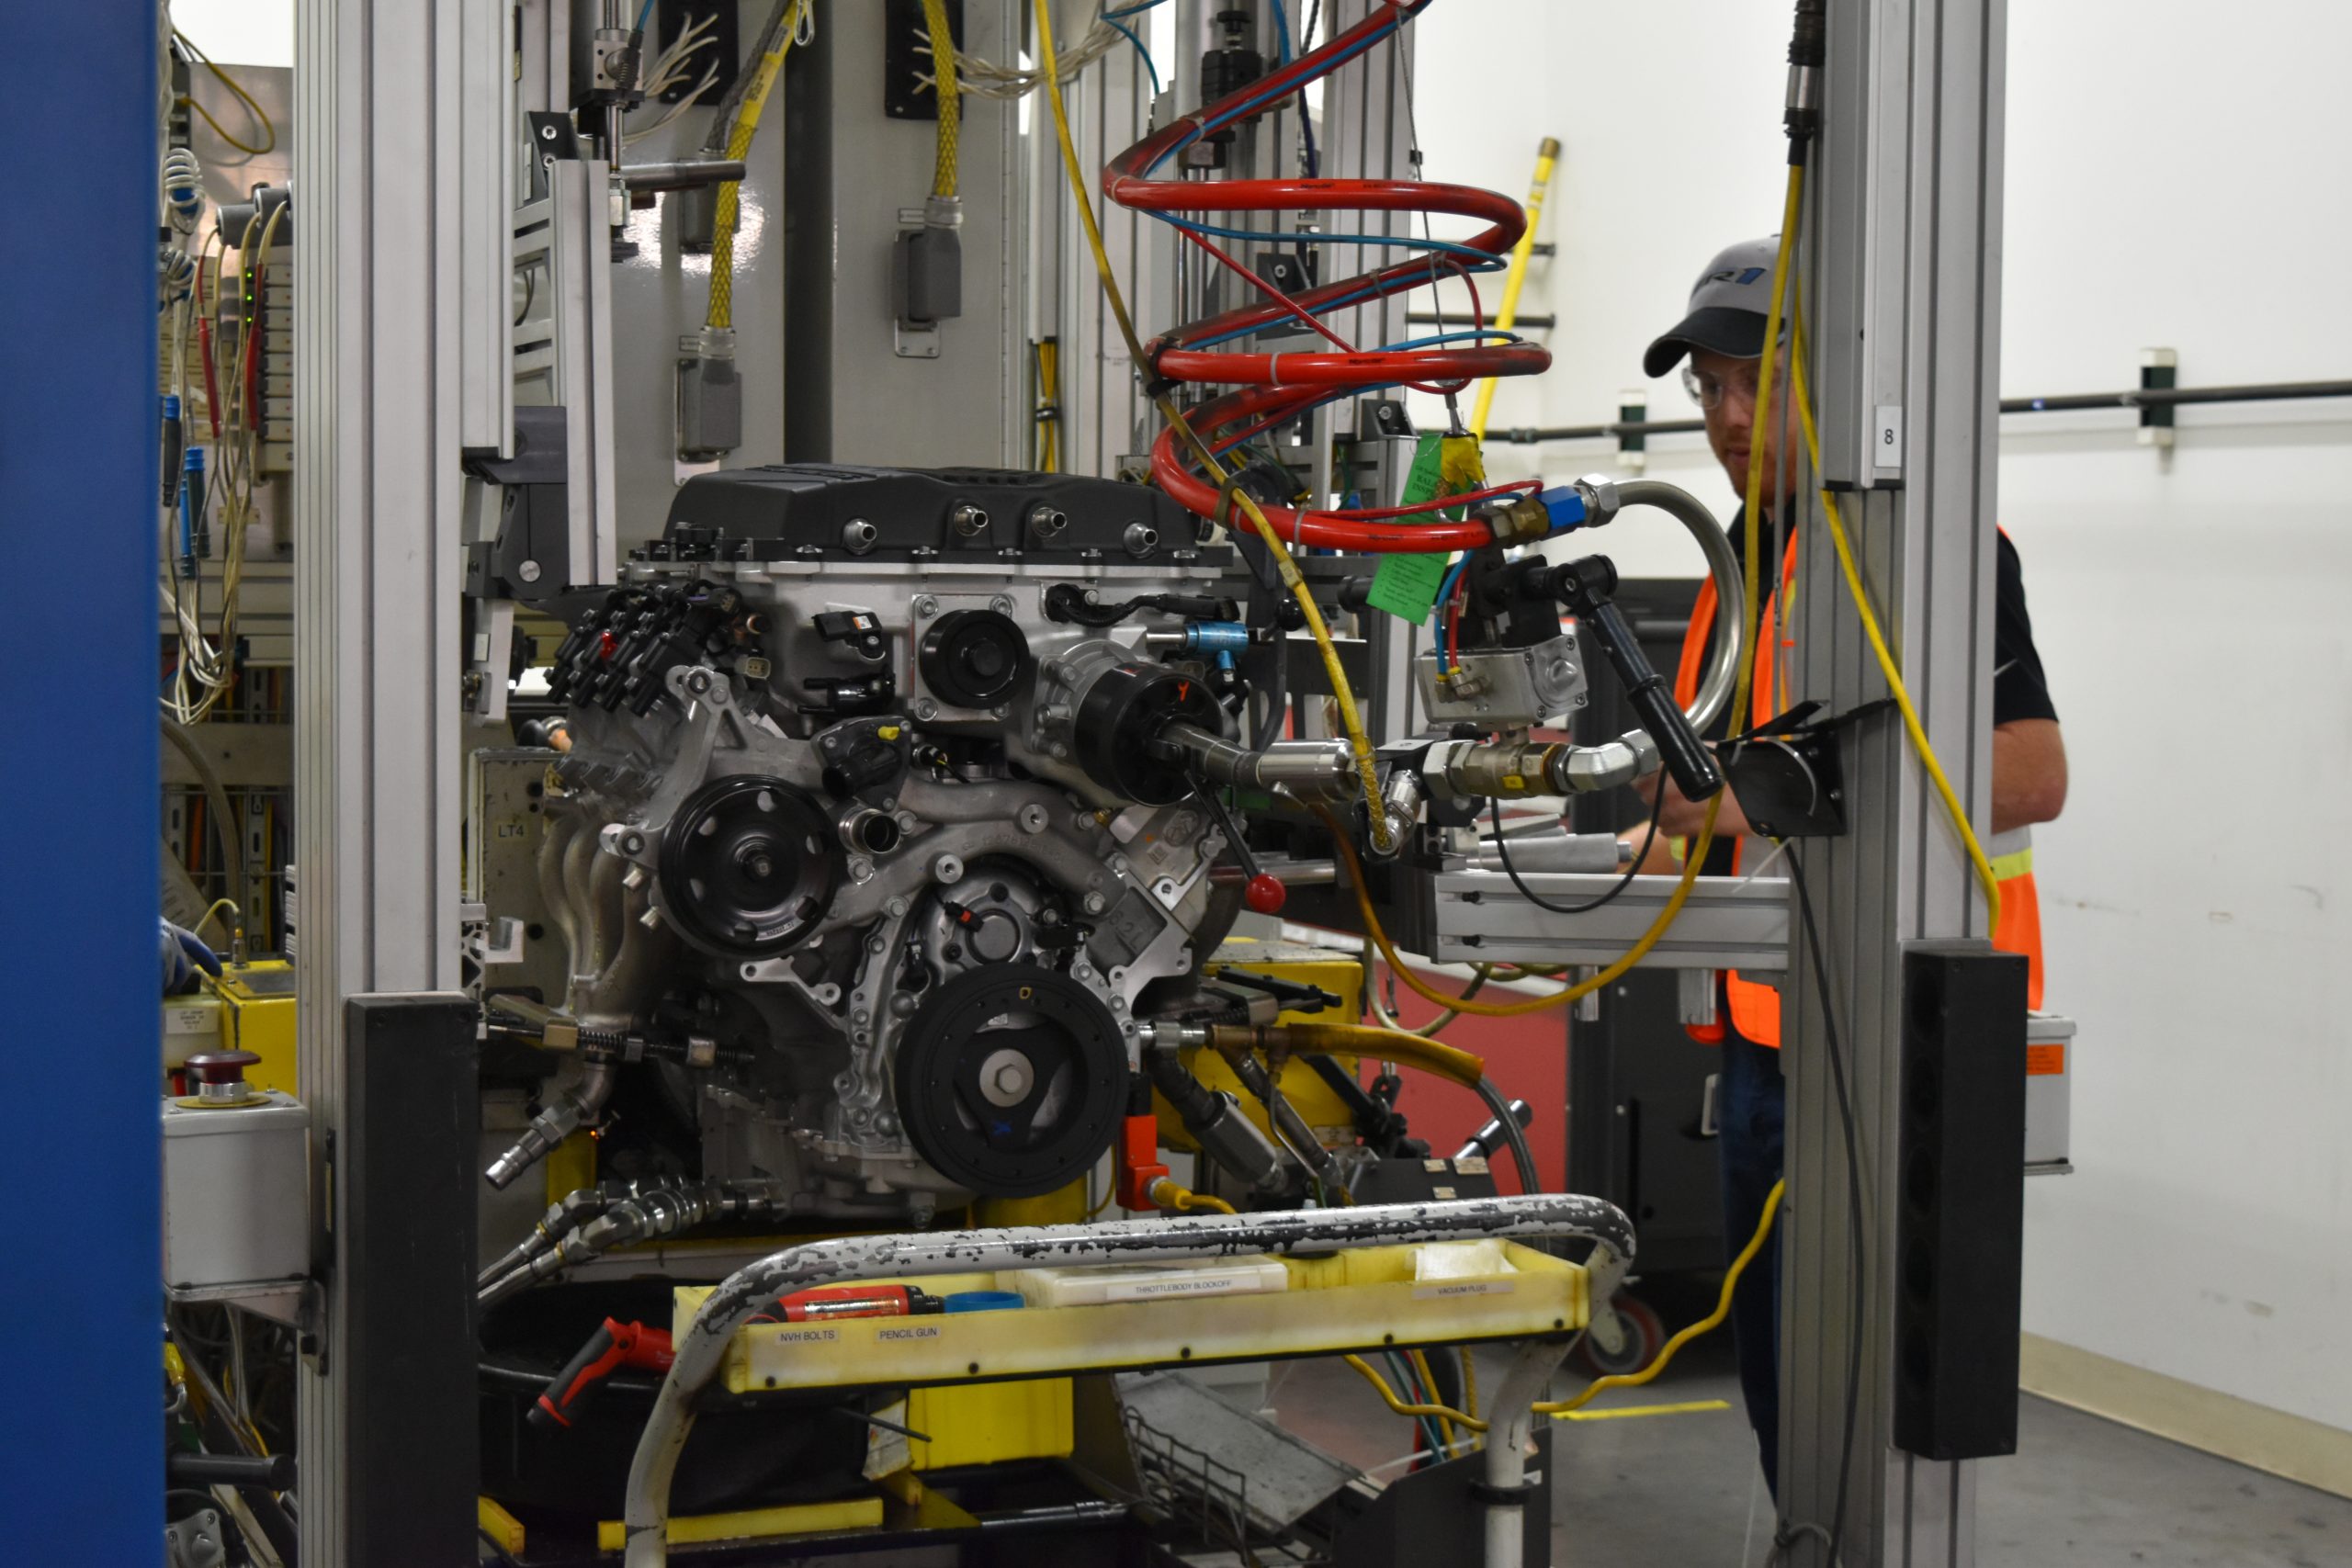
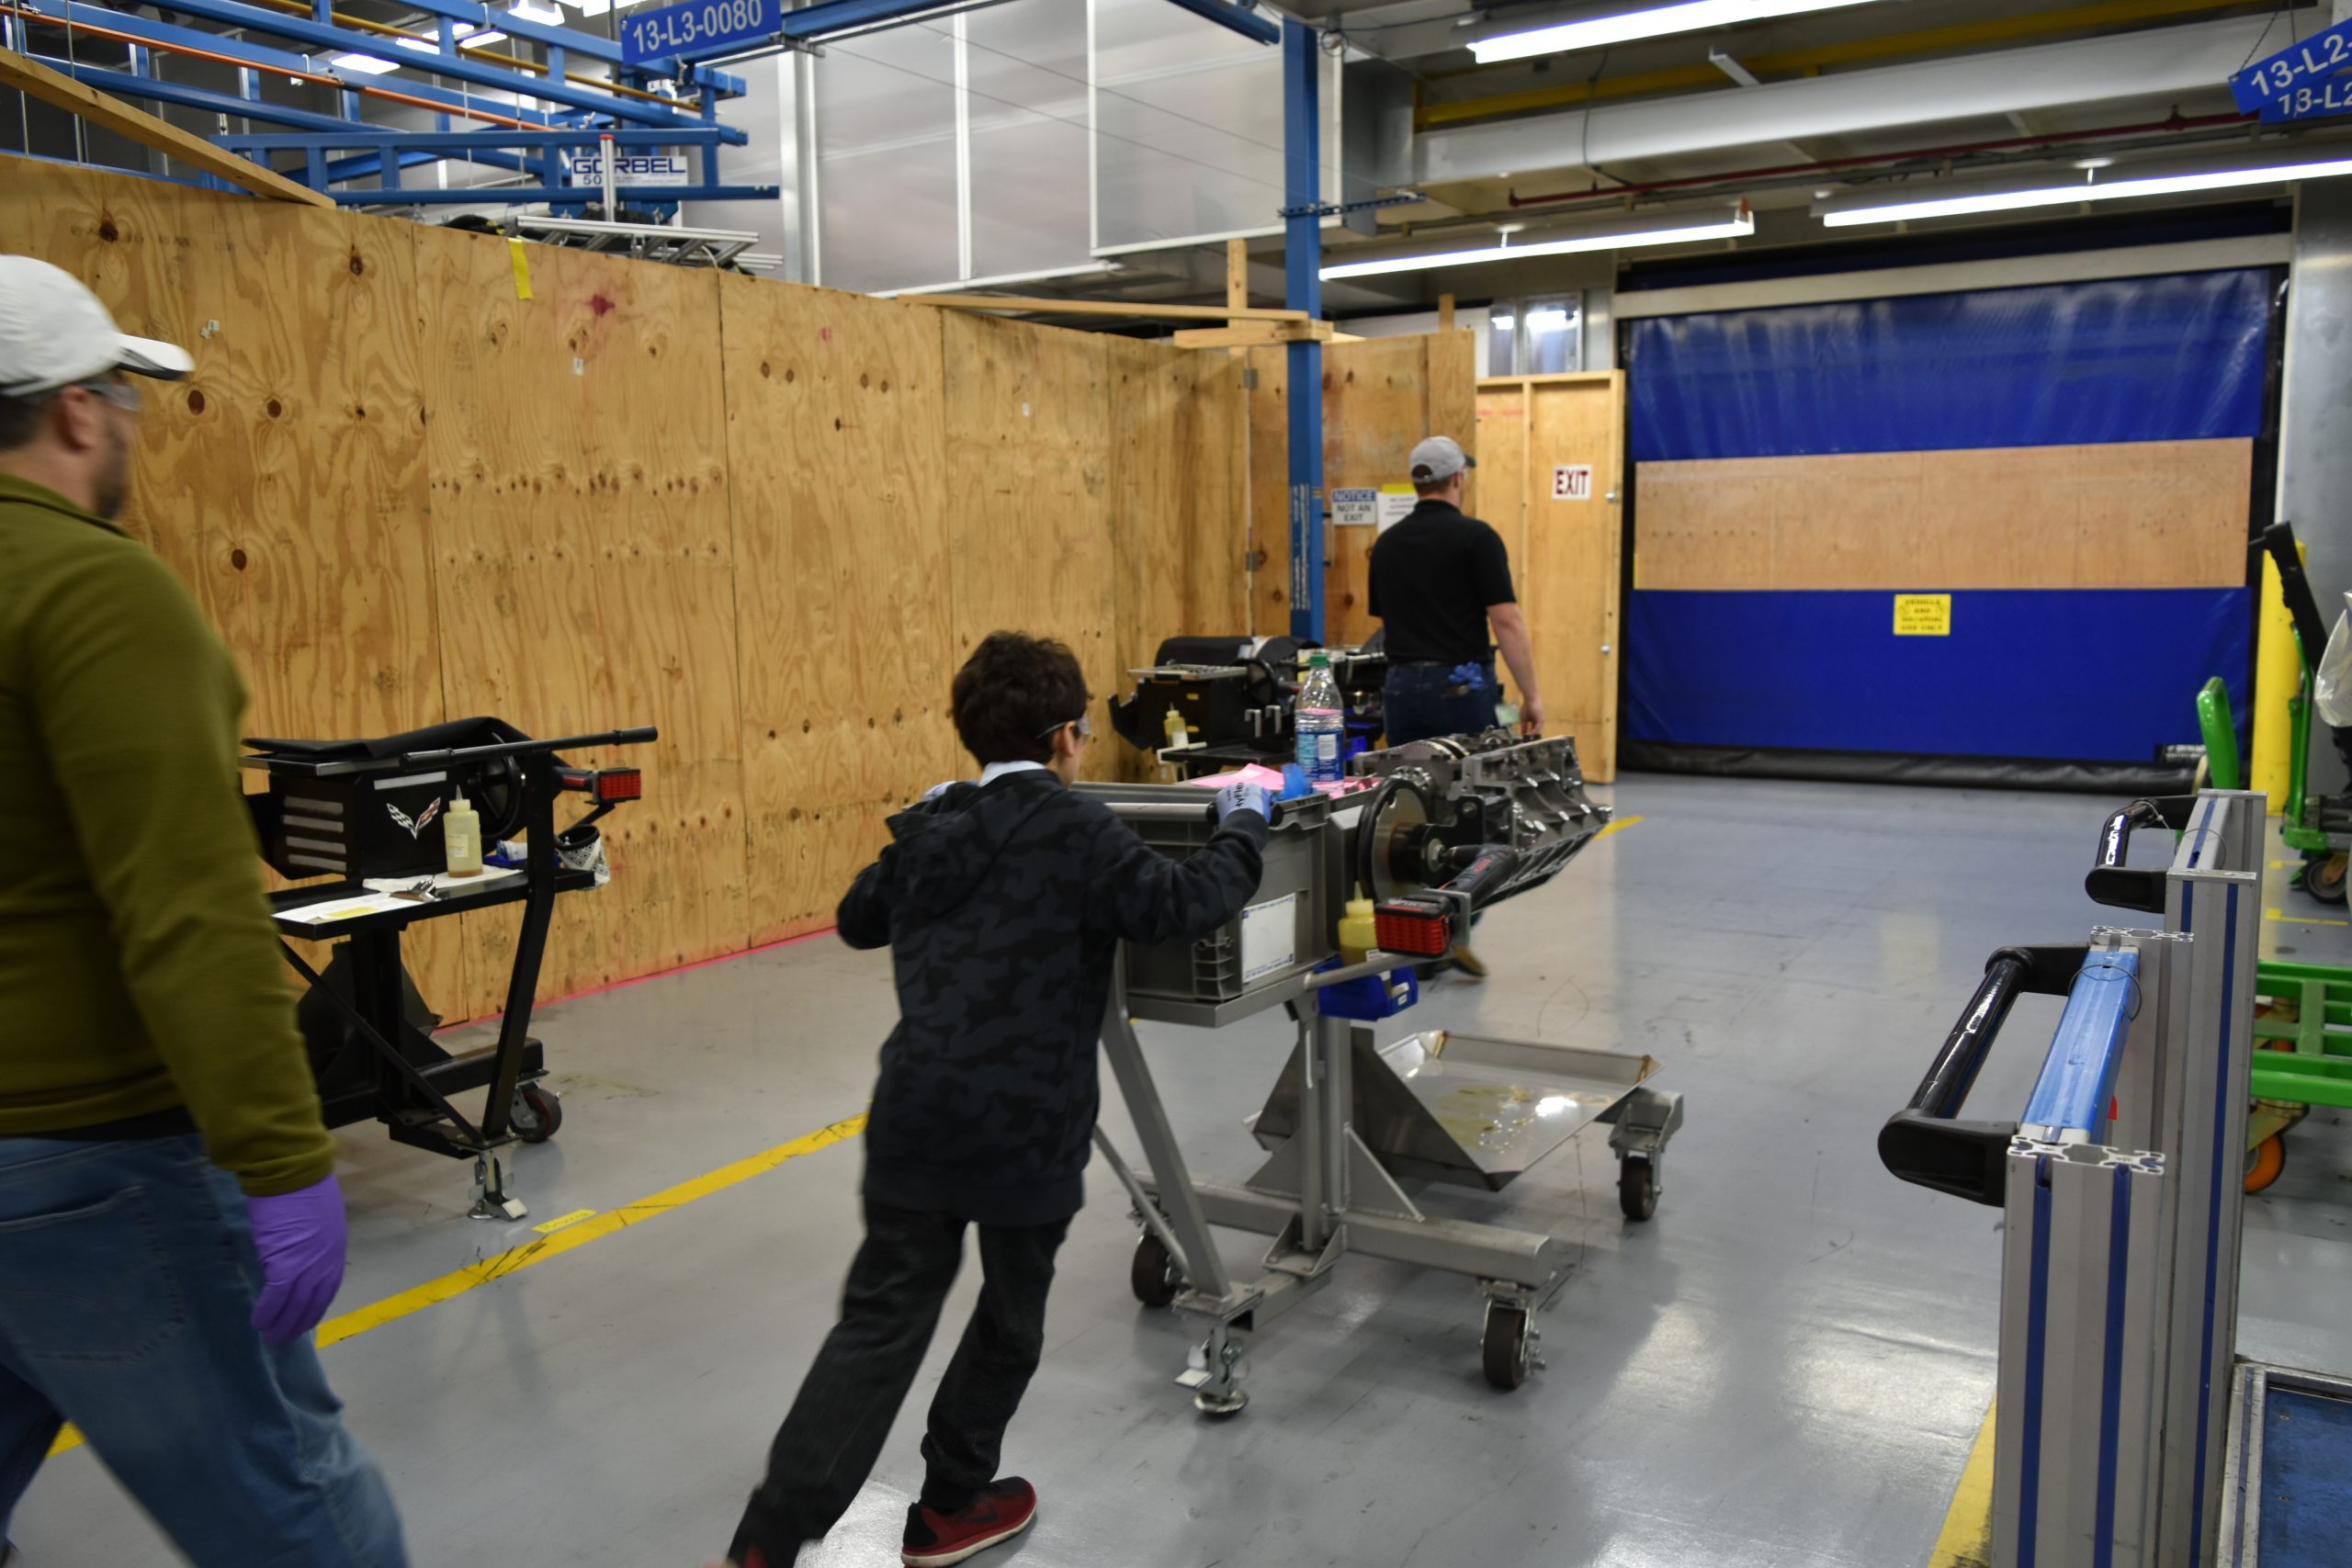
Our actual engine build took the better part of a full day. What’s amazing to me is that ordinarily an engine builder would produce 3 engines in a single day! Our case was different, though. We truly had “white glove” service, and moved at a slow, careful pace, with each step being explained to us and demonstrated.
A total of 655 photos were taken that day, and it’s impossible to publish all of them. I’ve done my best to provide some choice photographs below, with a brief description of each phase of the process as depicted in the photographs. I really hope you enjoy. It was an amazing experience, and I can’t thank Chevrolet enough for providing this opportunity to us!
So here we go. Please enjoy!
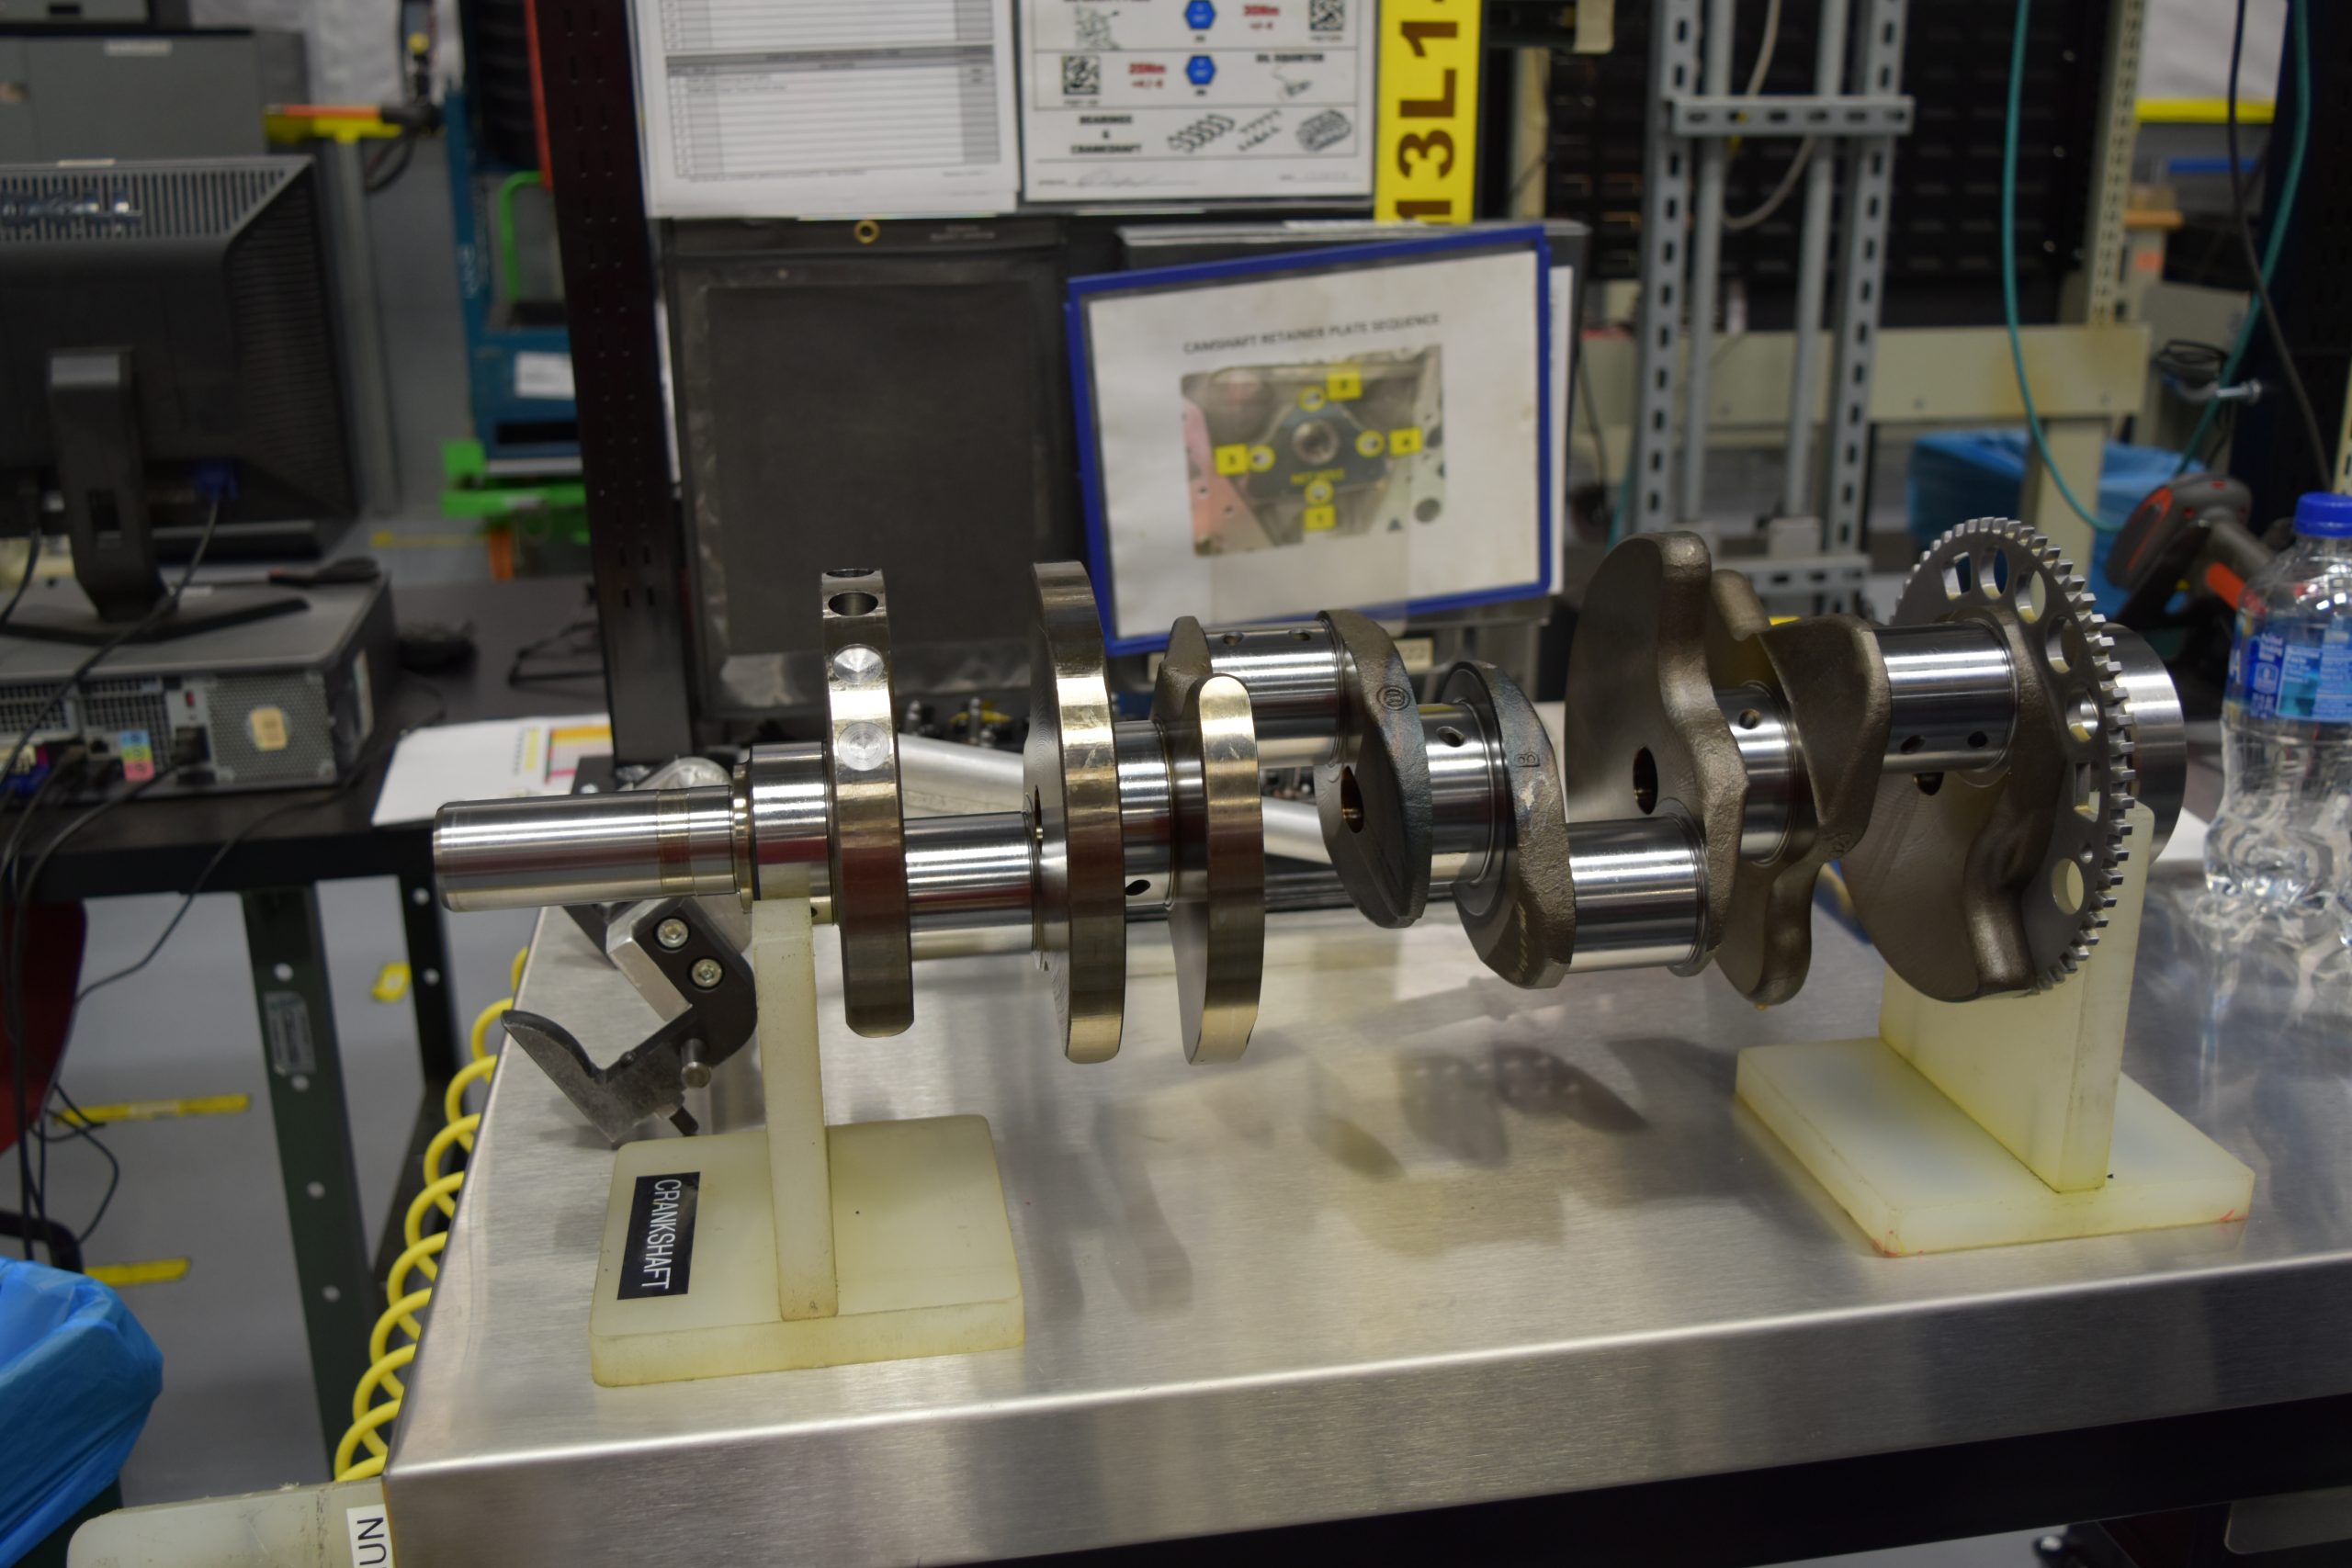
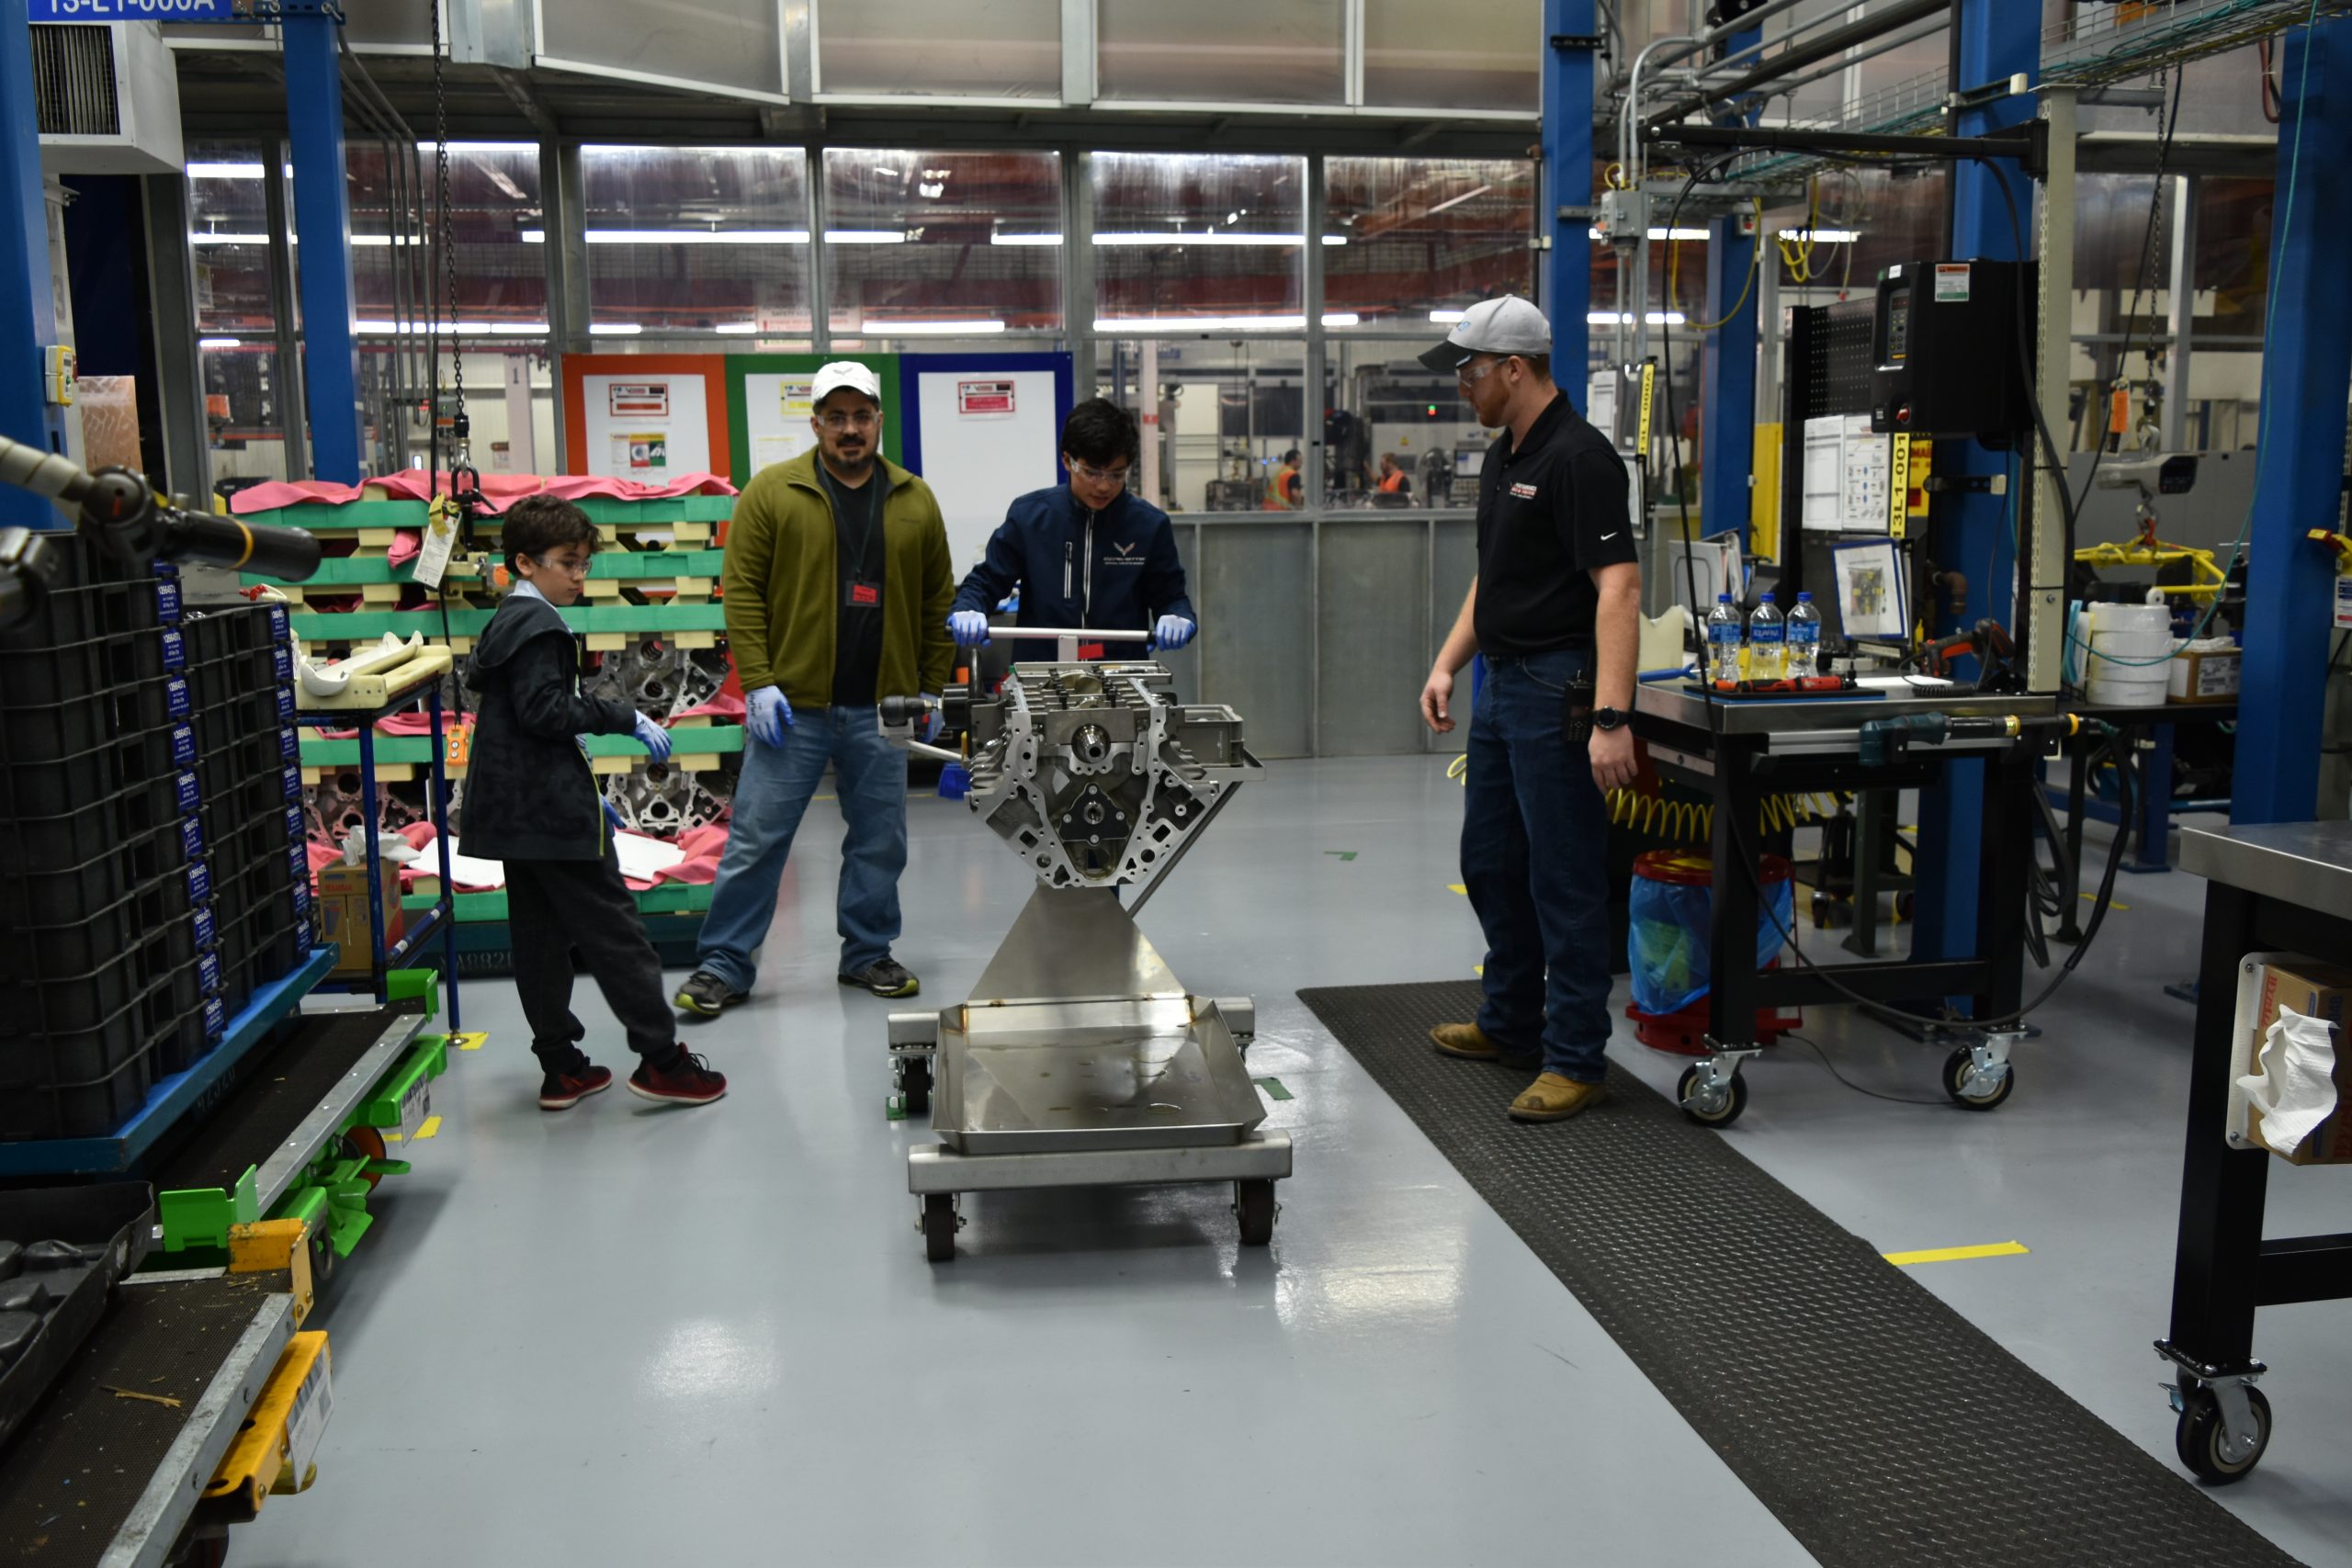
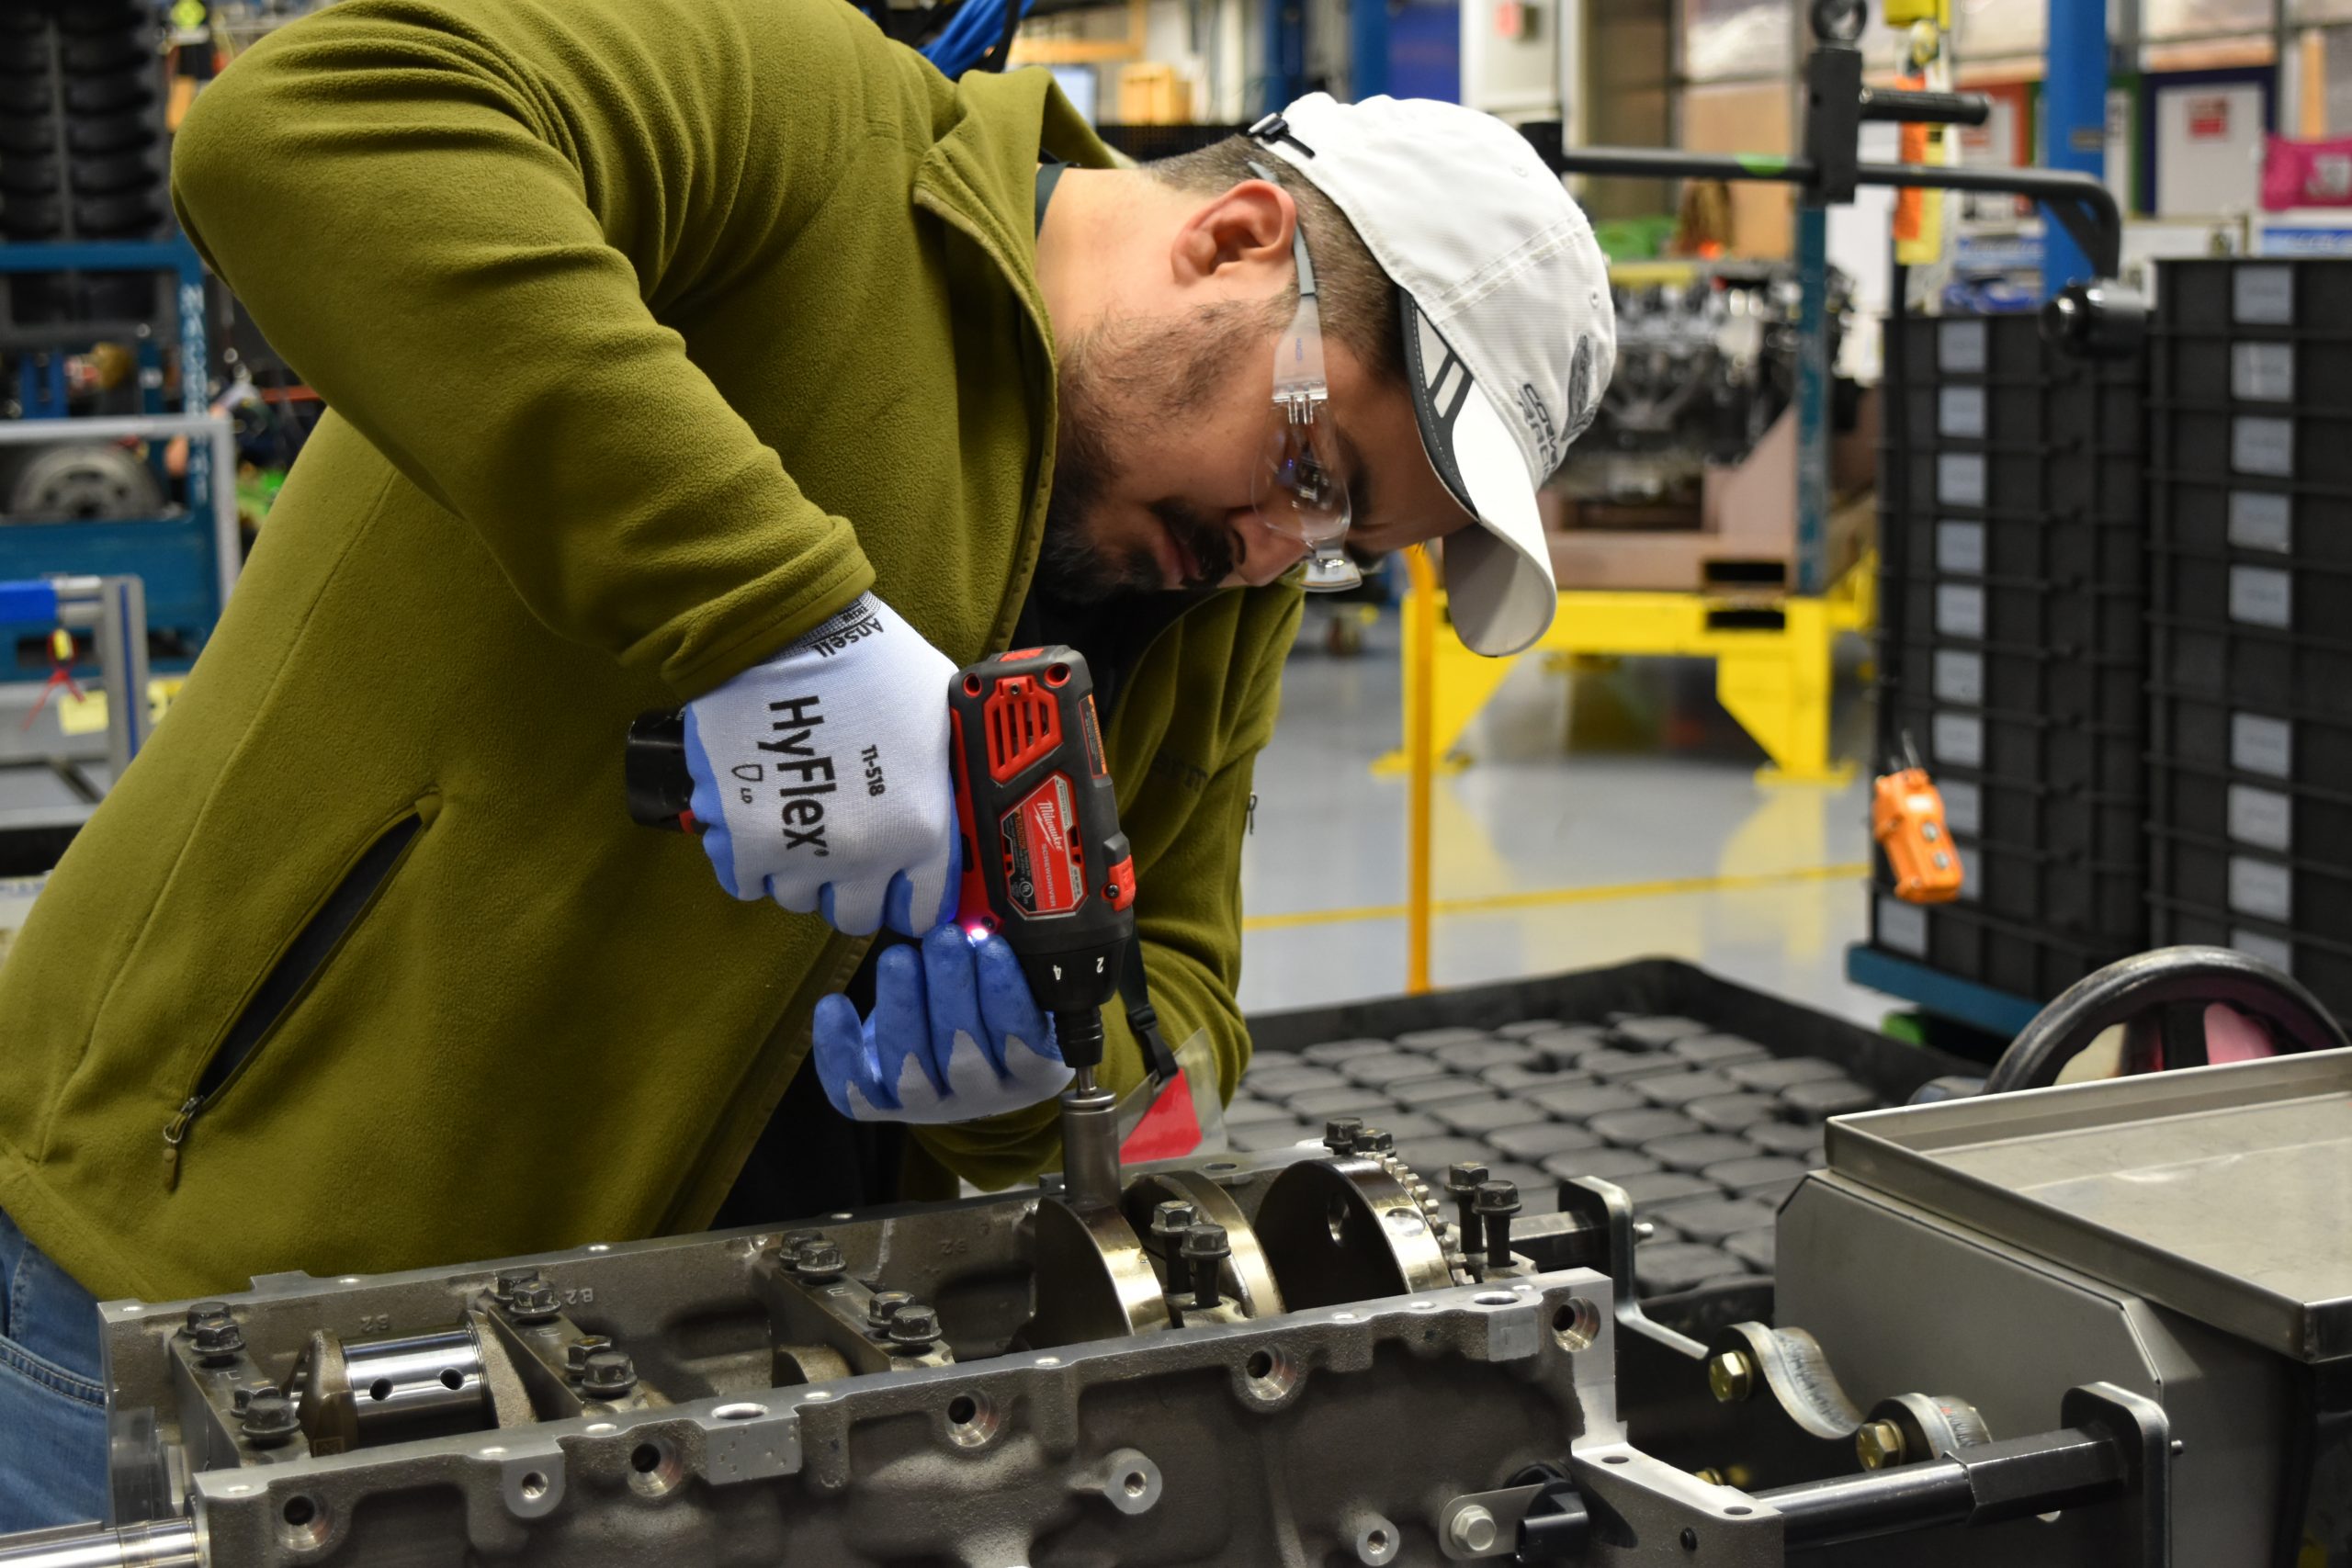
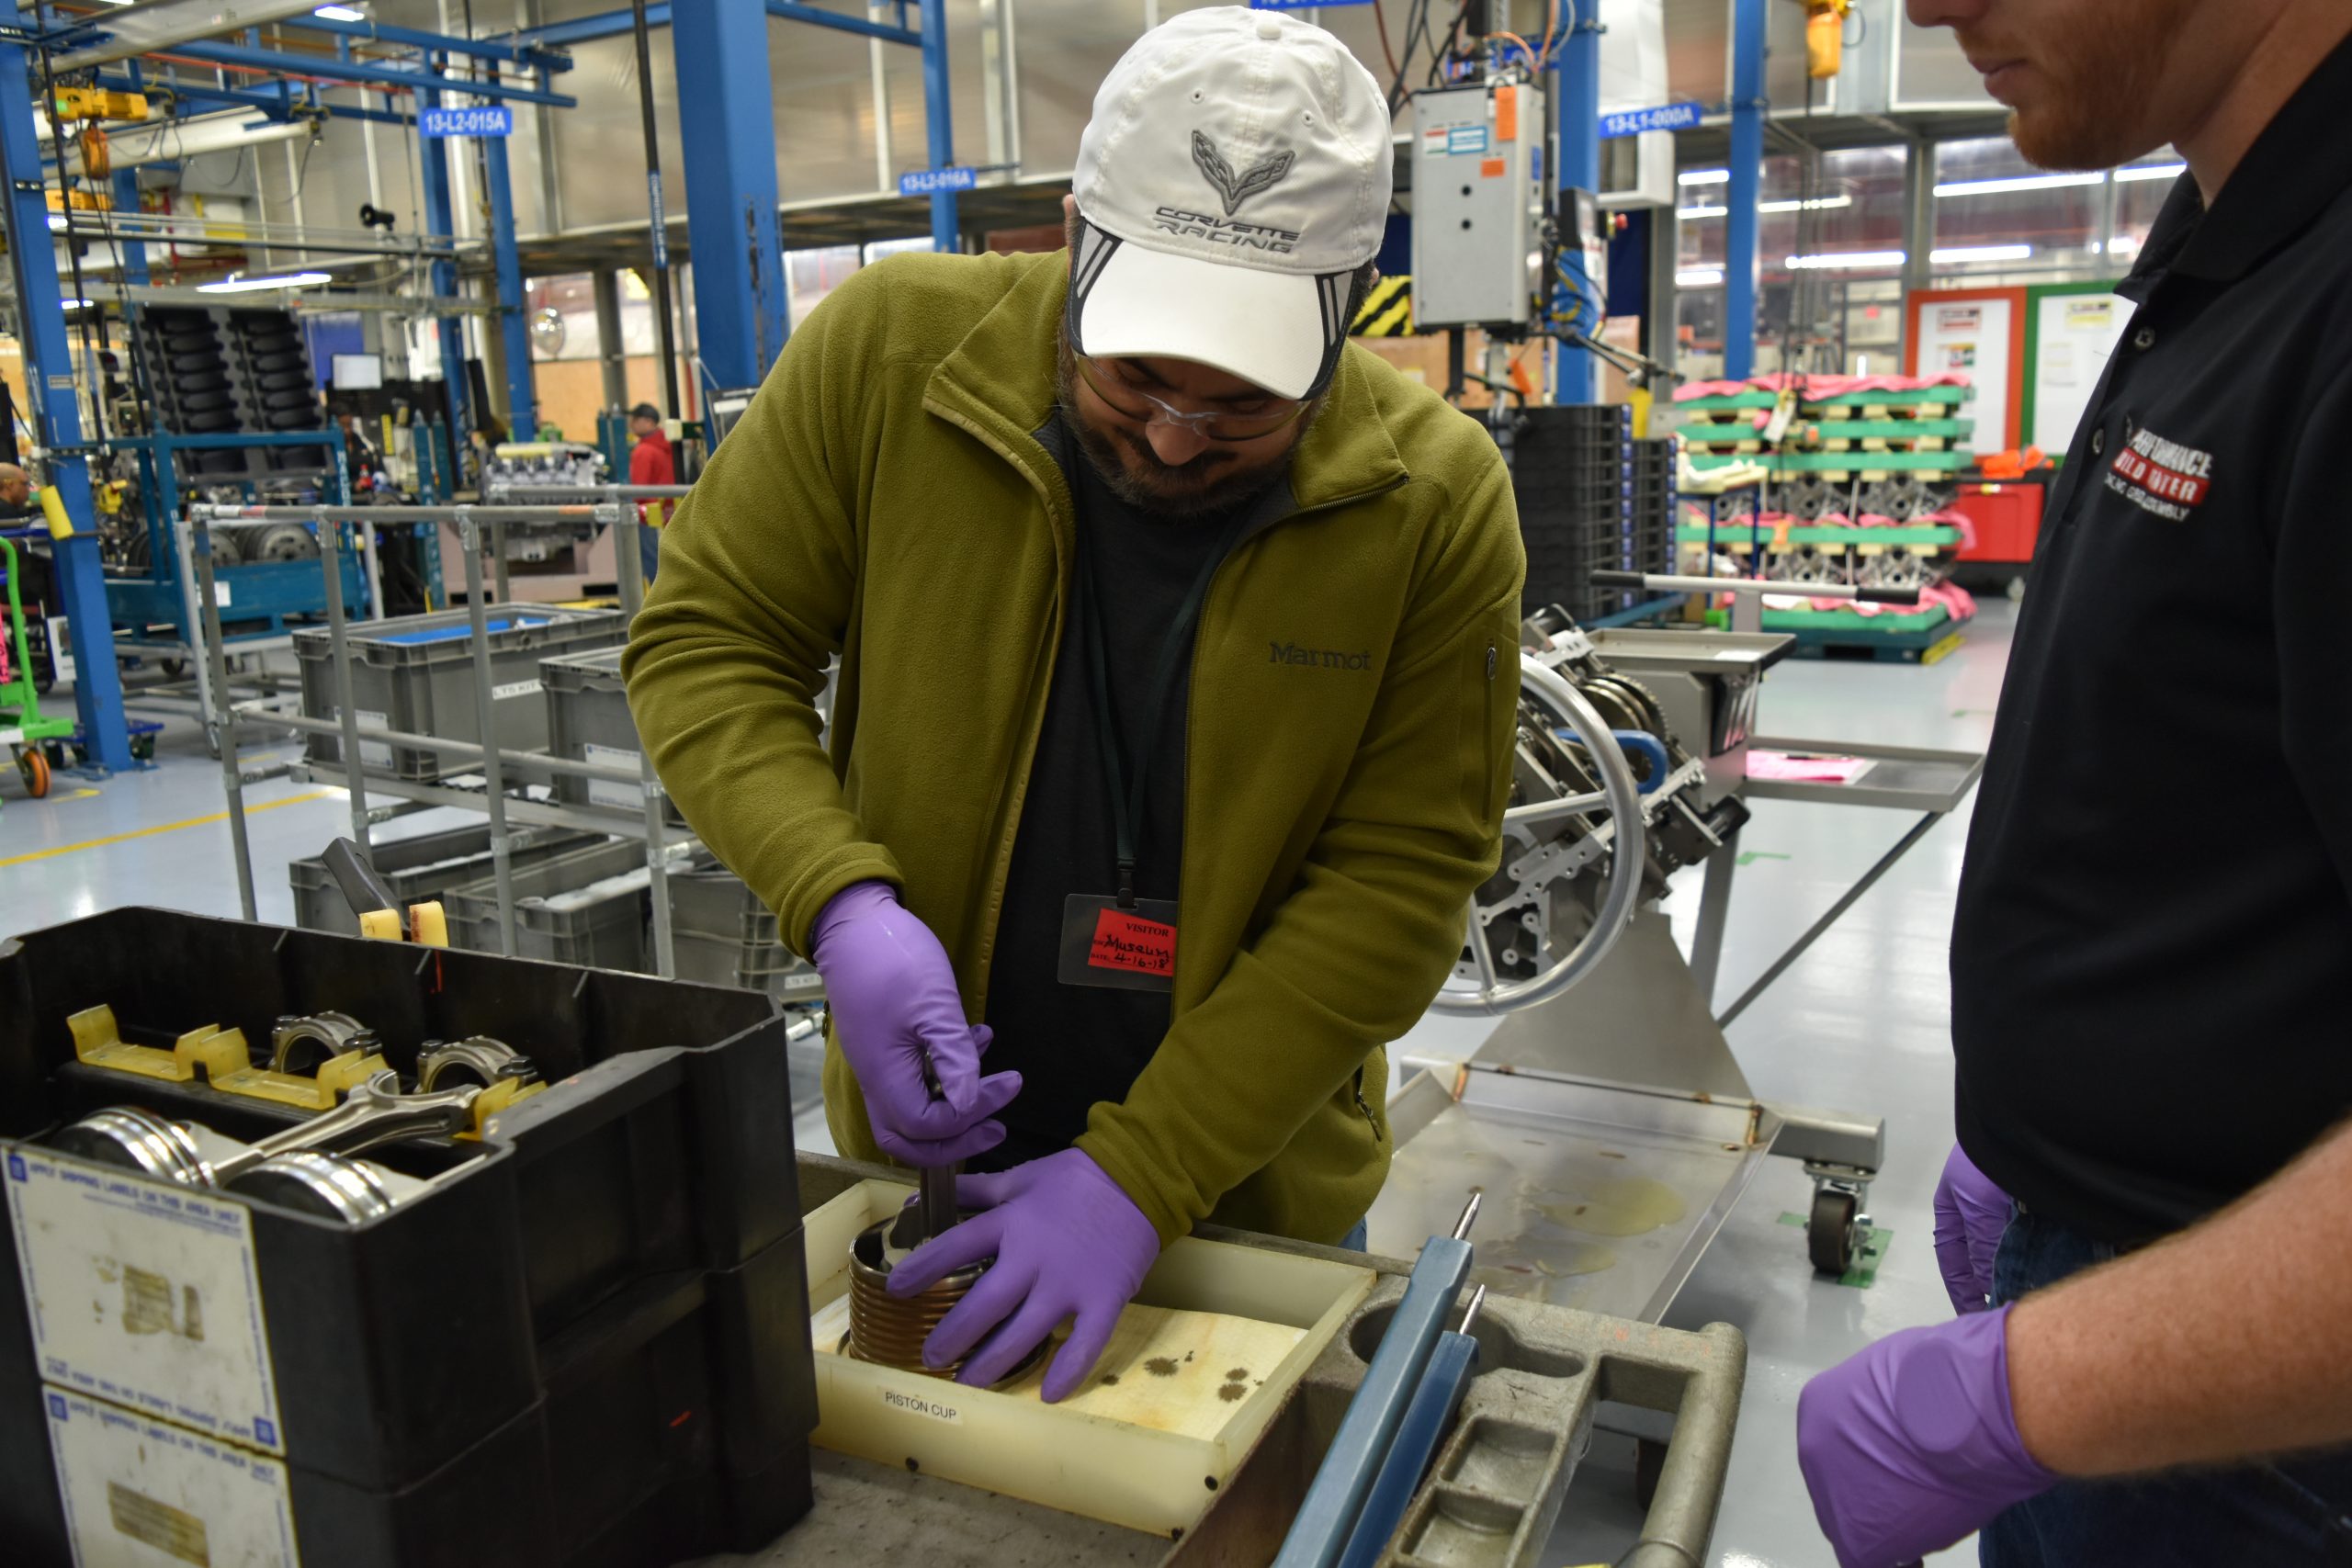
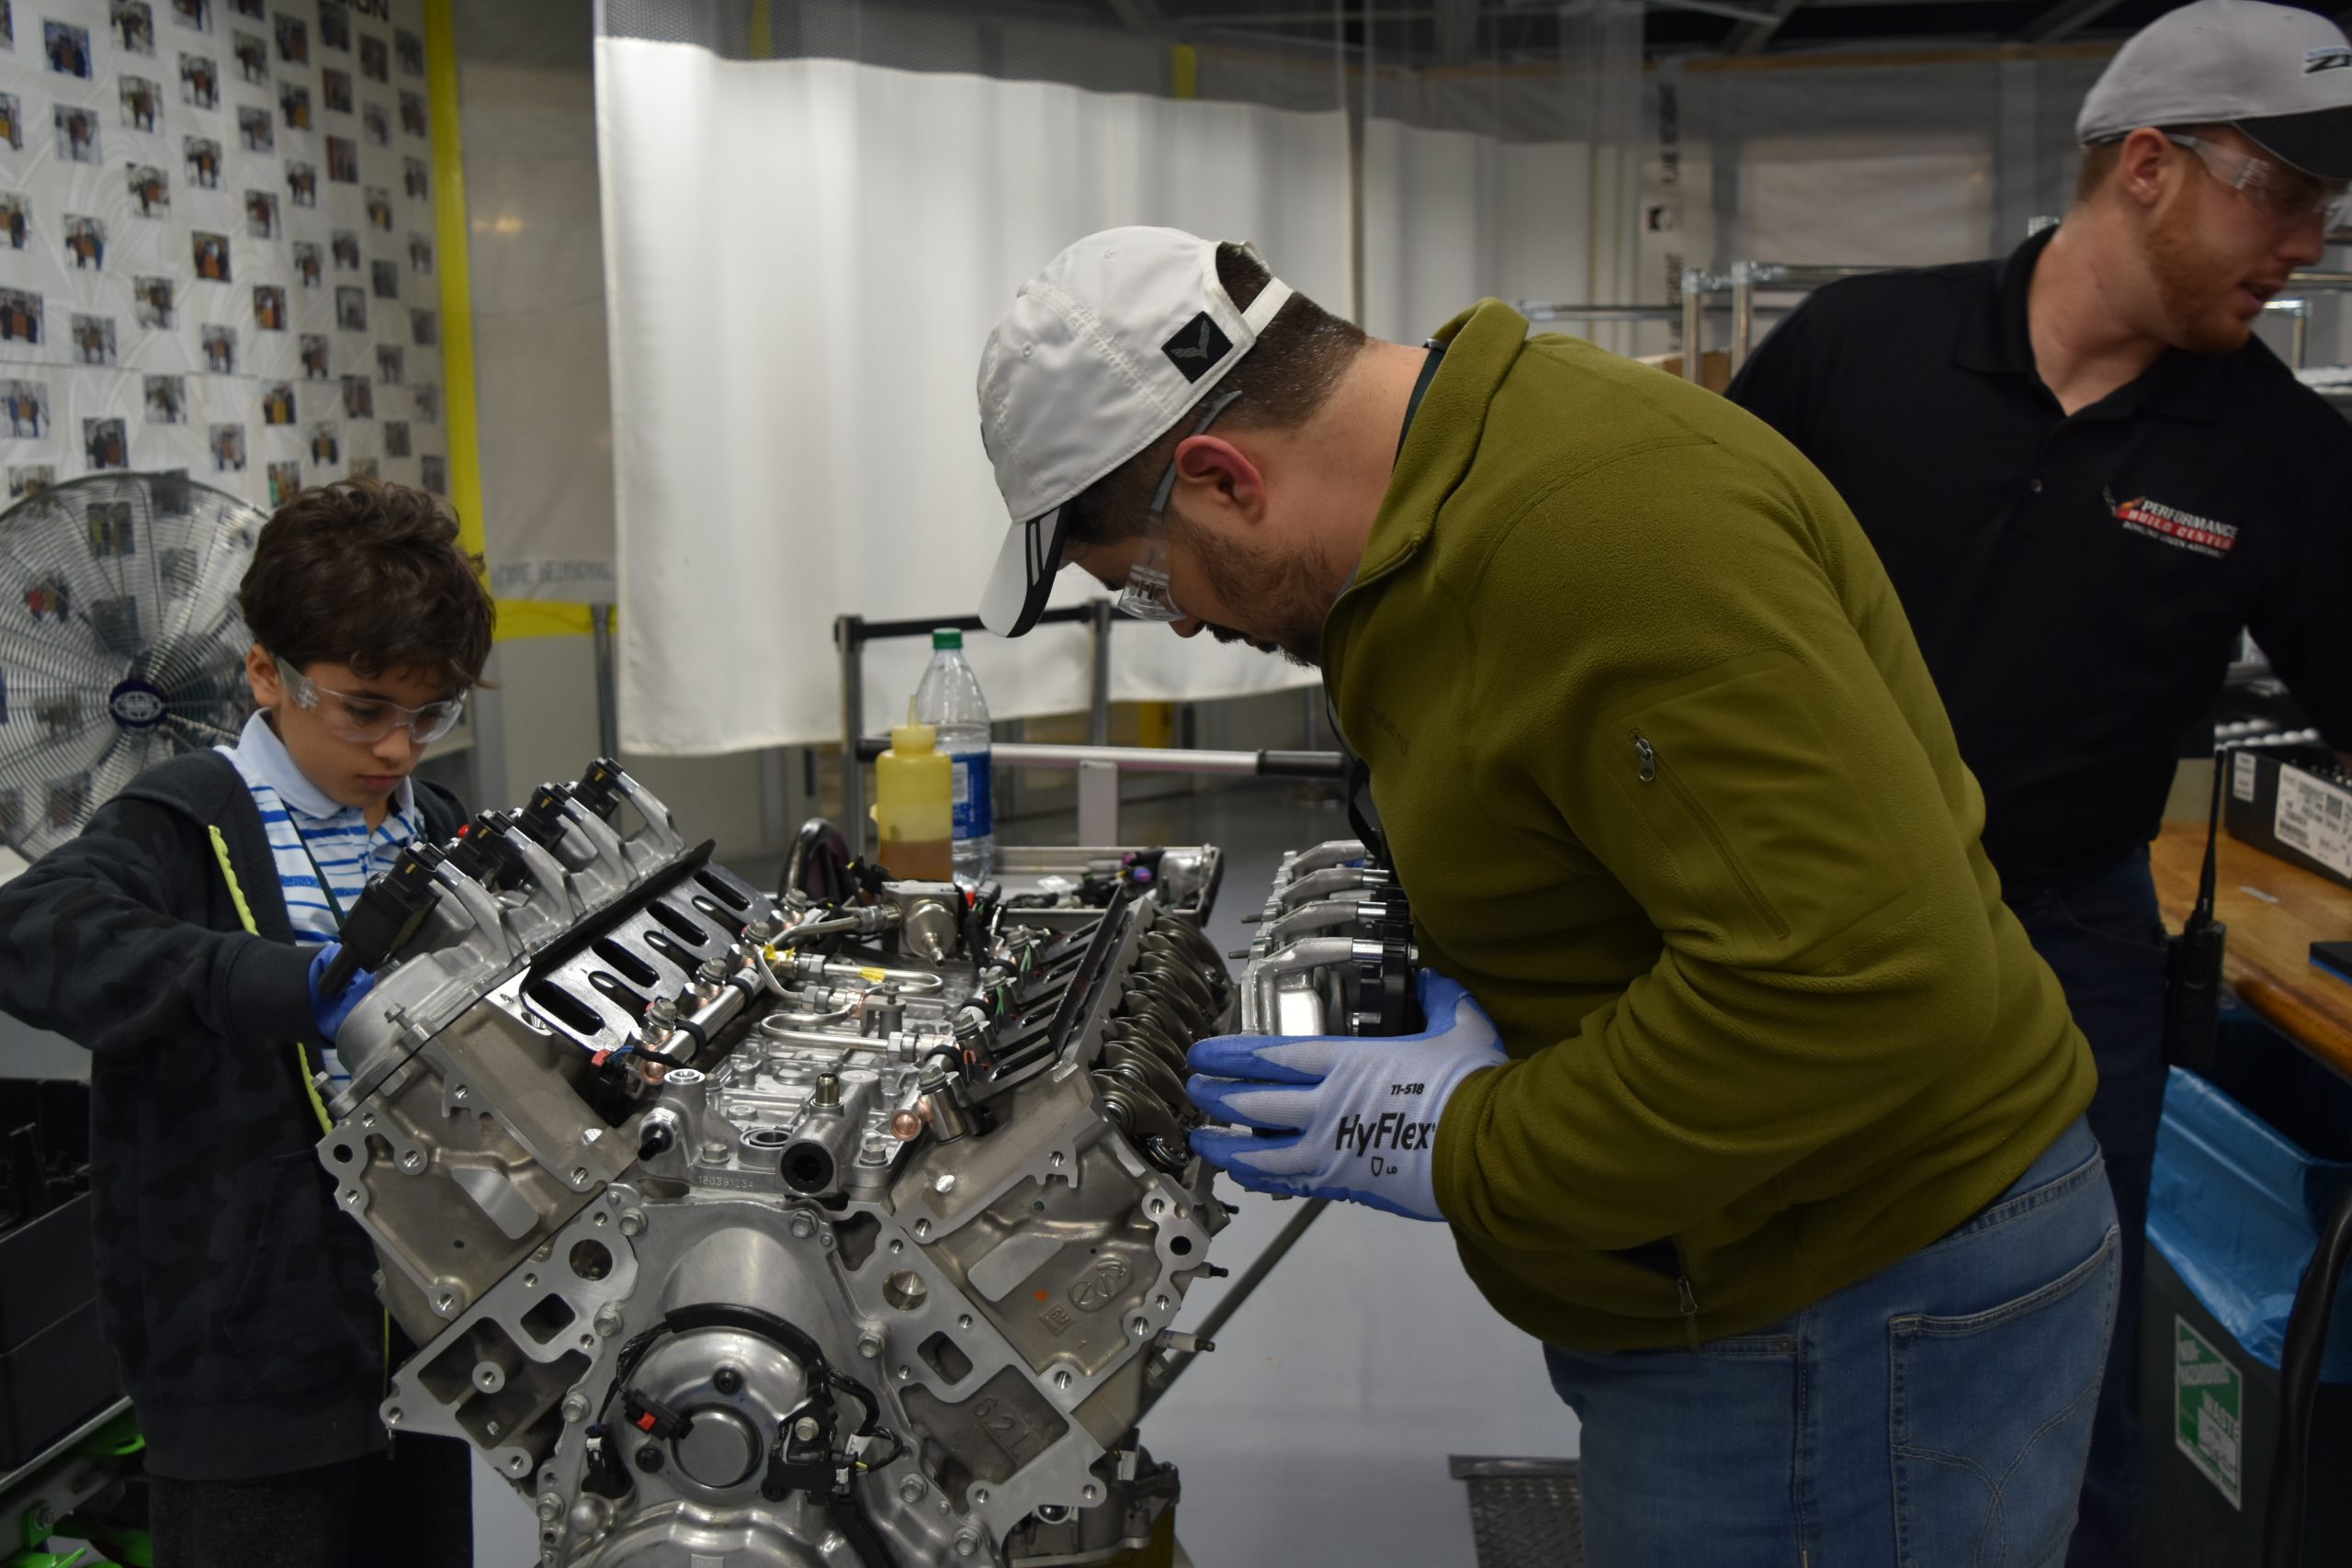
1. Picking our block, mounting it on the stand, and walking through the day’s checklist with our expert guide would be first on our list.


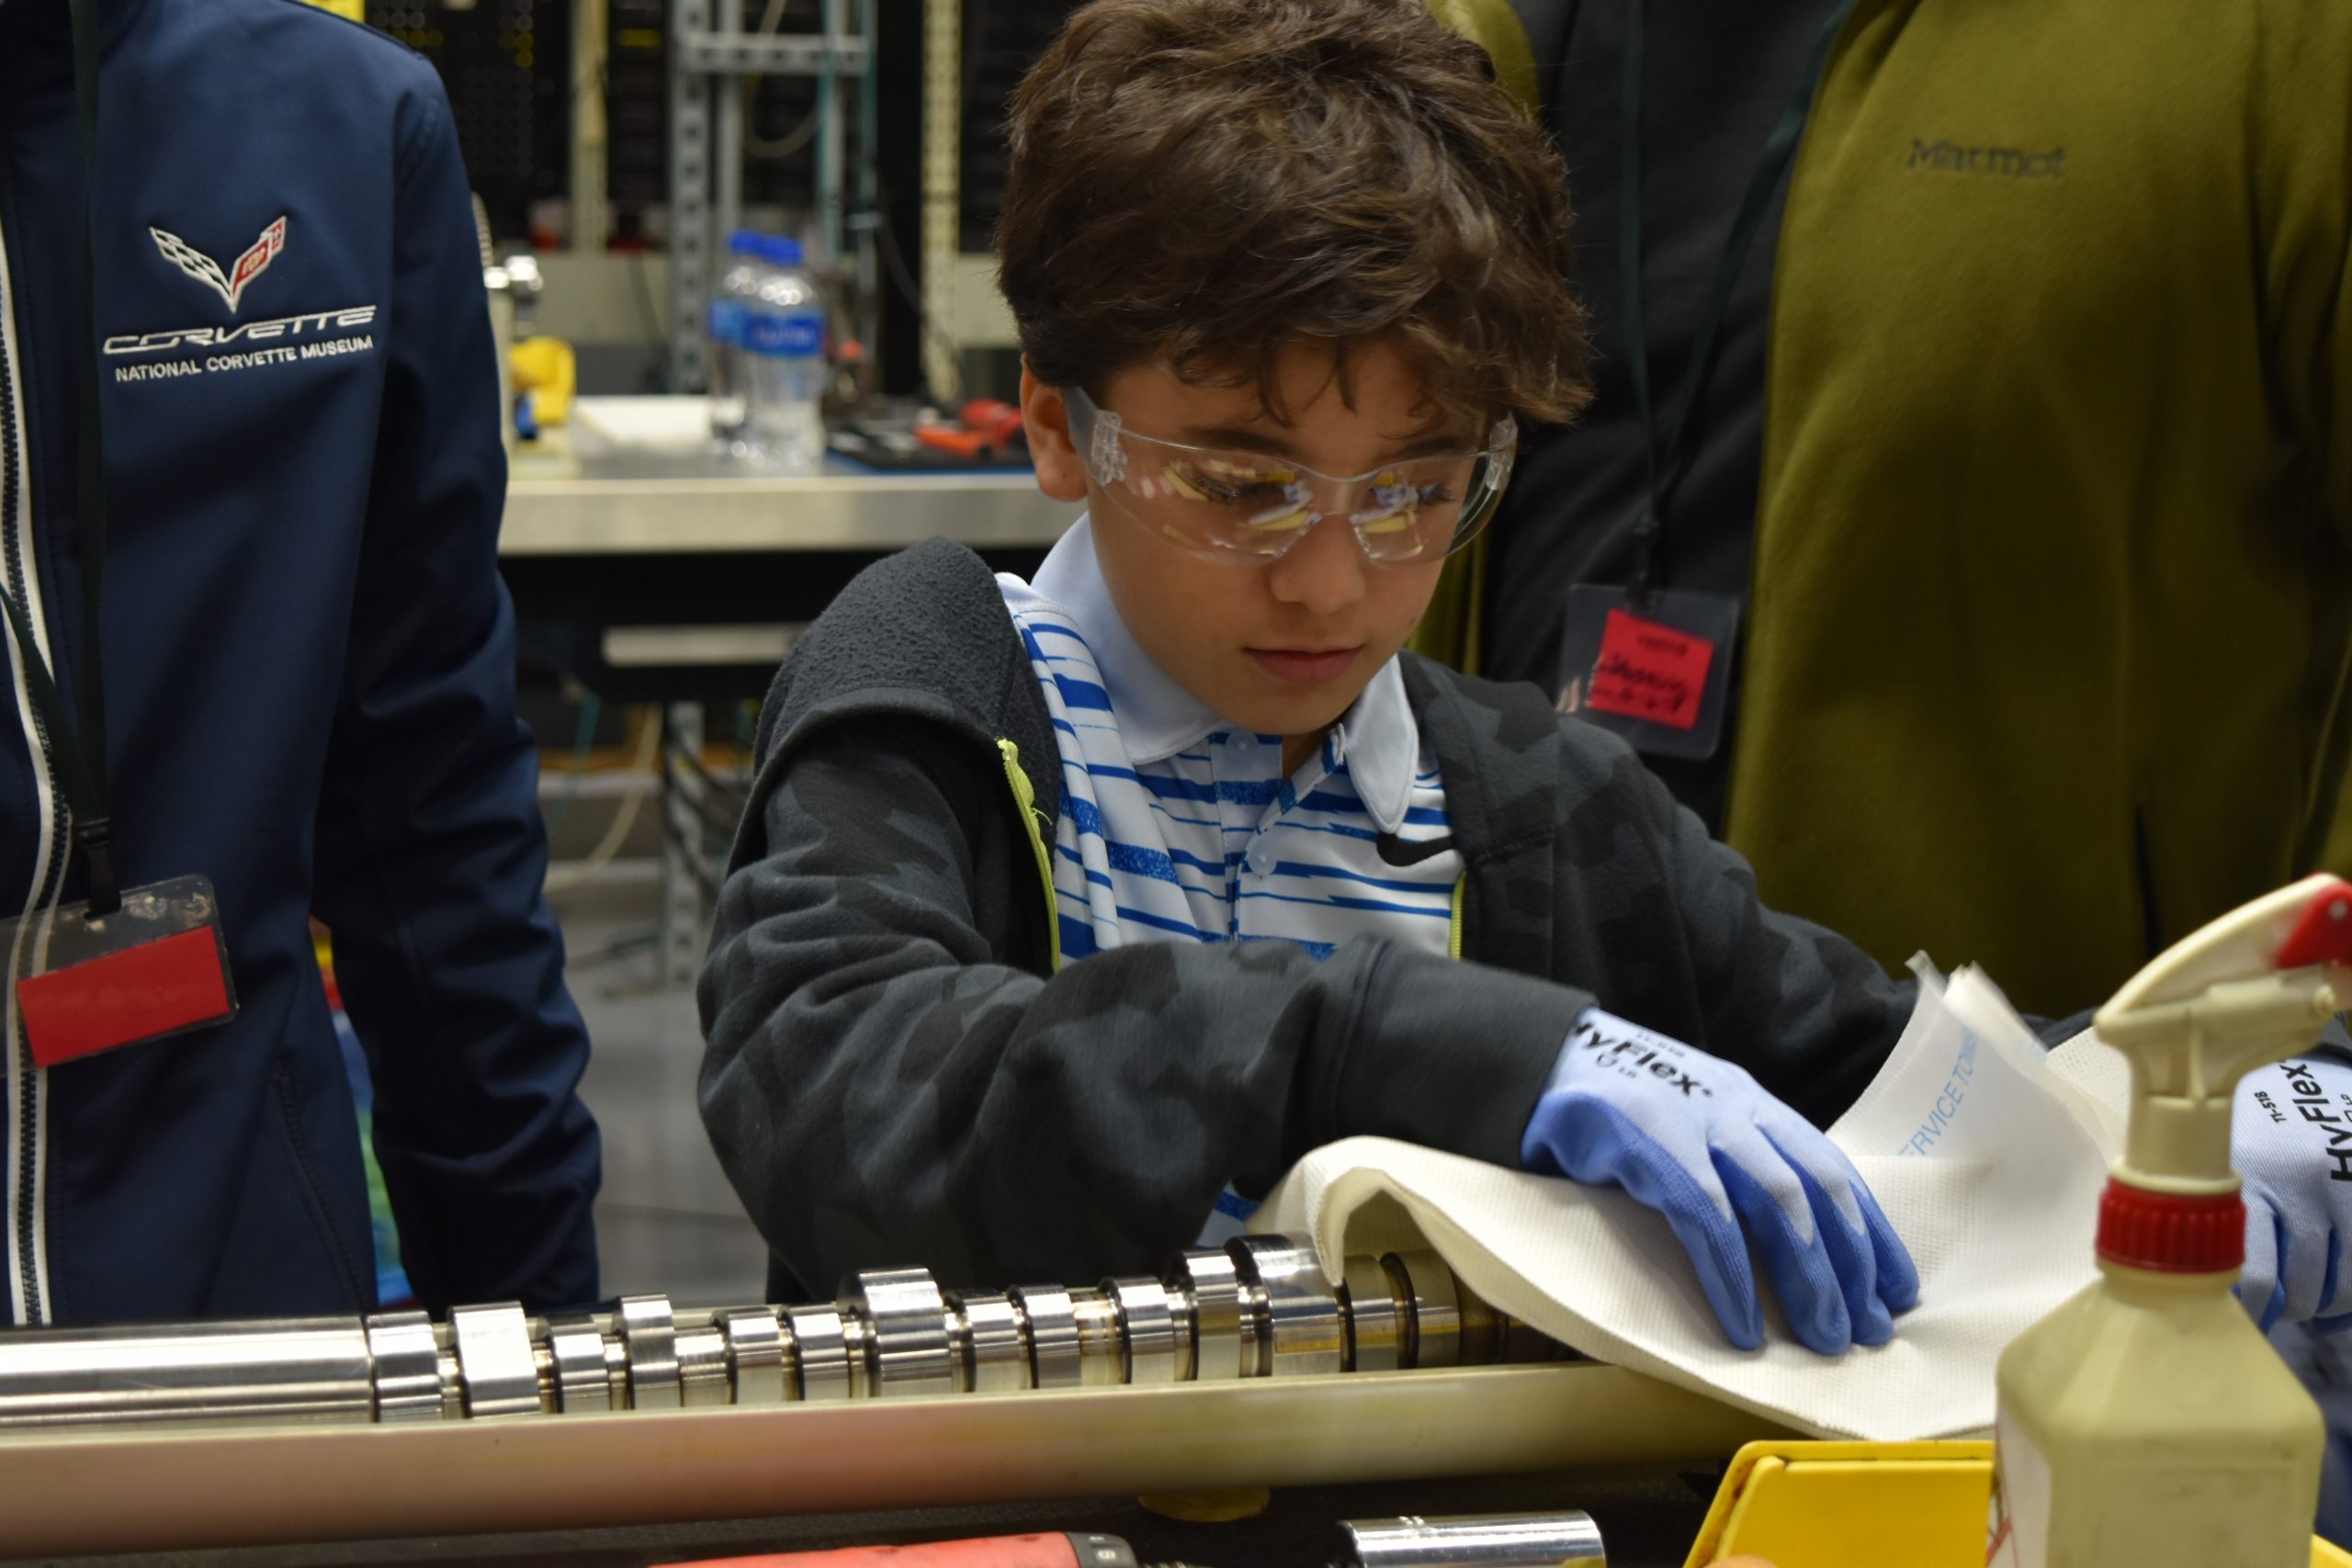
2. With our plan in place, we started to do the real work. First, prepare and install the camshaft. Then, prep the engine for the eventual placement of the crankshaft.

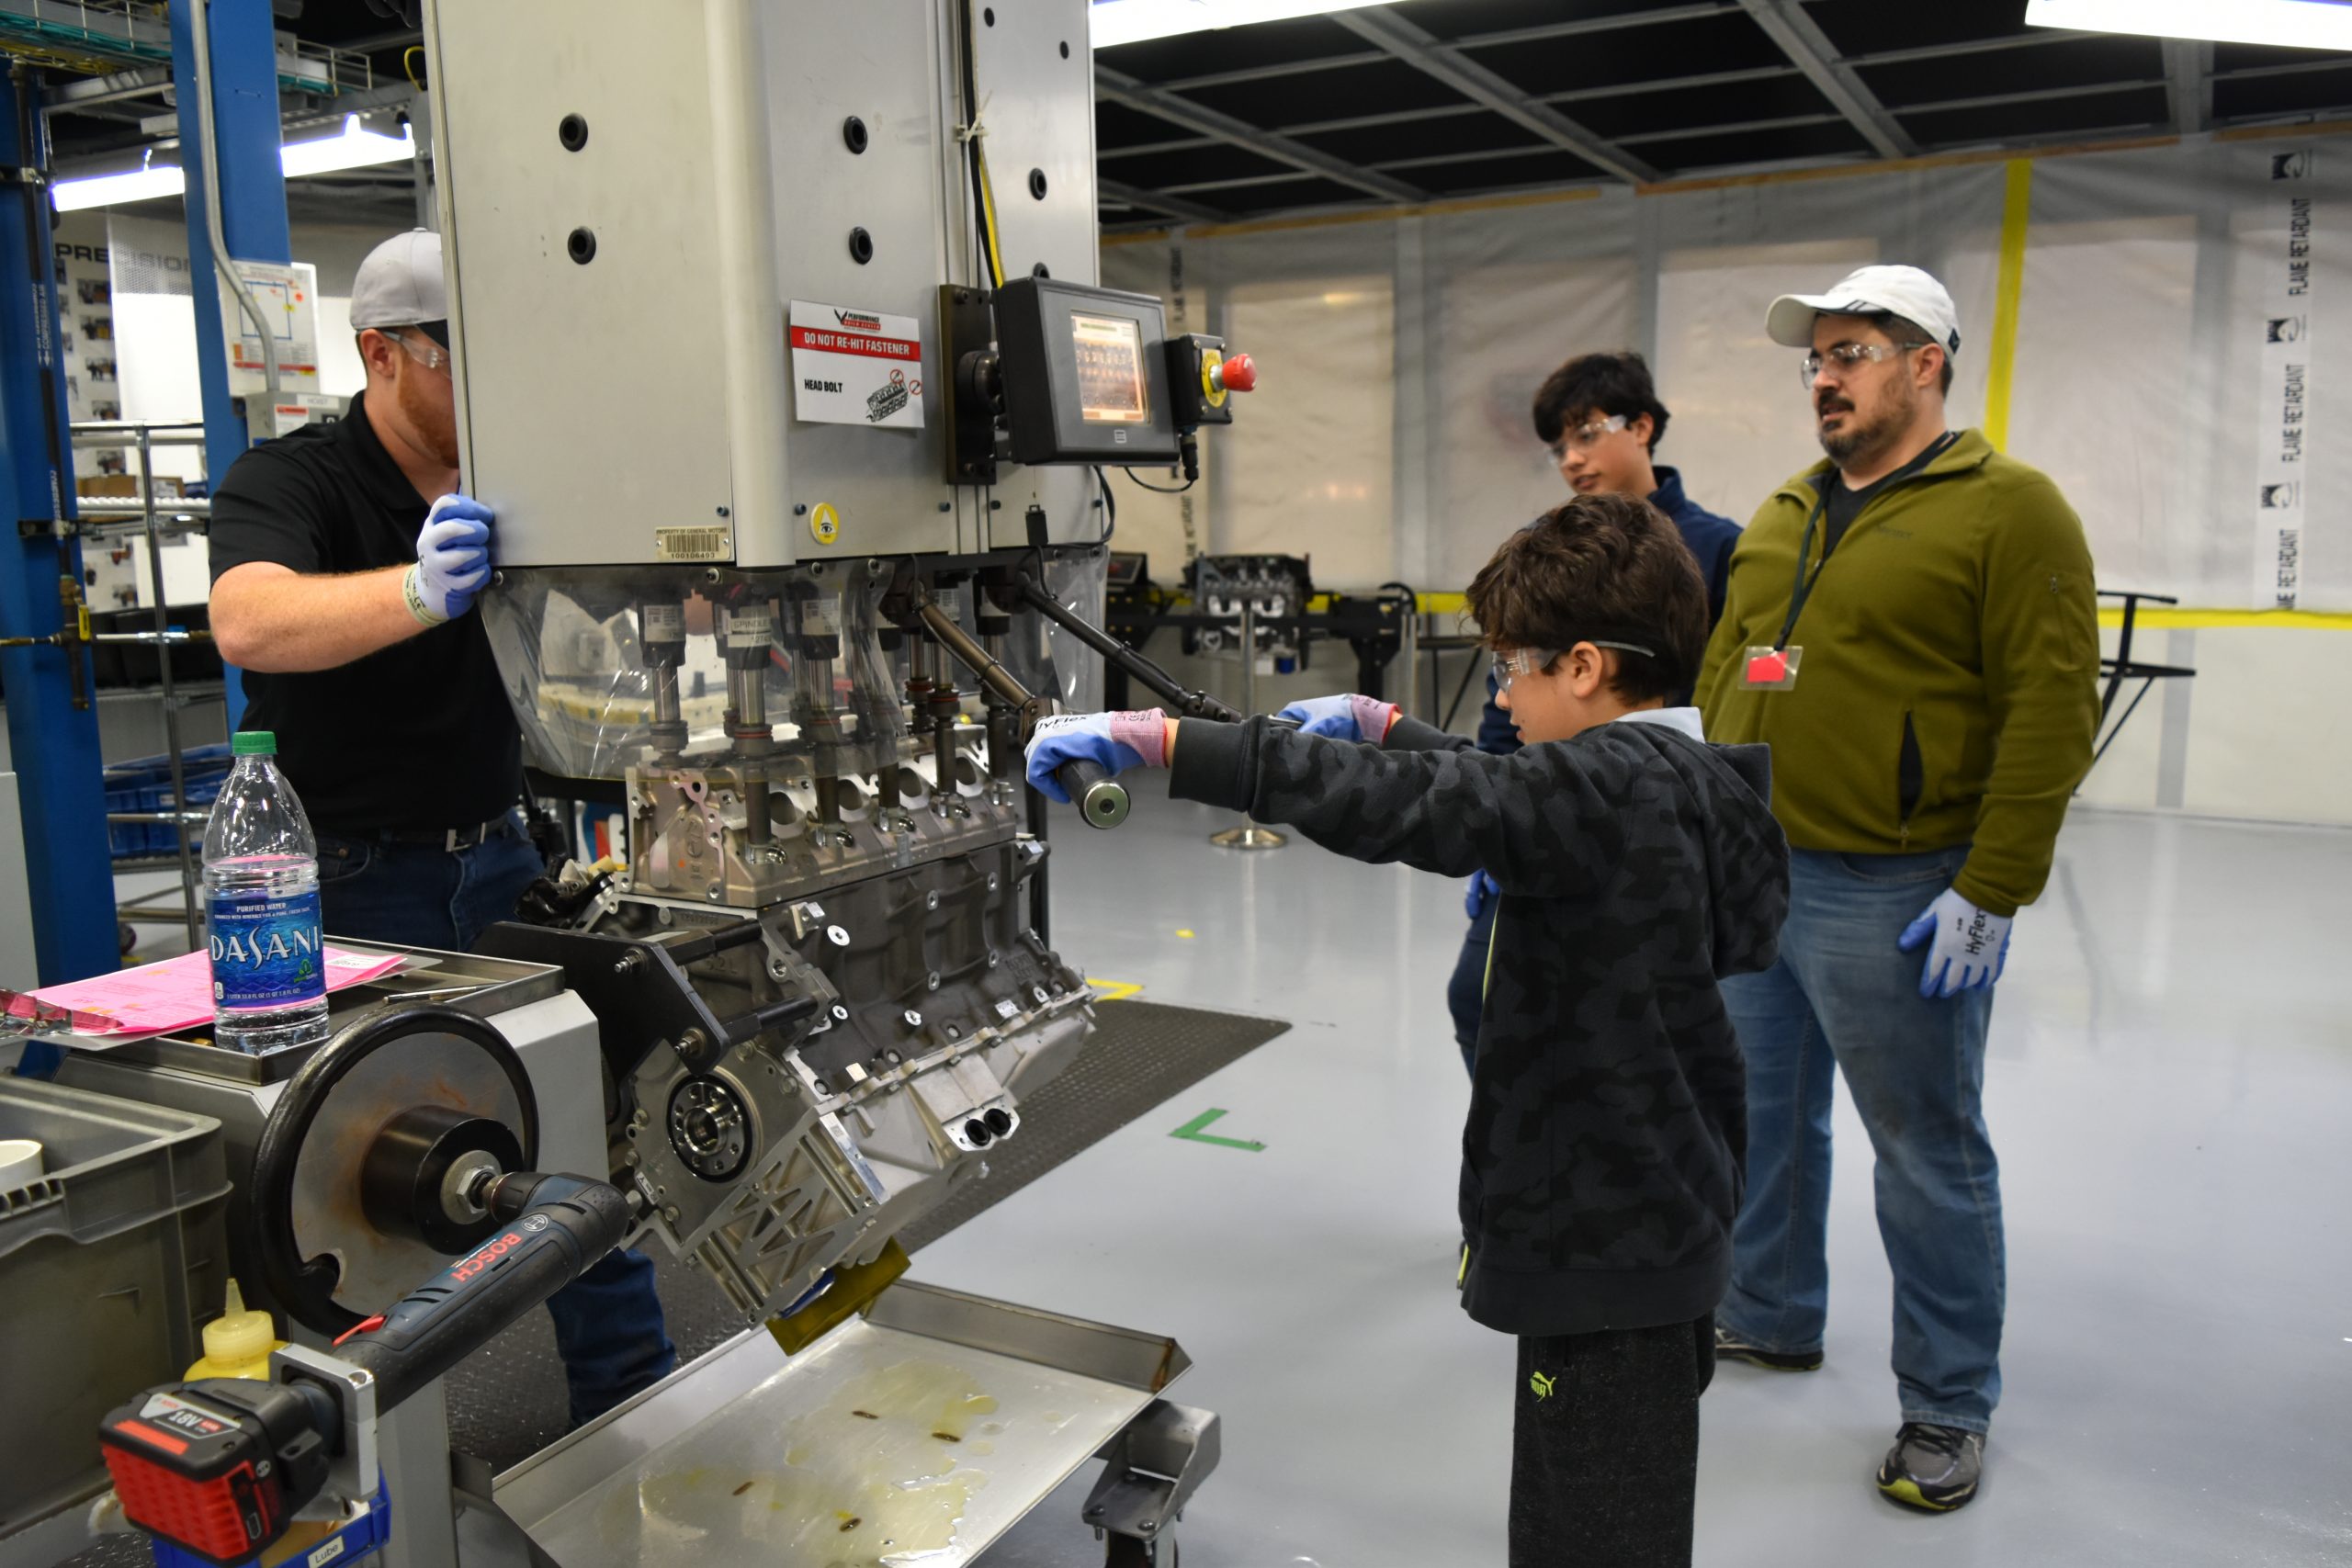
3. Install the “url” squirters as they say in Bowling Green, install the bearings, and pass our first quality check!
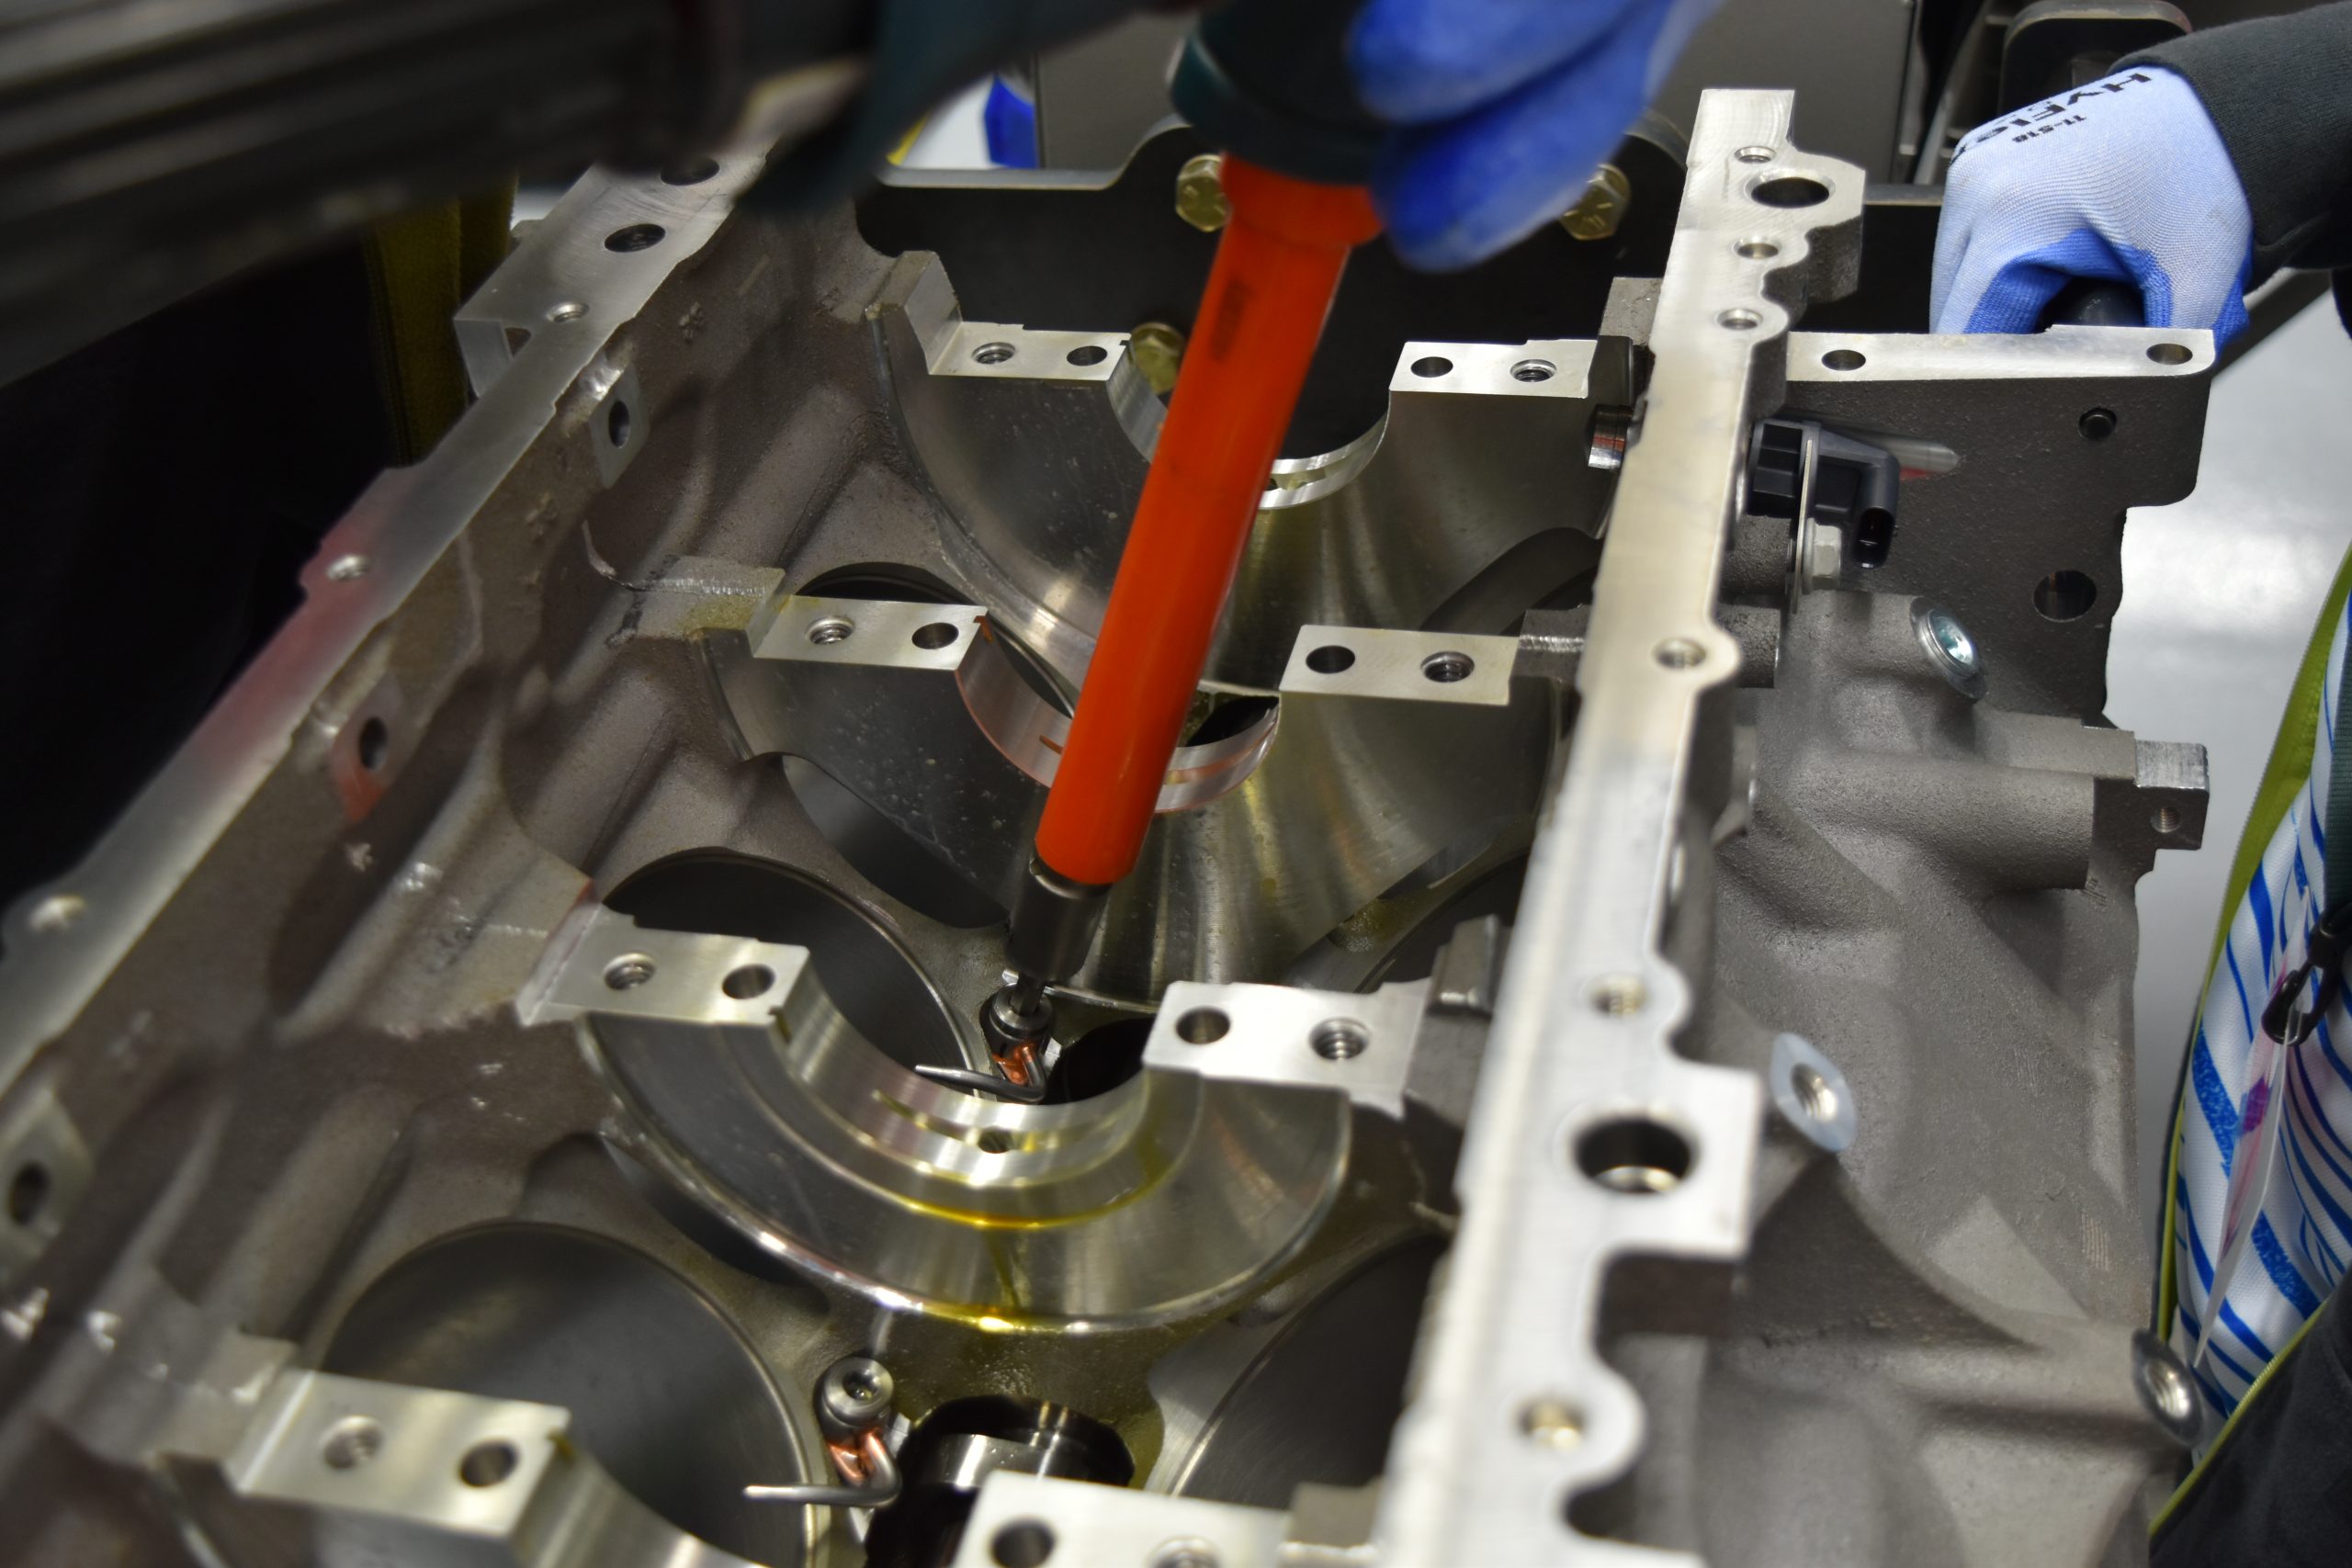
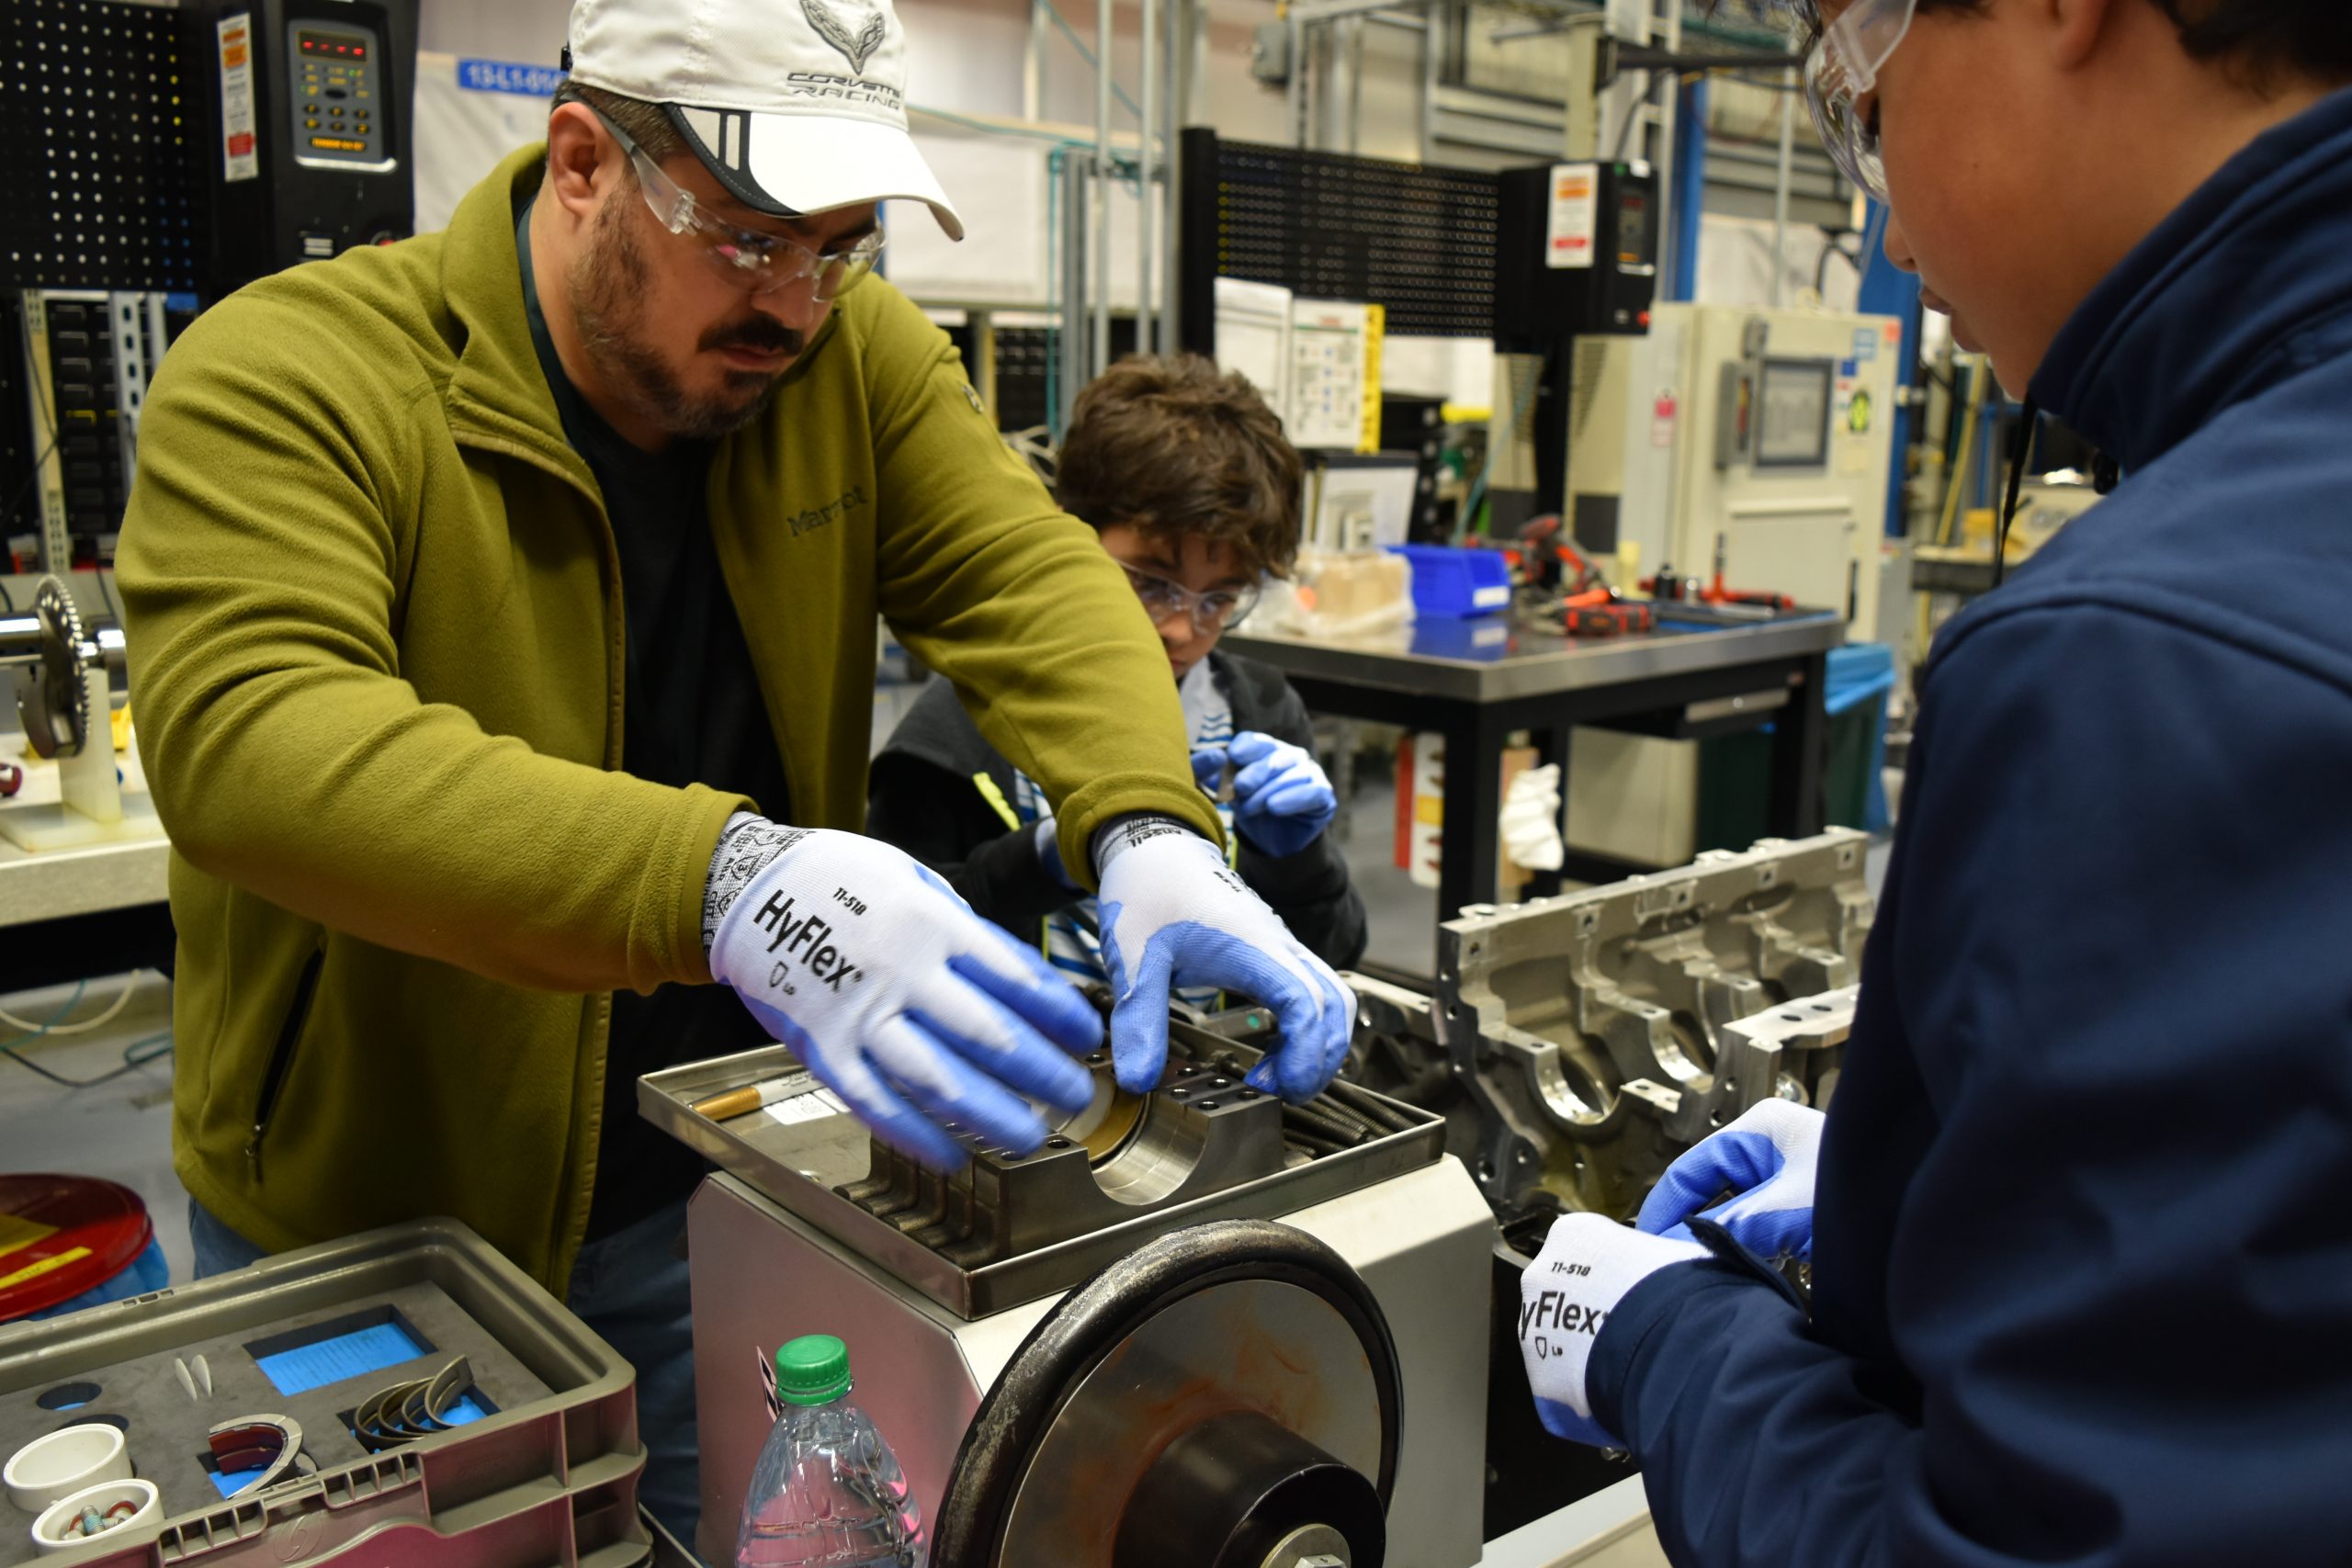

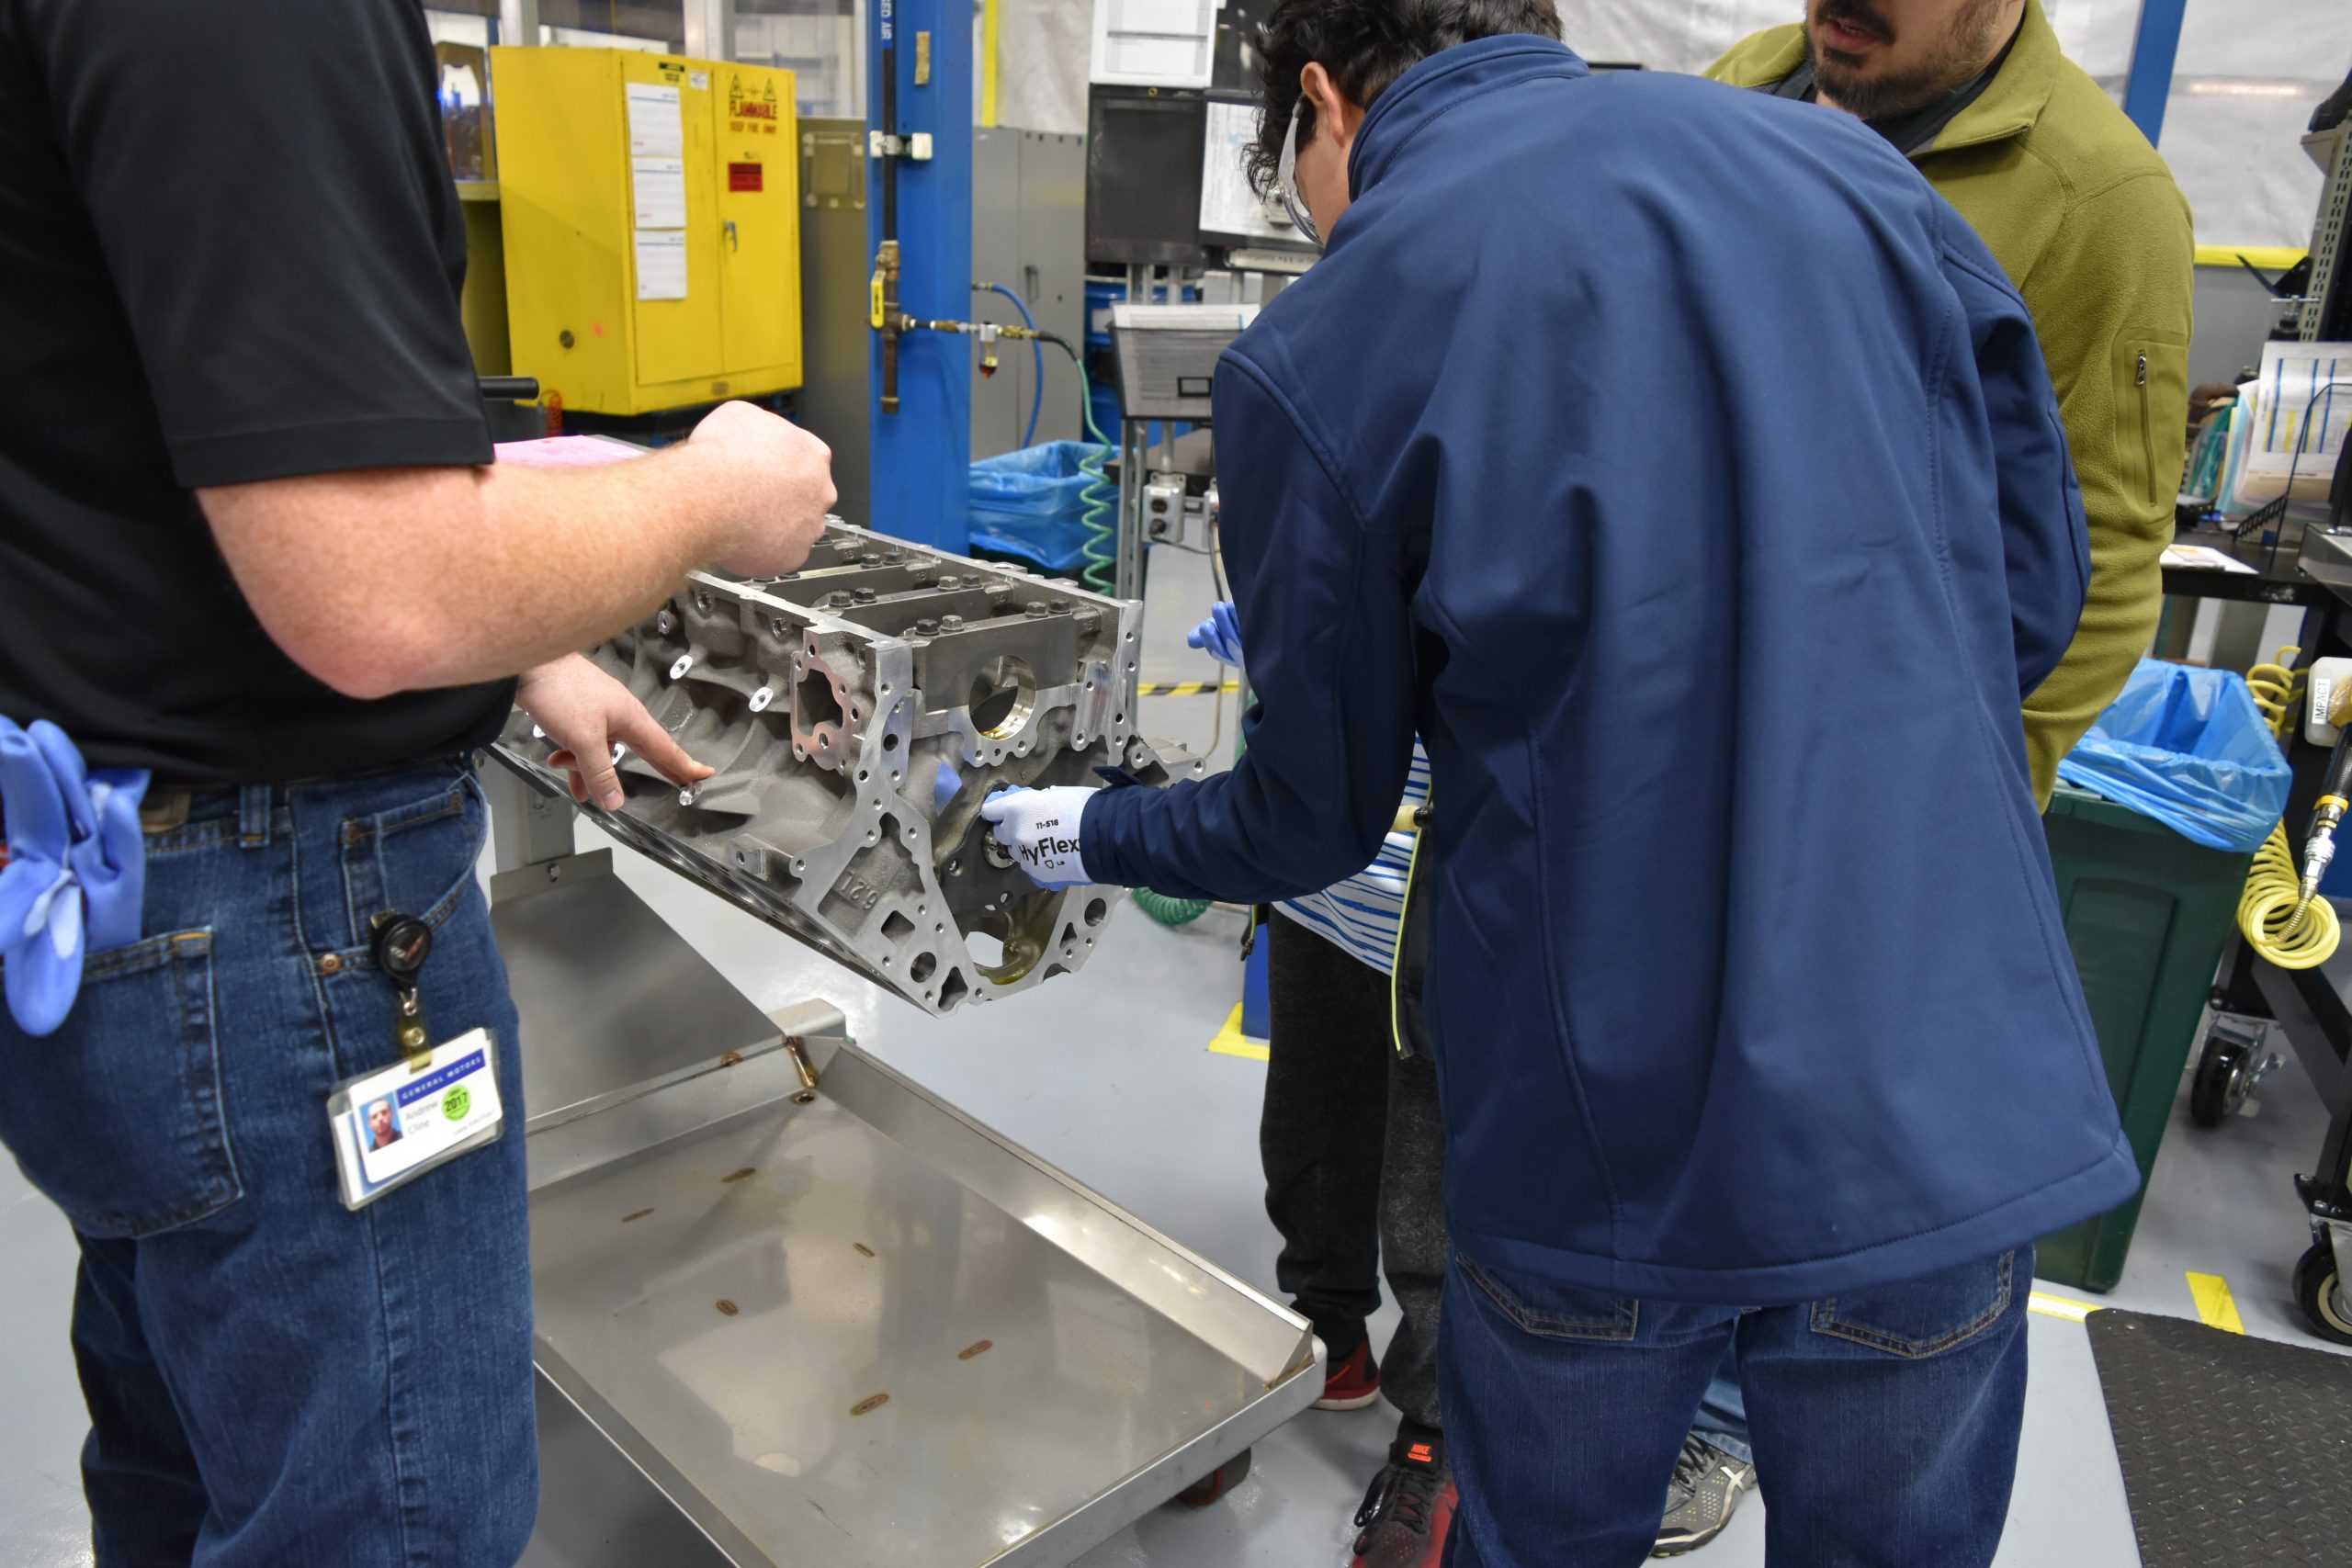
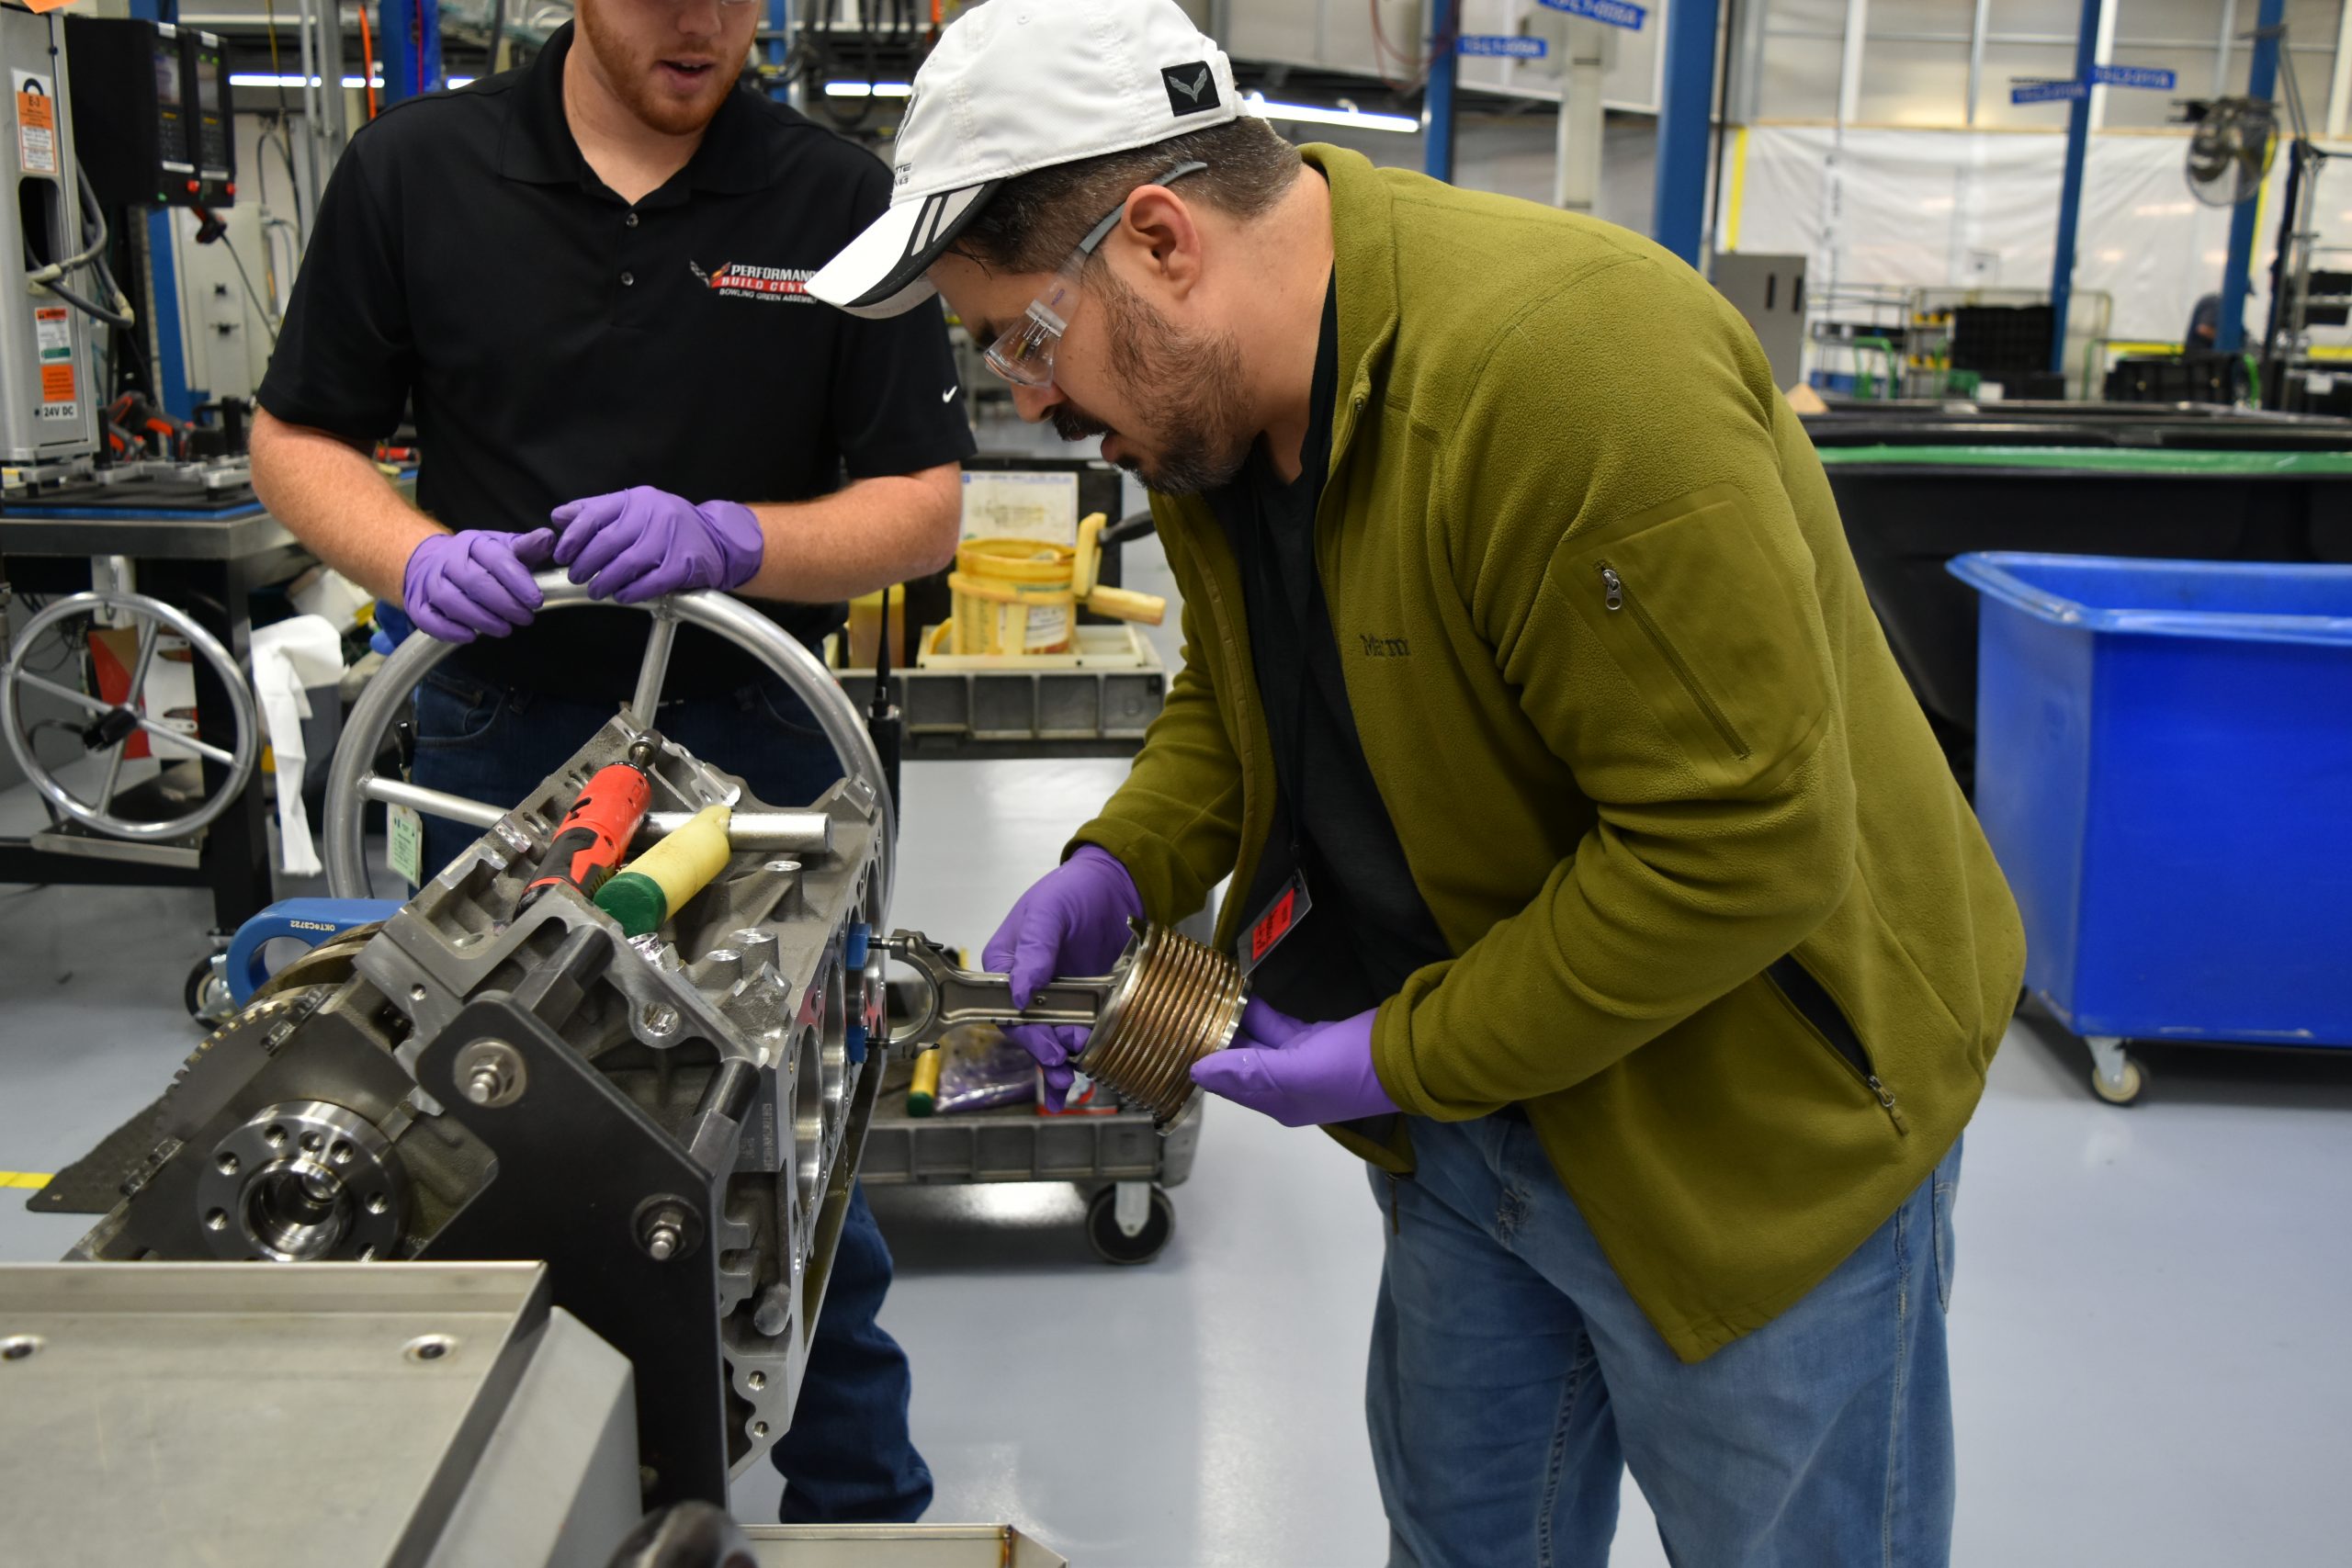
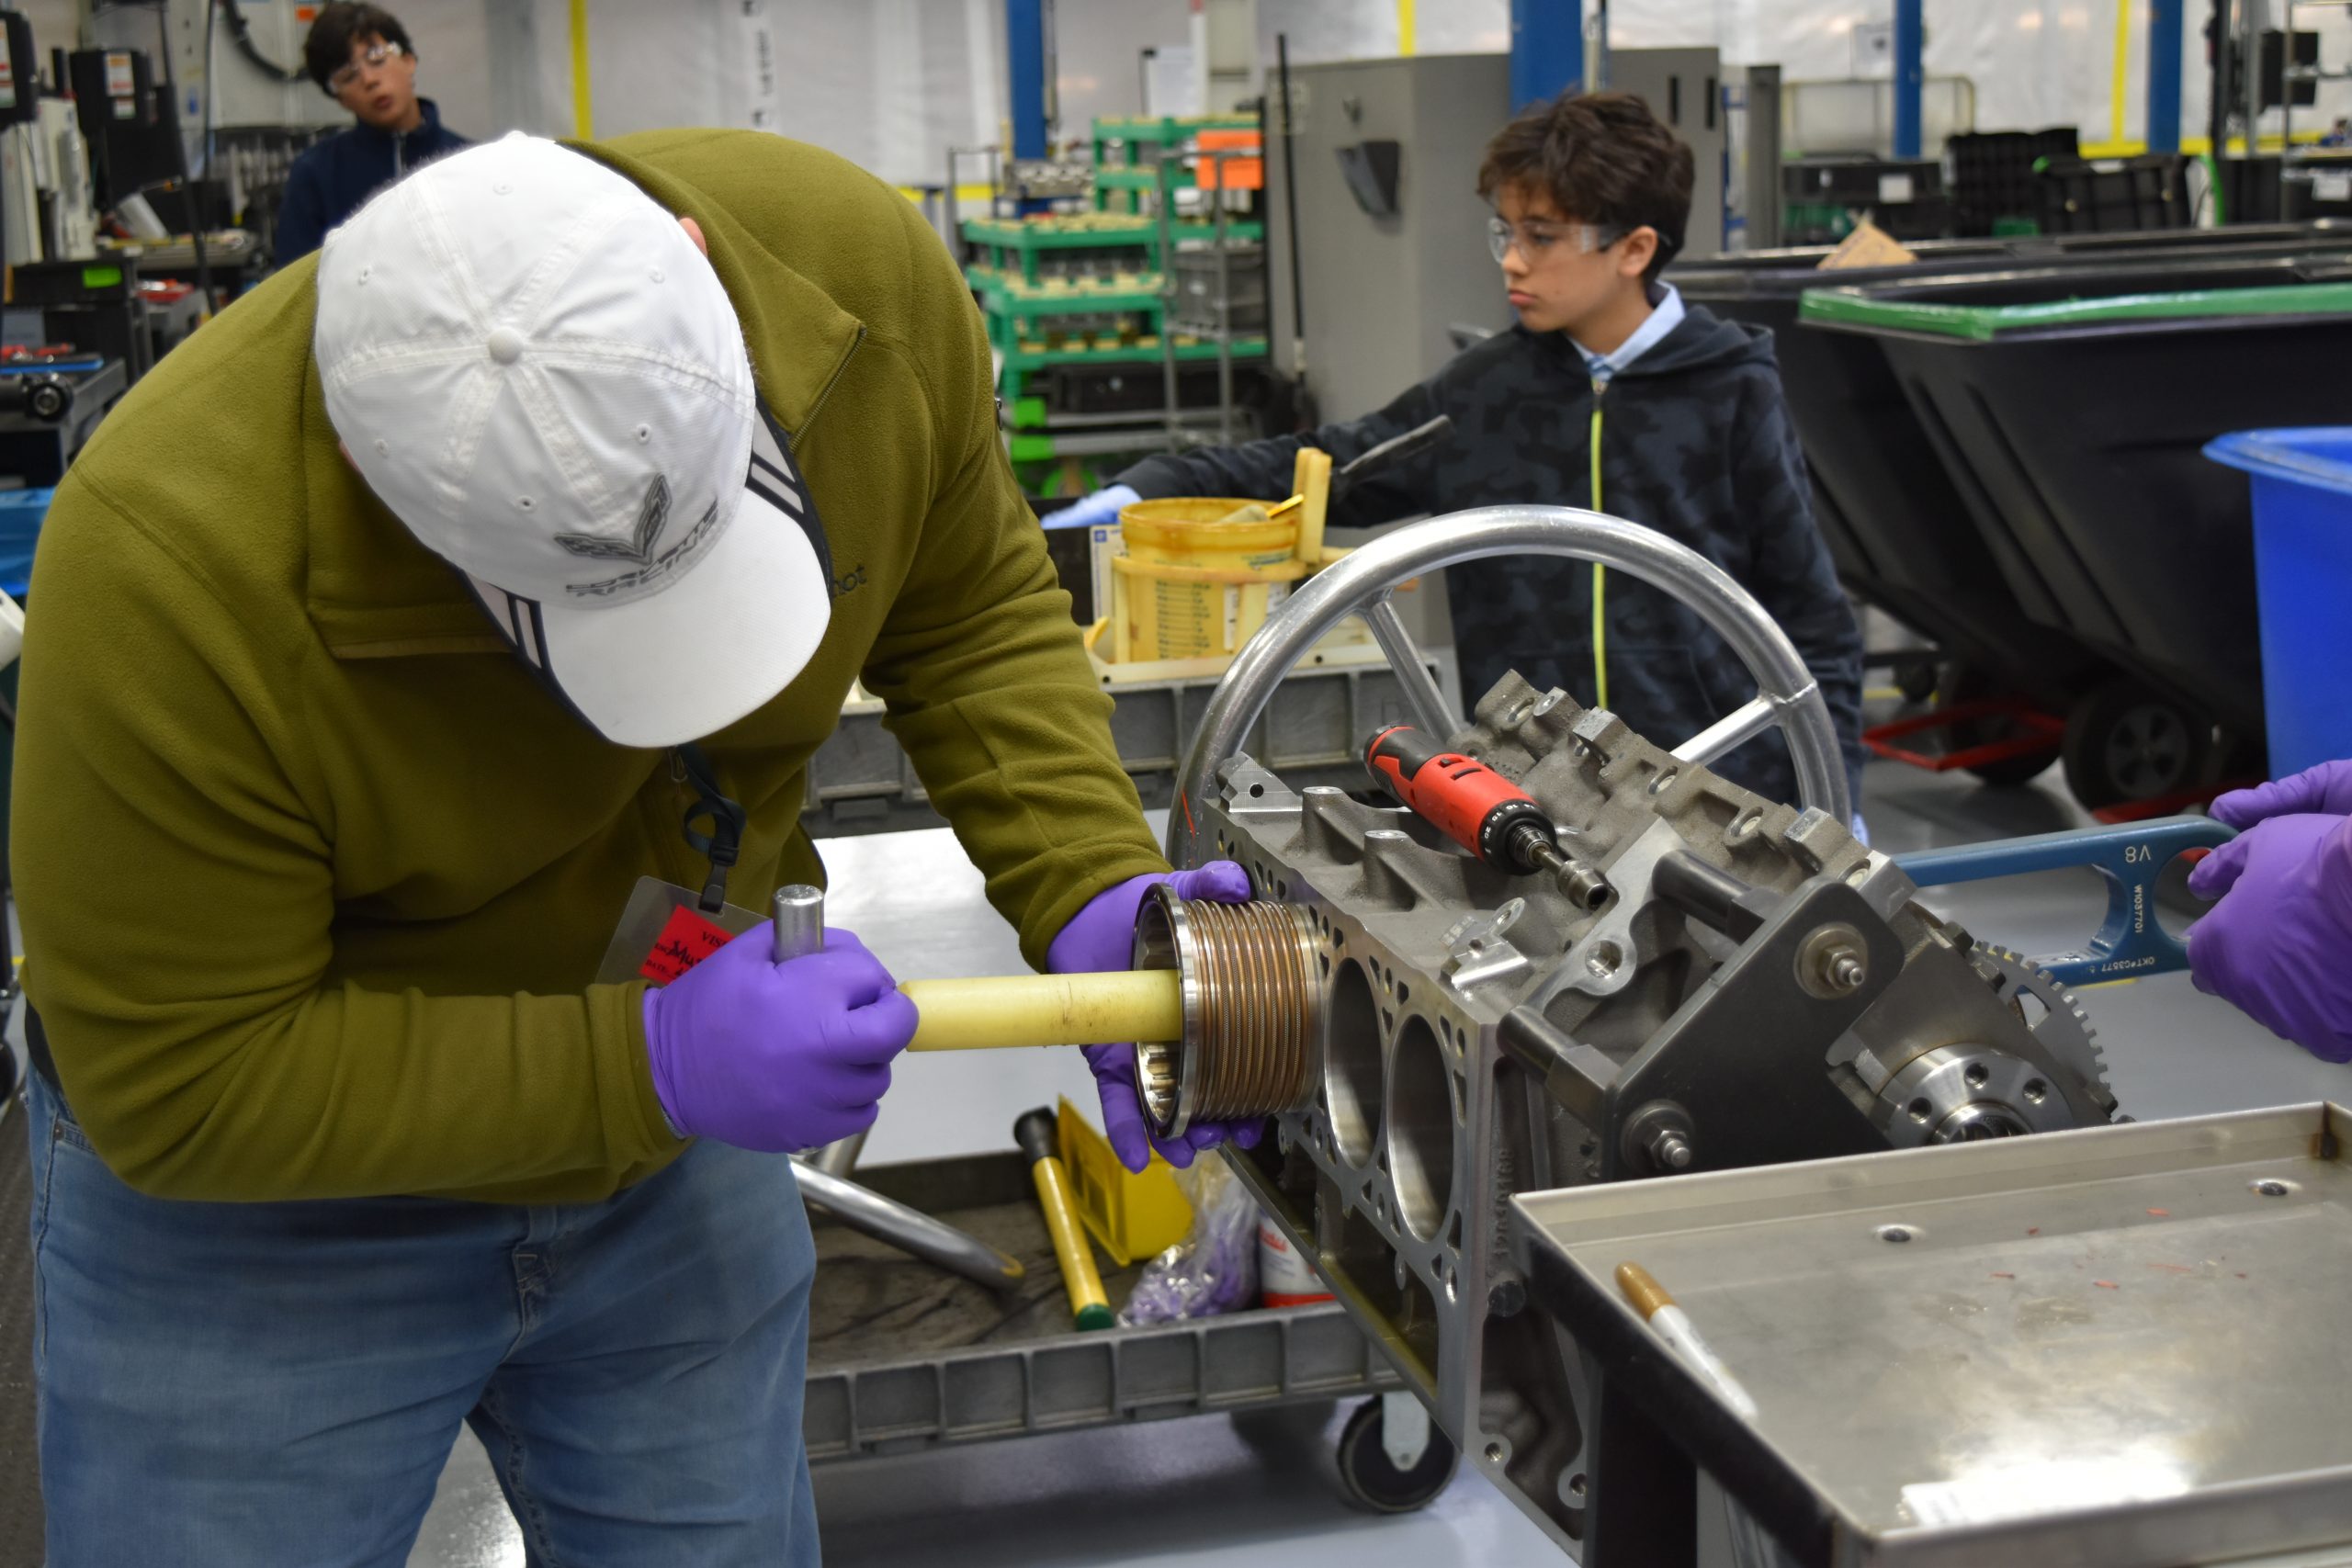
4. Url up those bearings, find our crankshaft, lower it into the block, and voila.

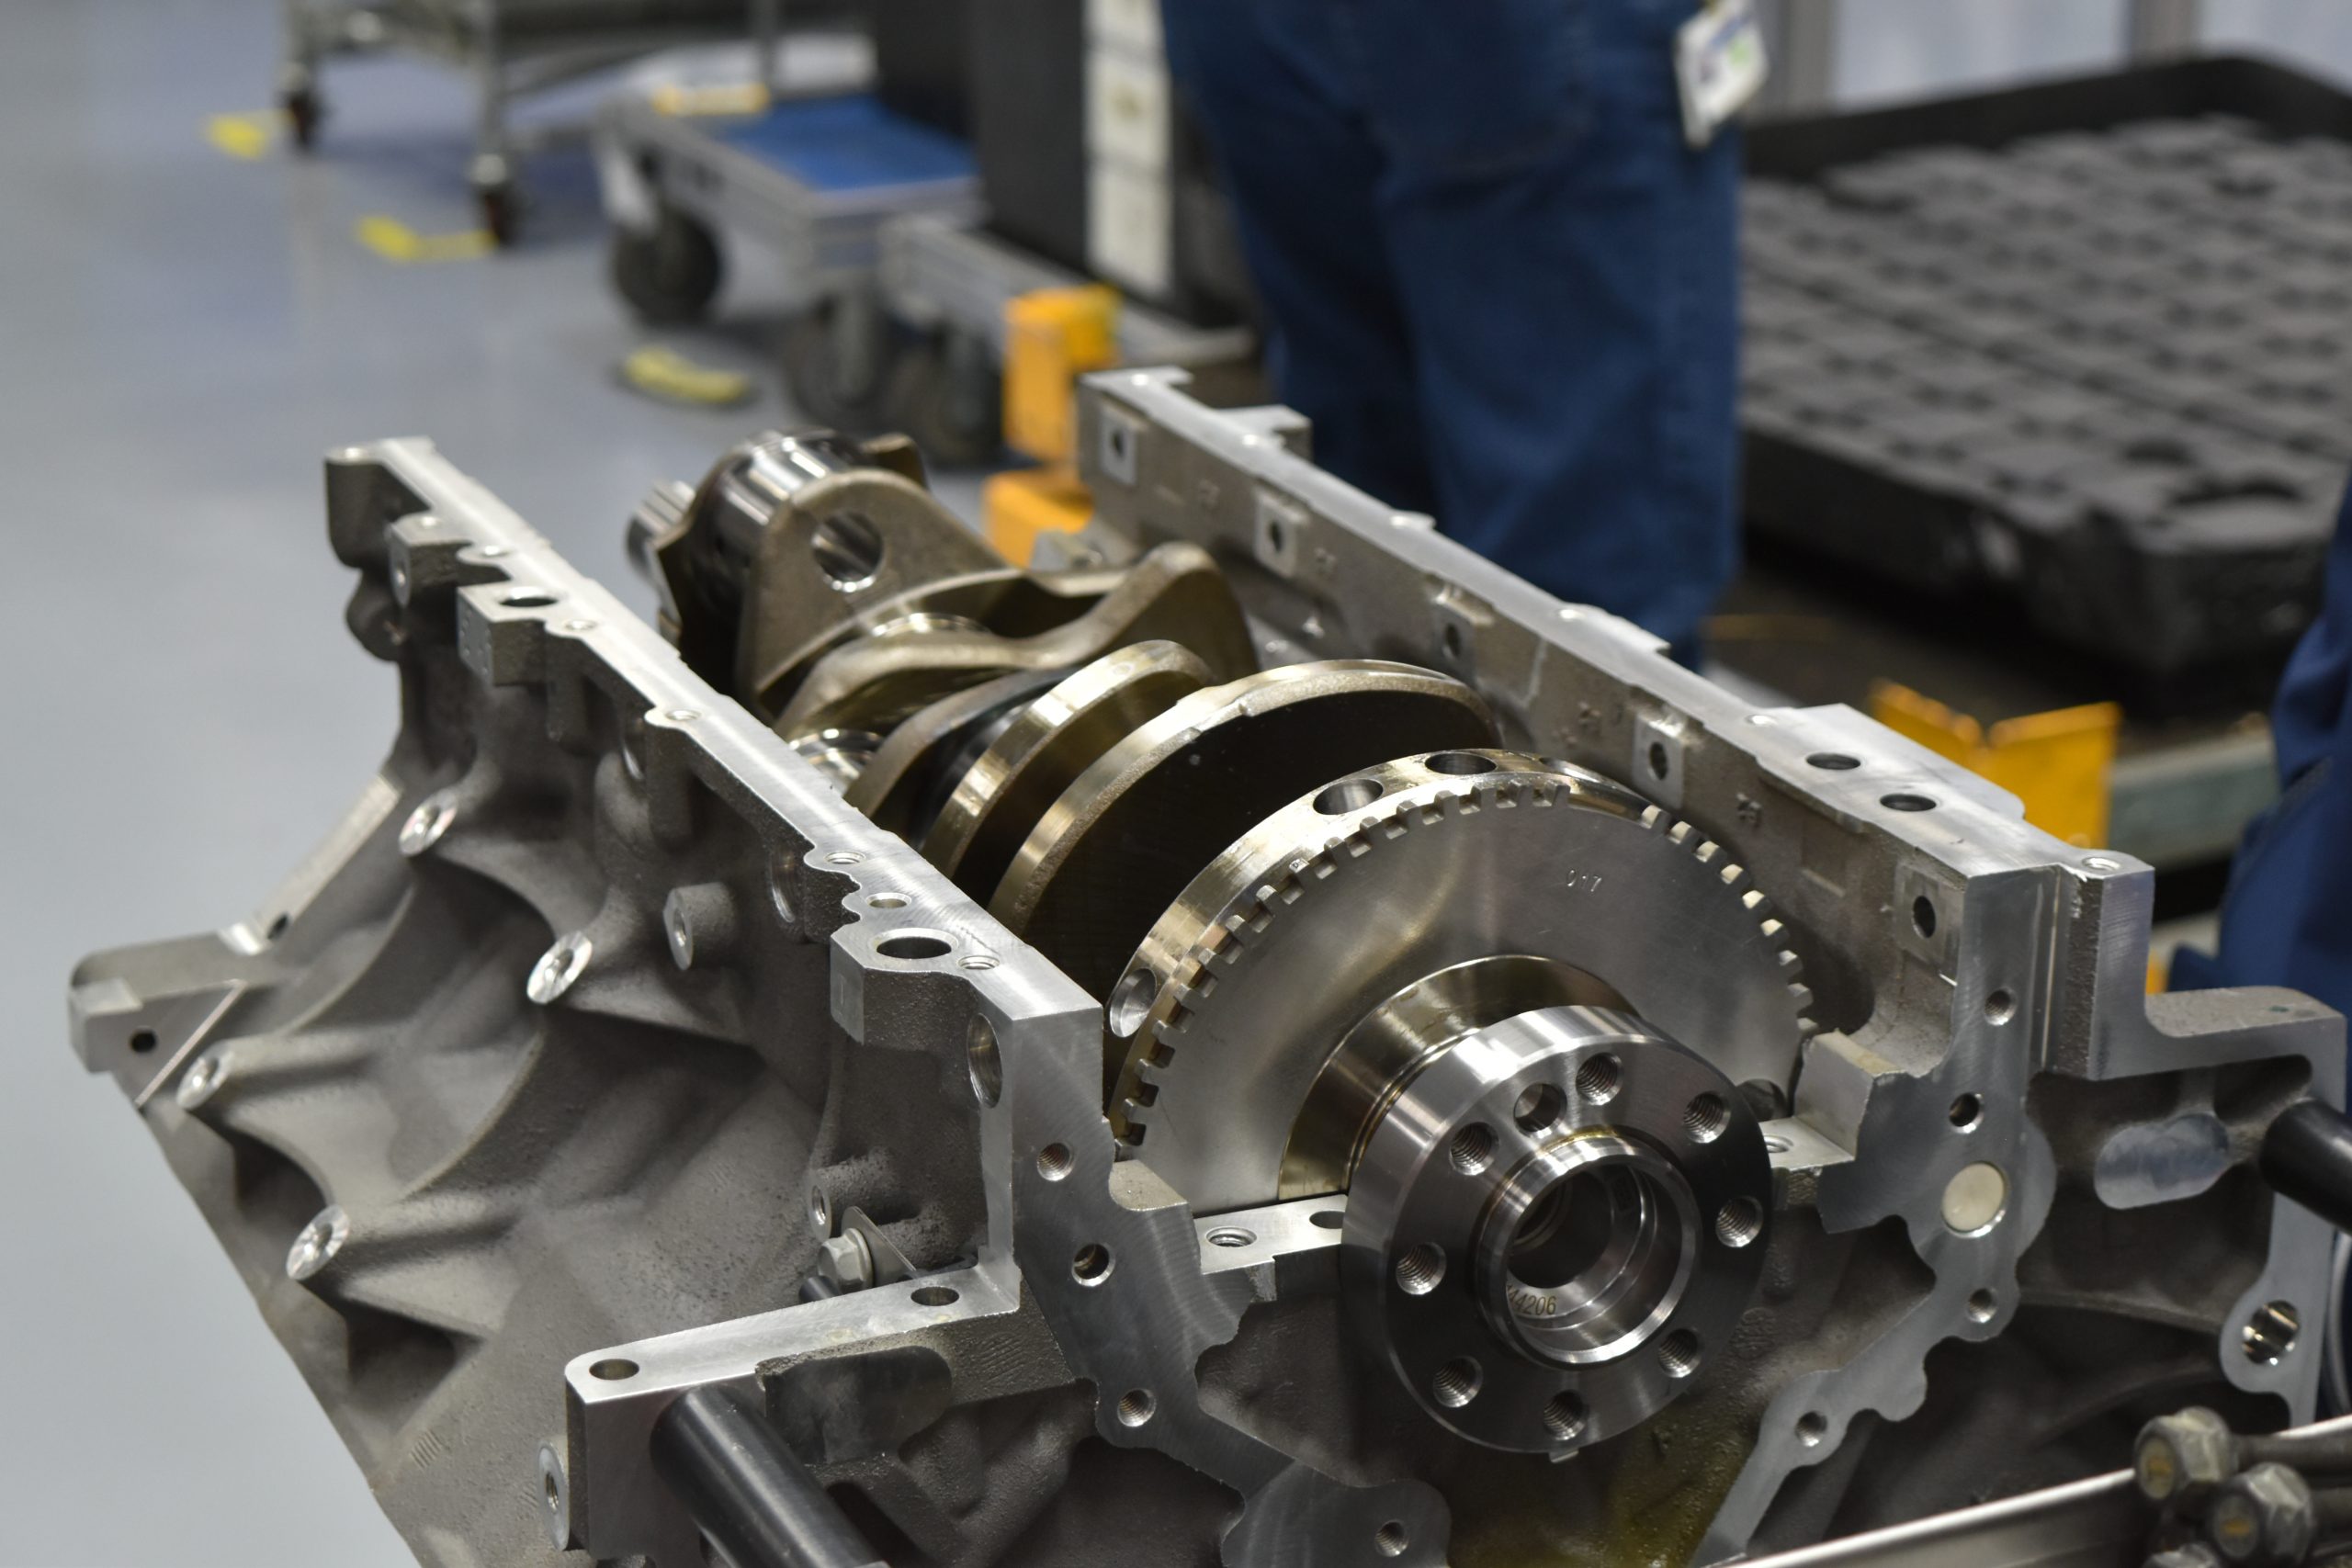
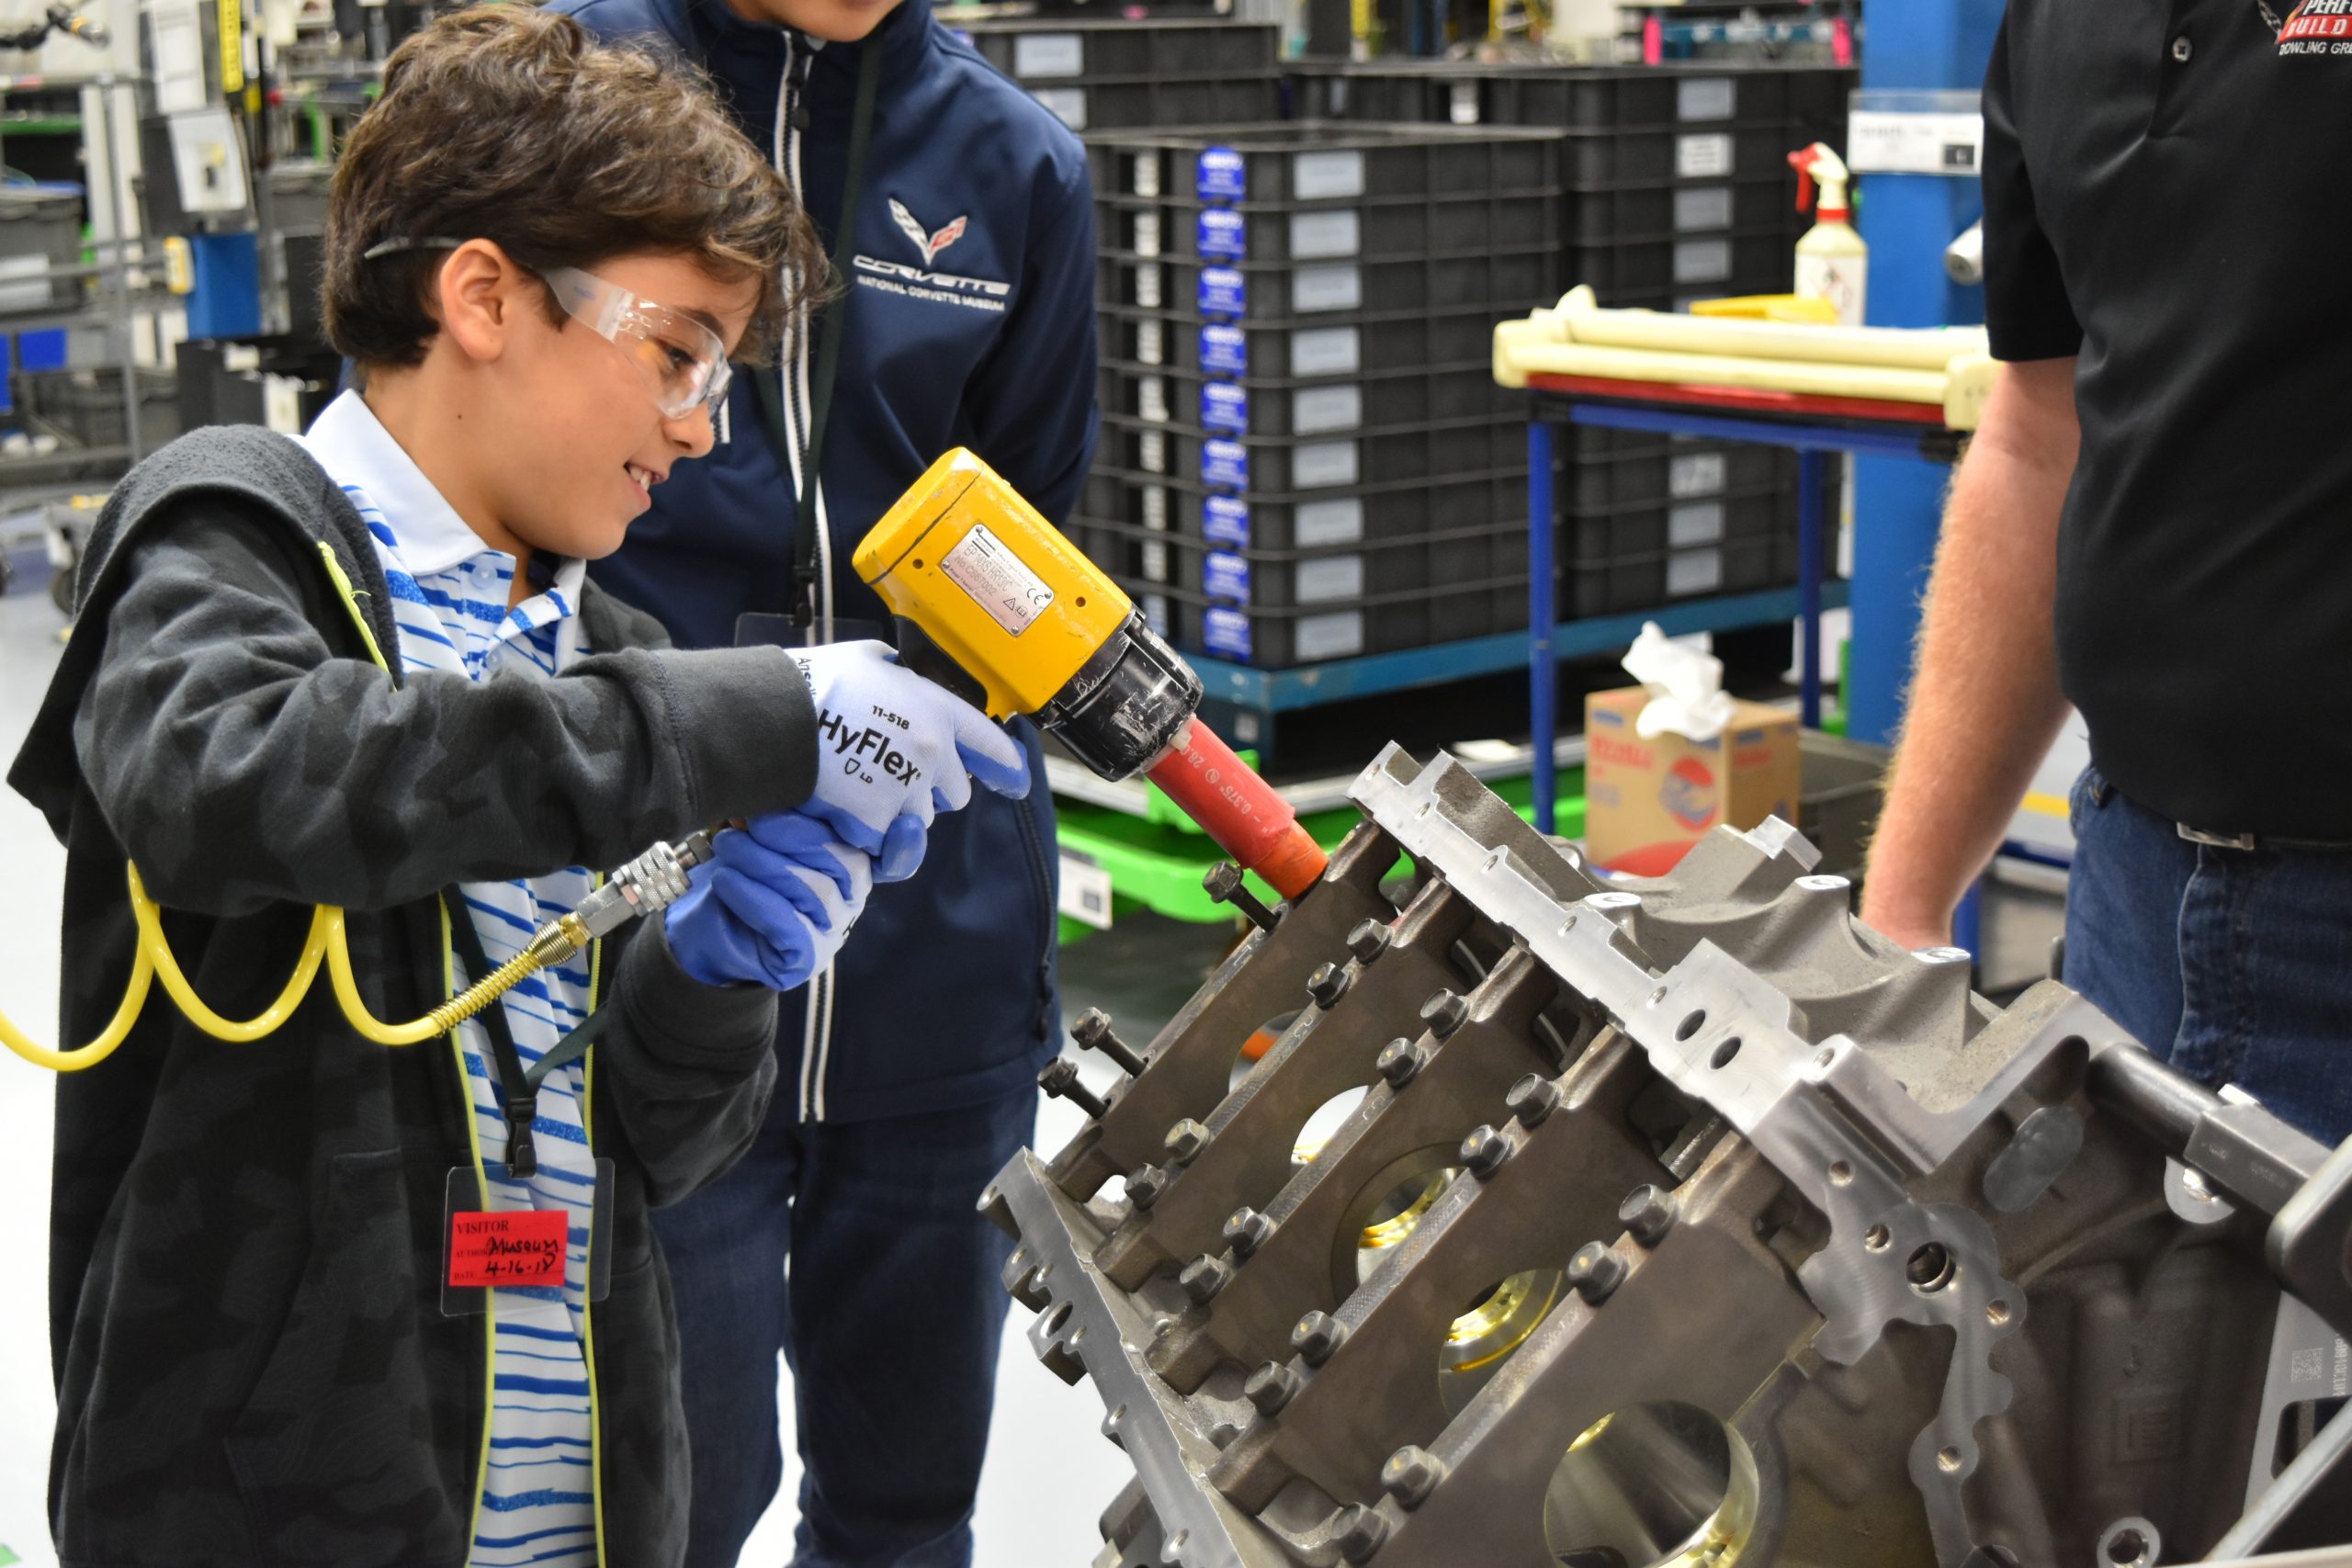
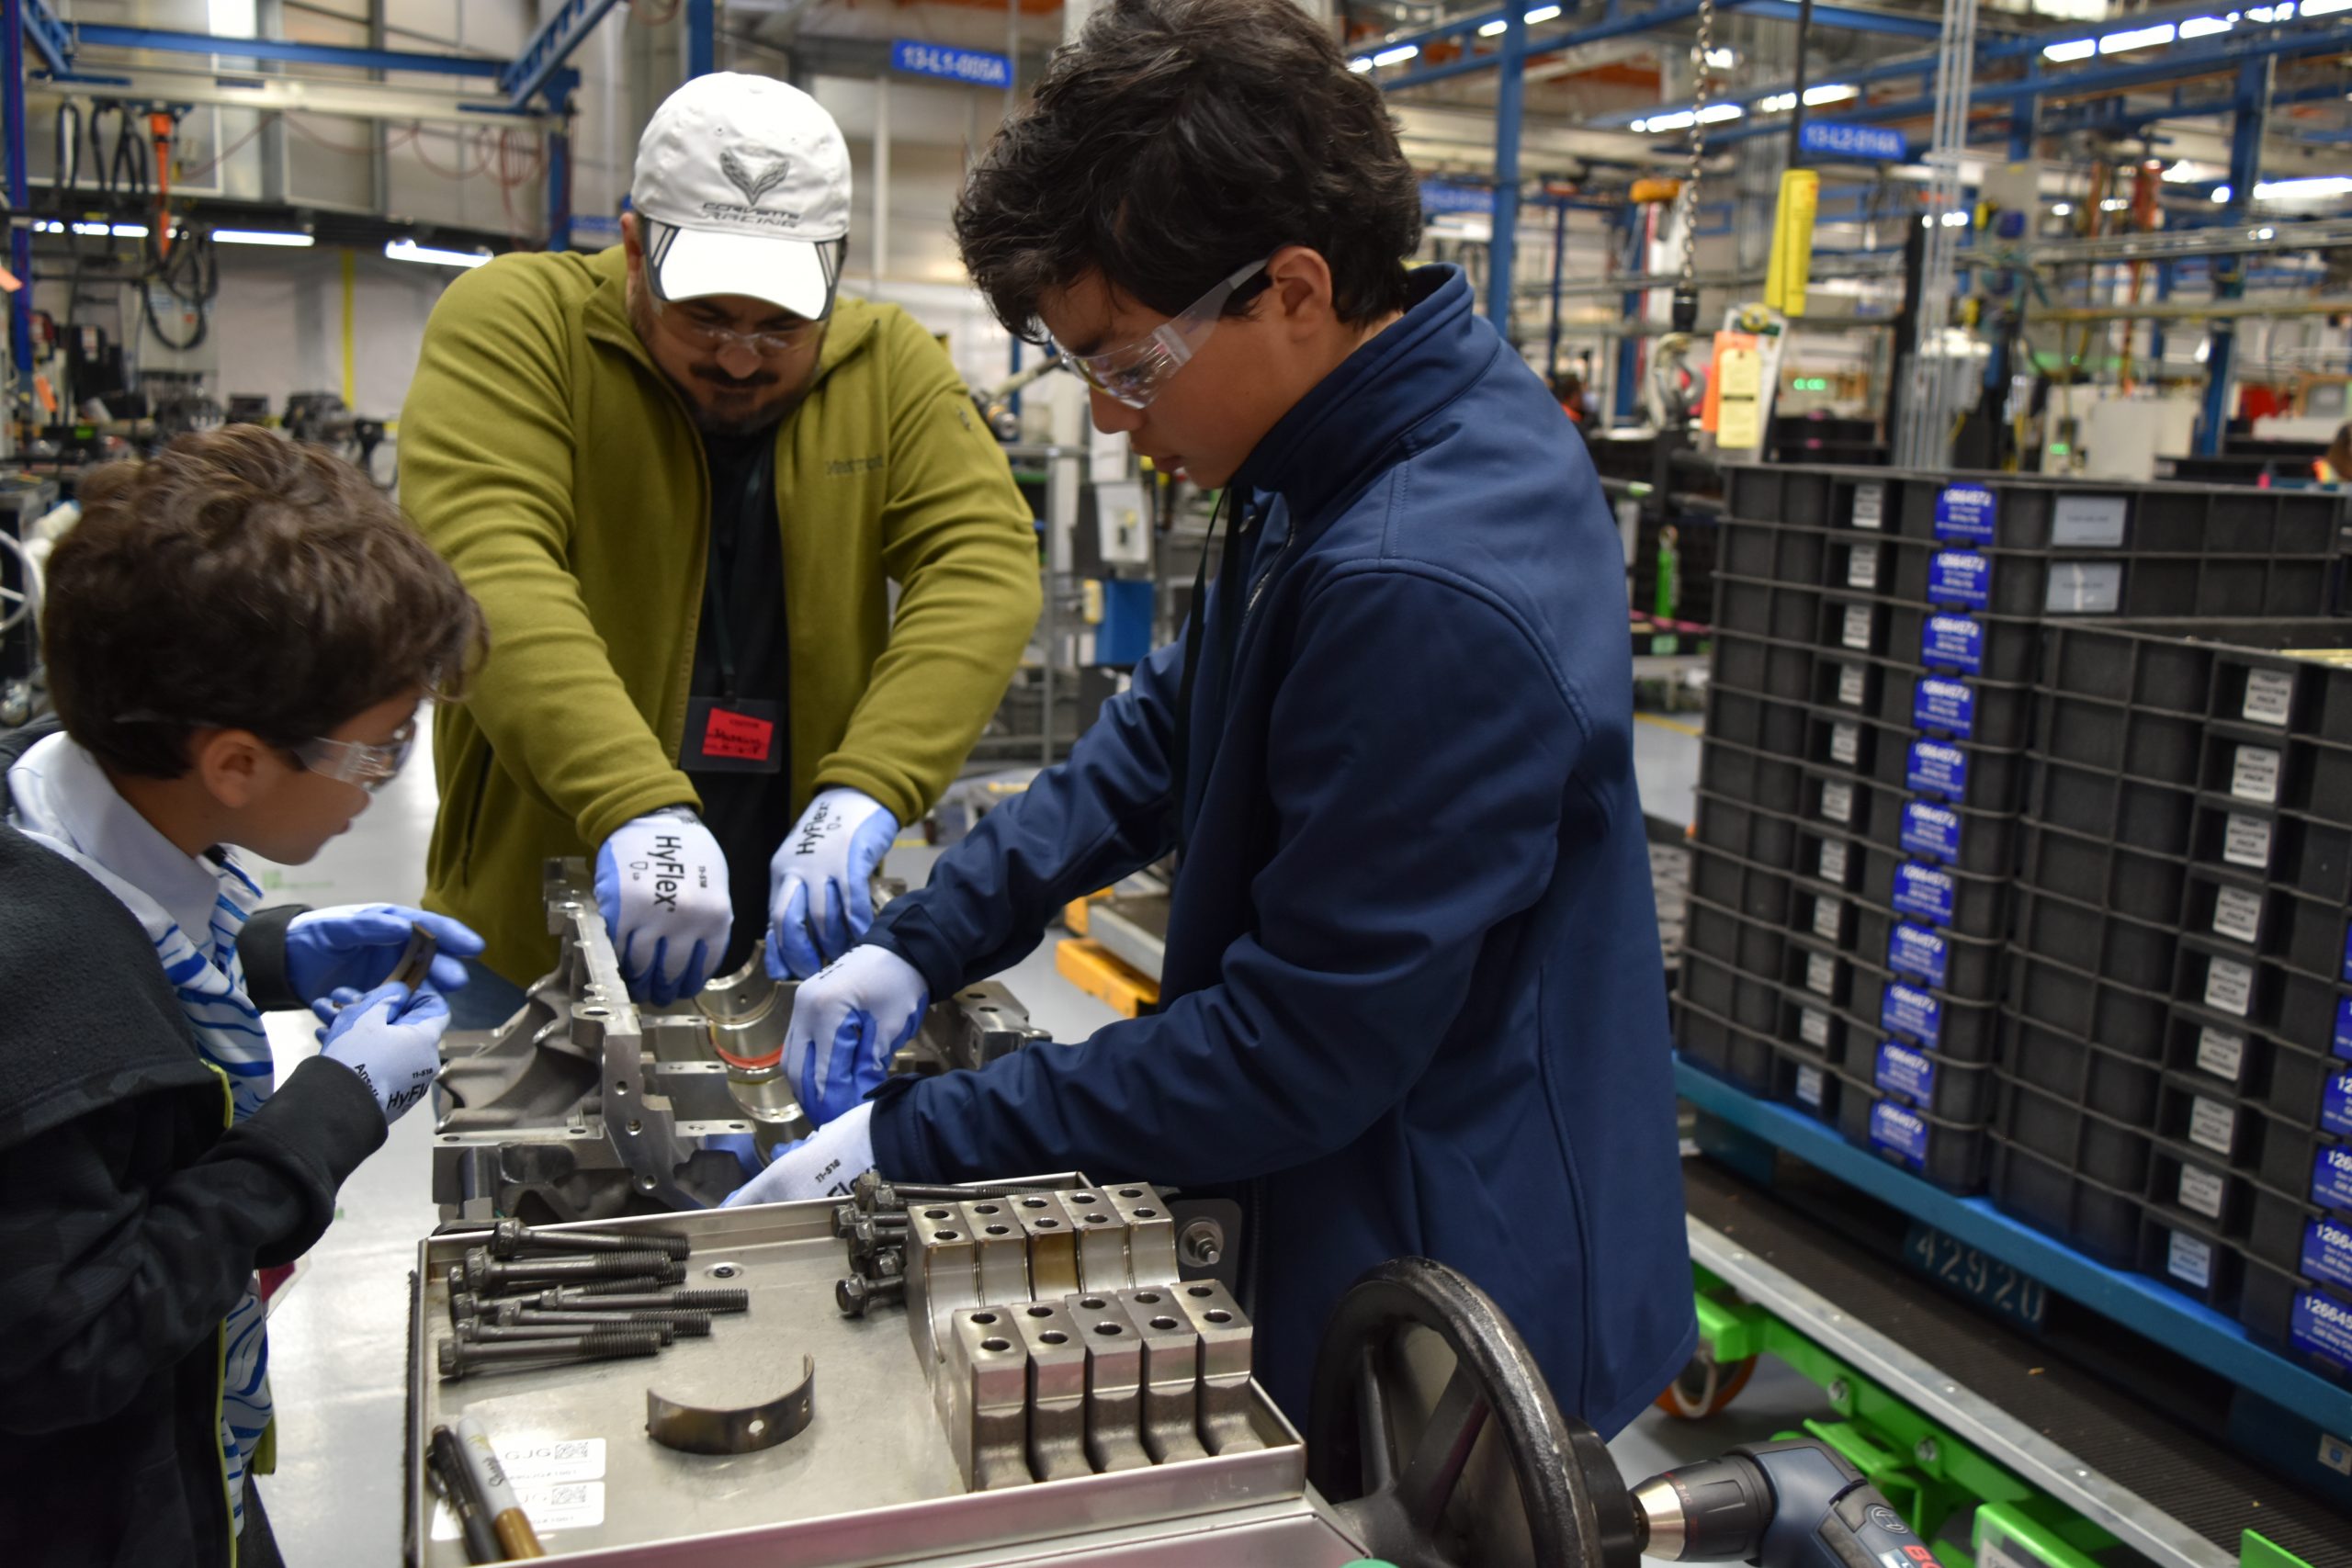
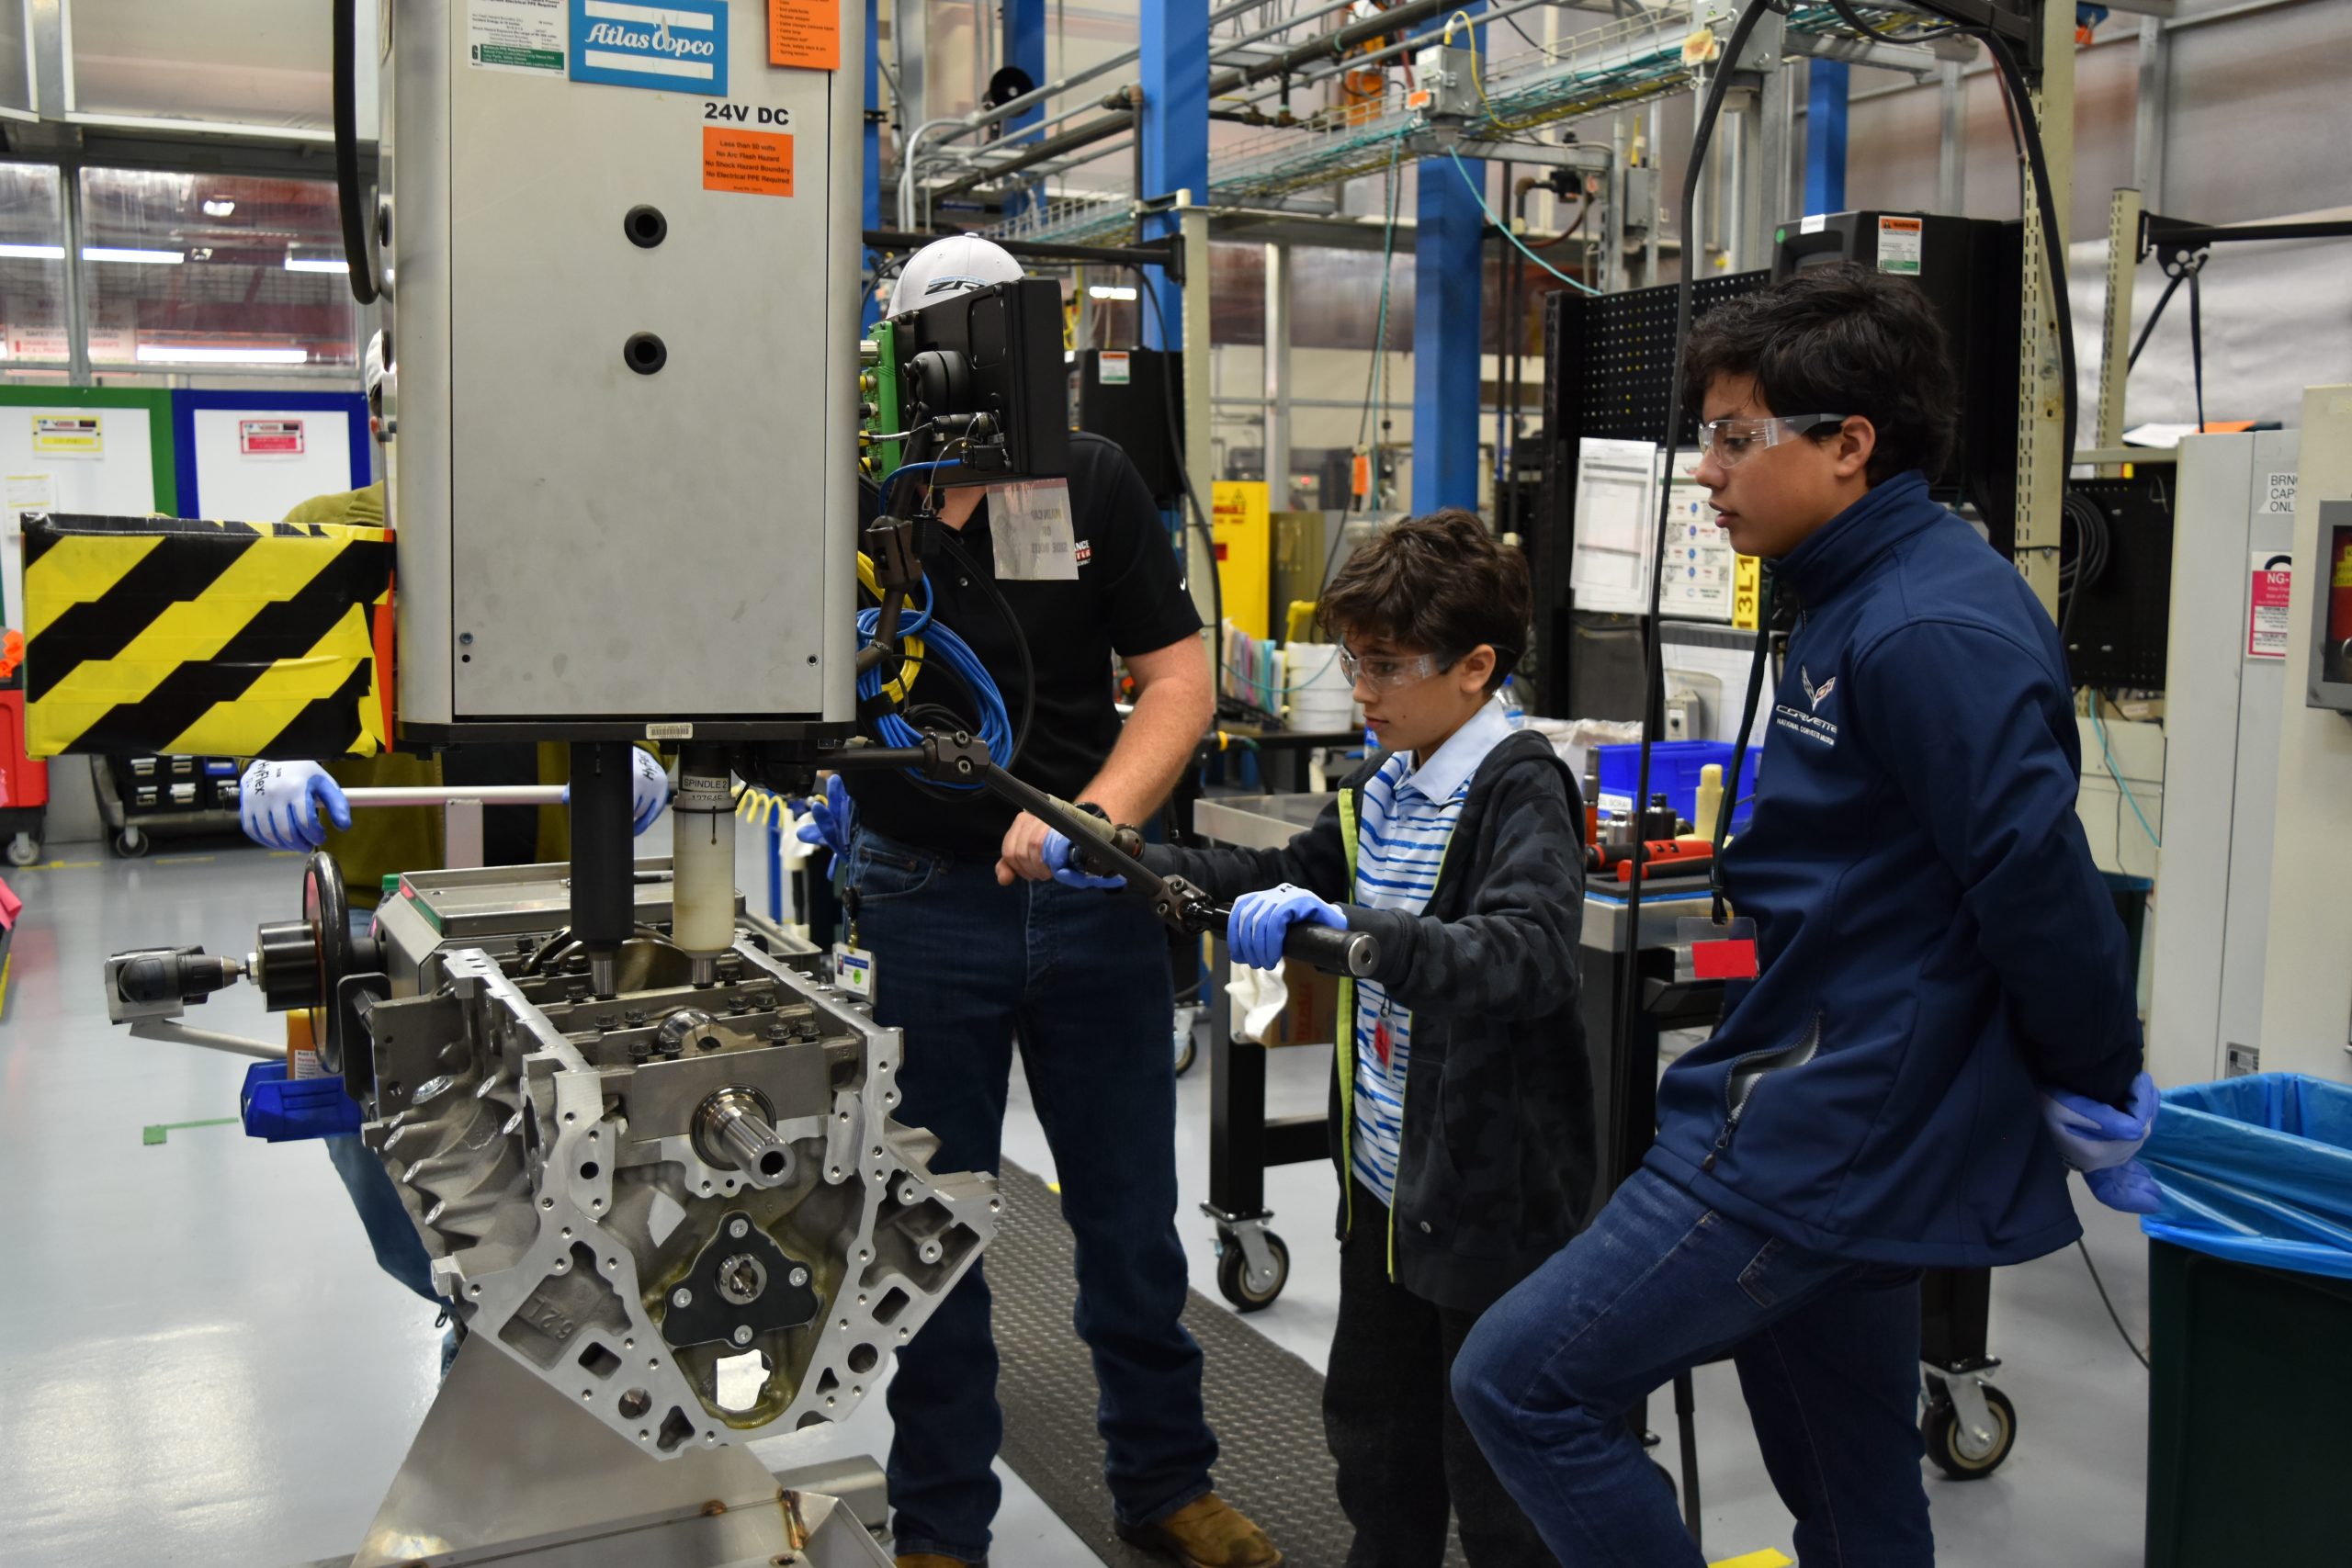
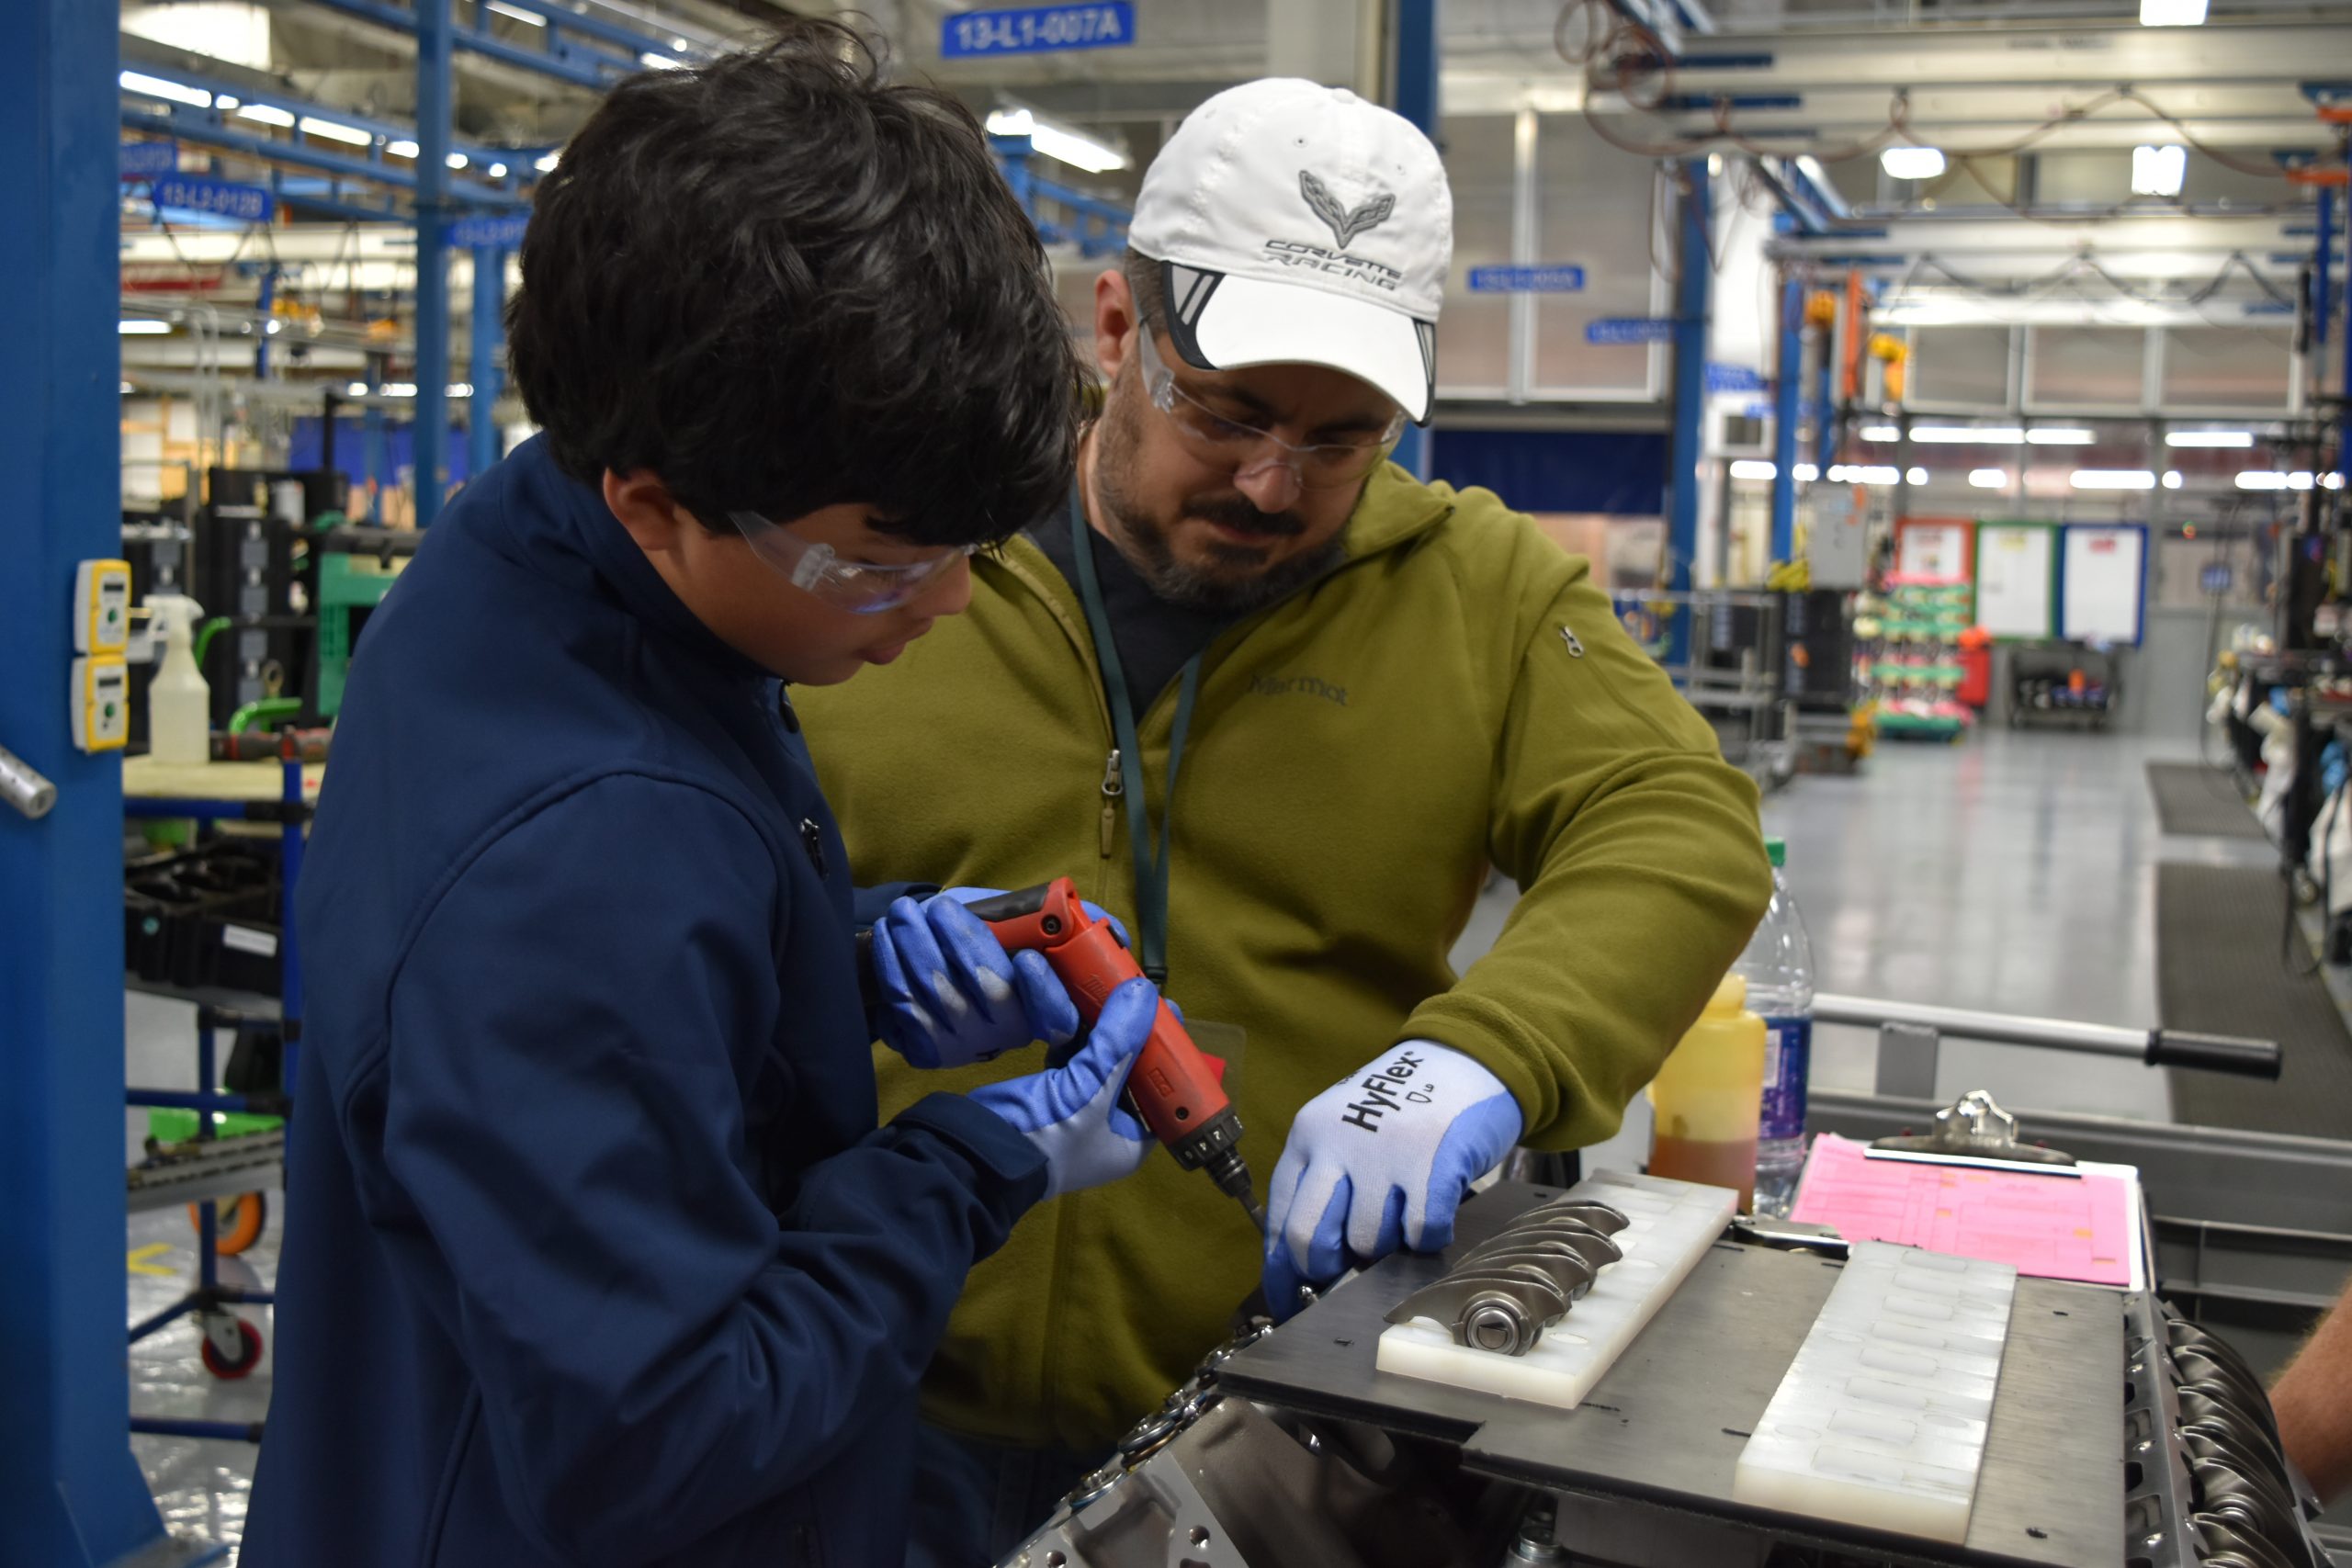
5. Onto station 2! Lock down those supports, hammer them down, and secure the bolts.

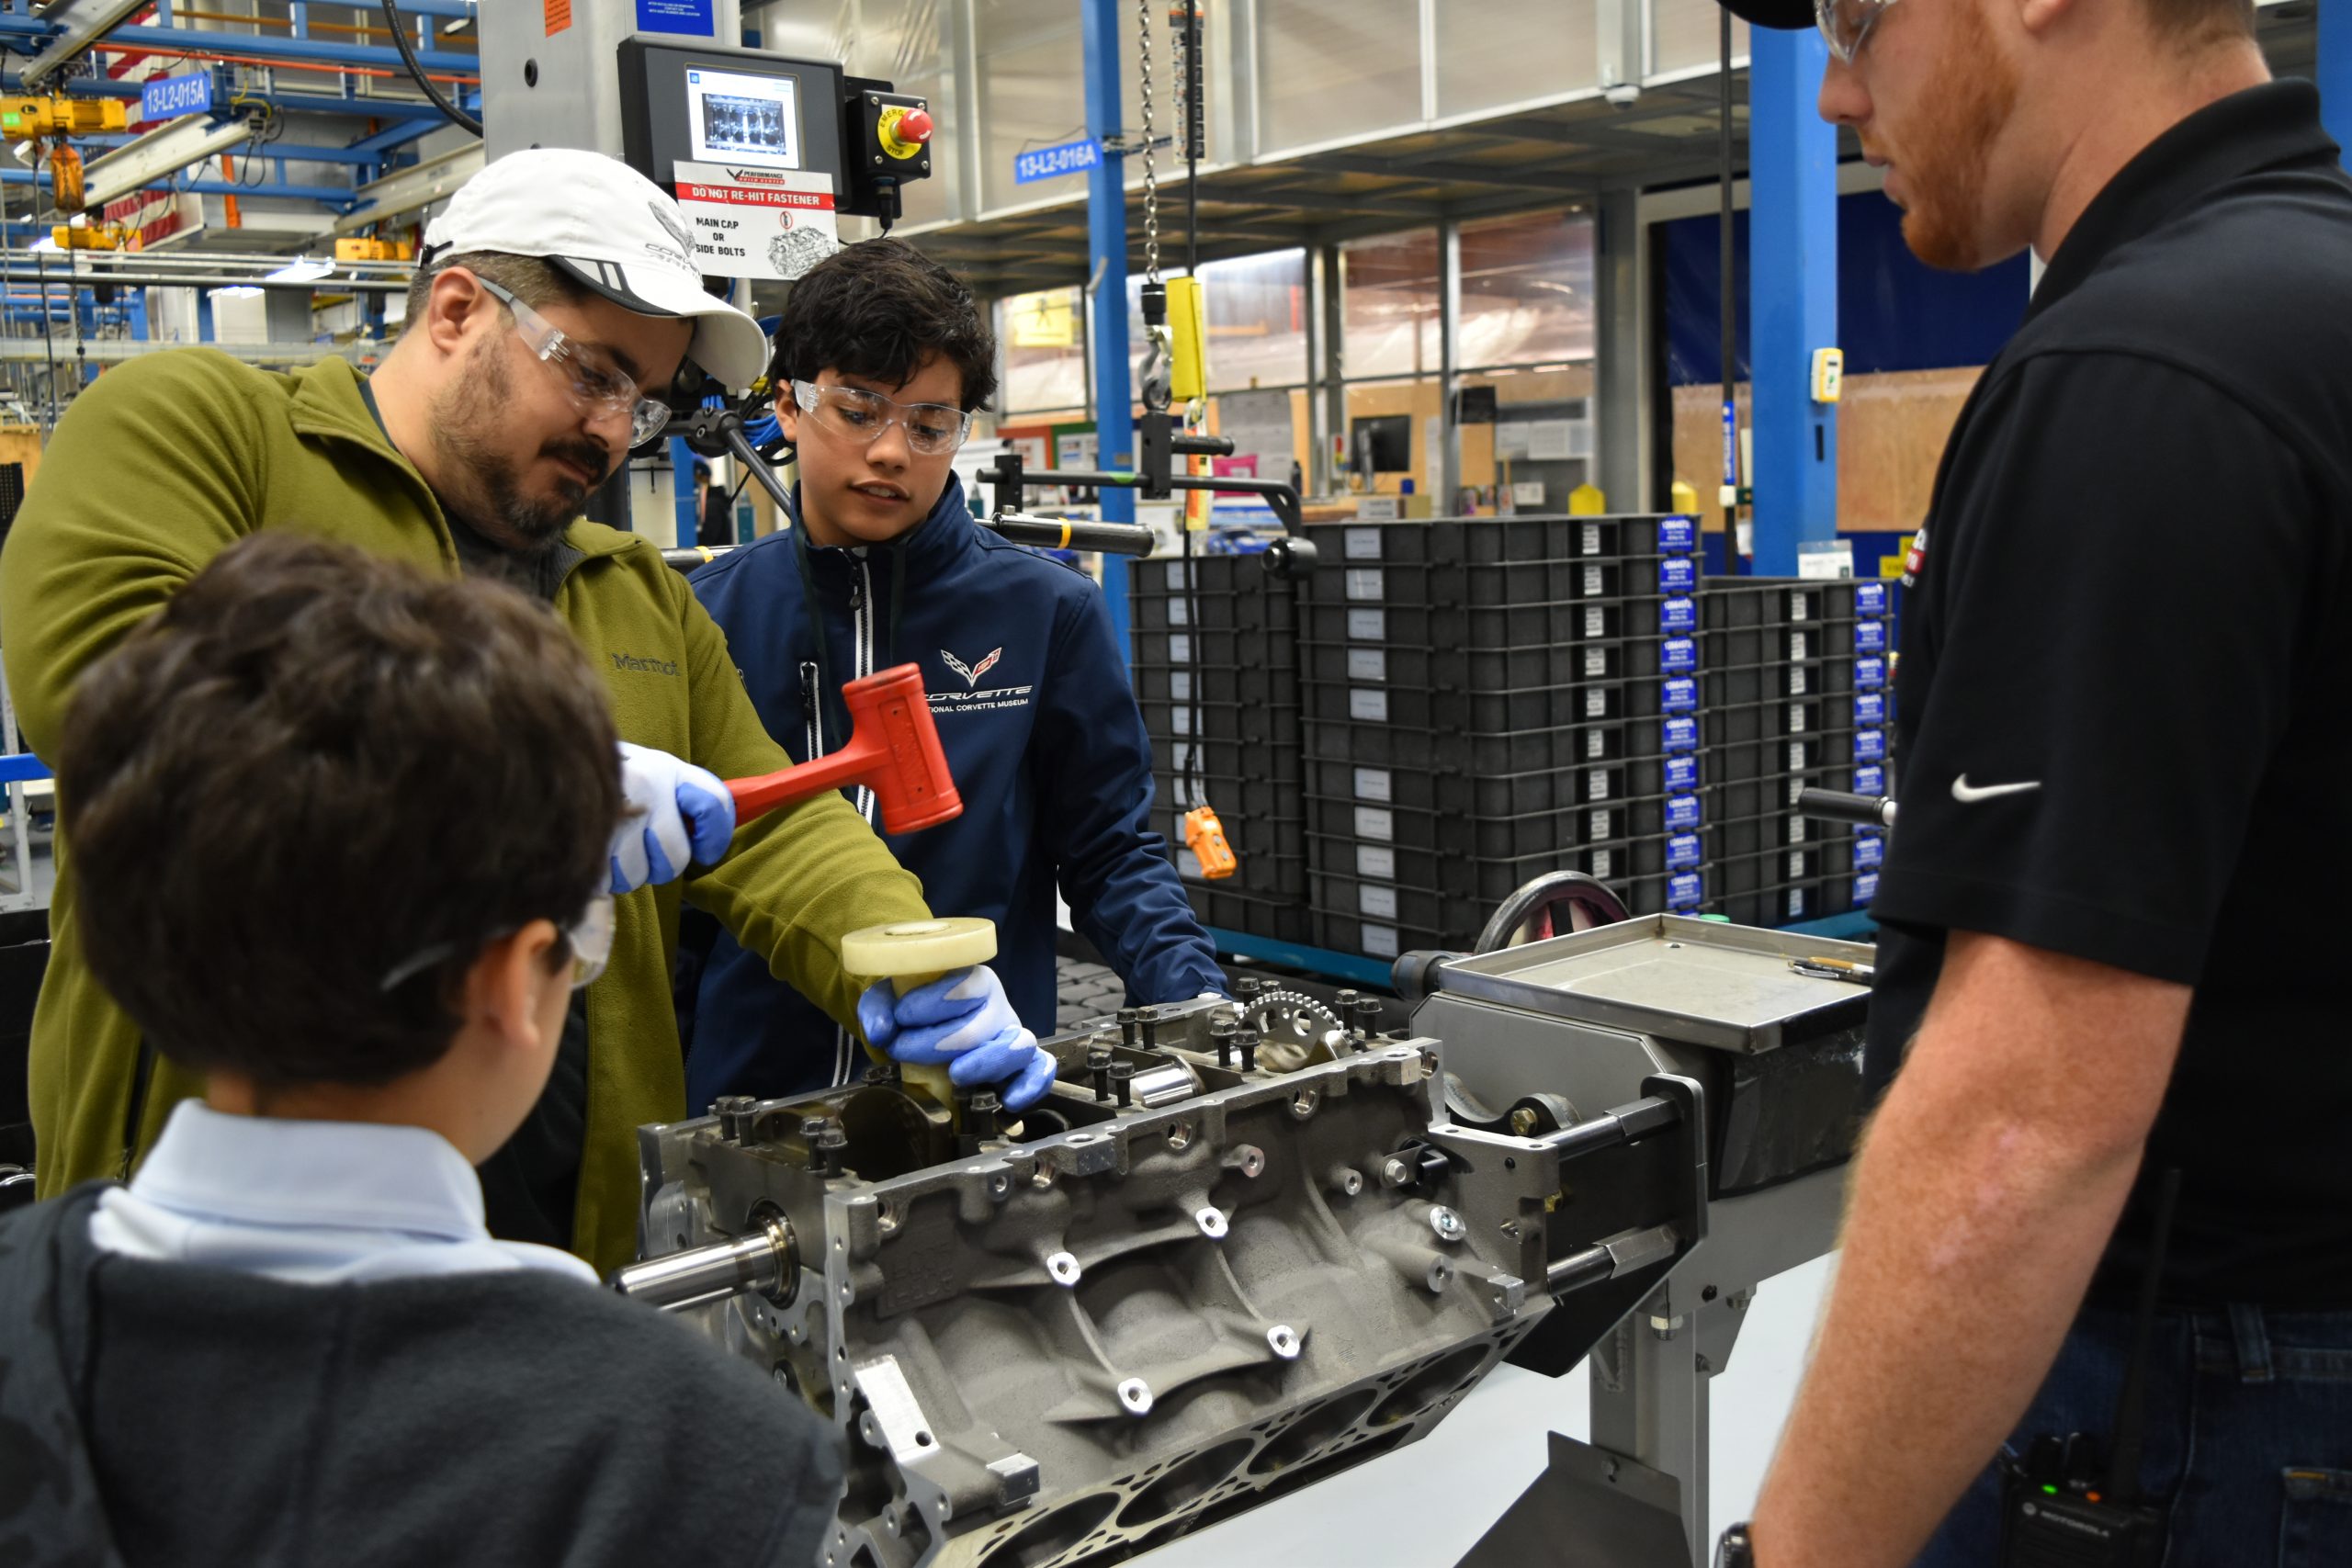
6. Machine the bolts down, all clear! Torque the crank, then get ready to install the pistons!

7. Line up the piston rings, set up the plunger, install the piston, repeat until finished!

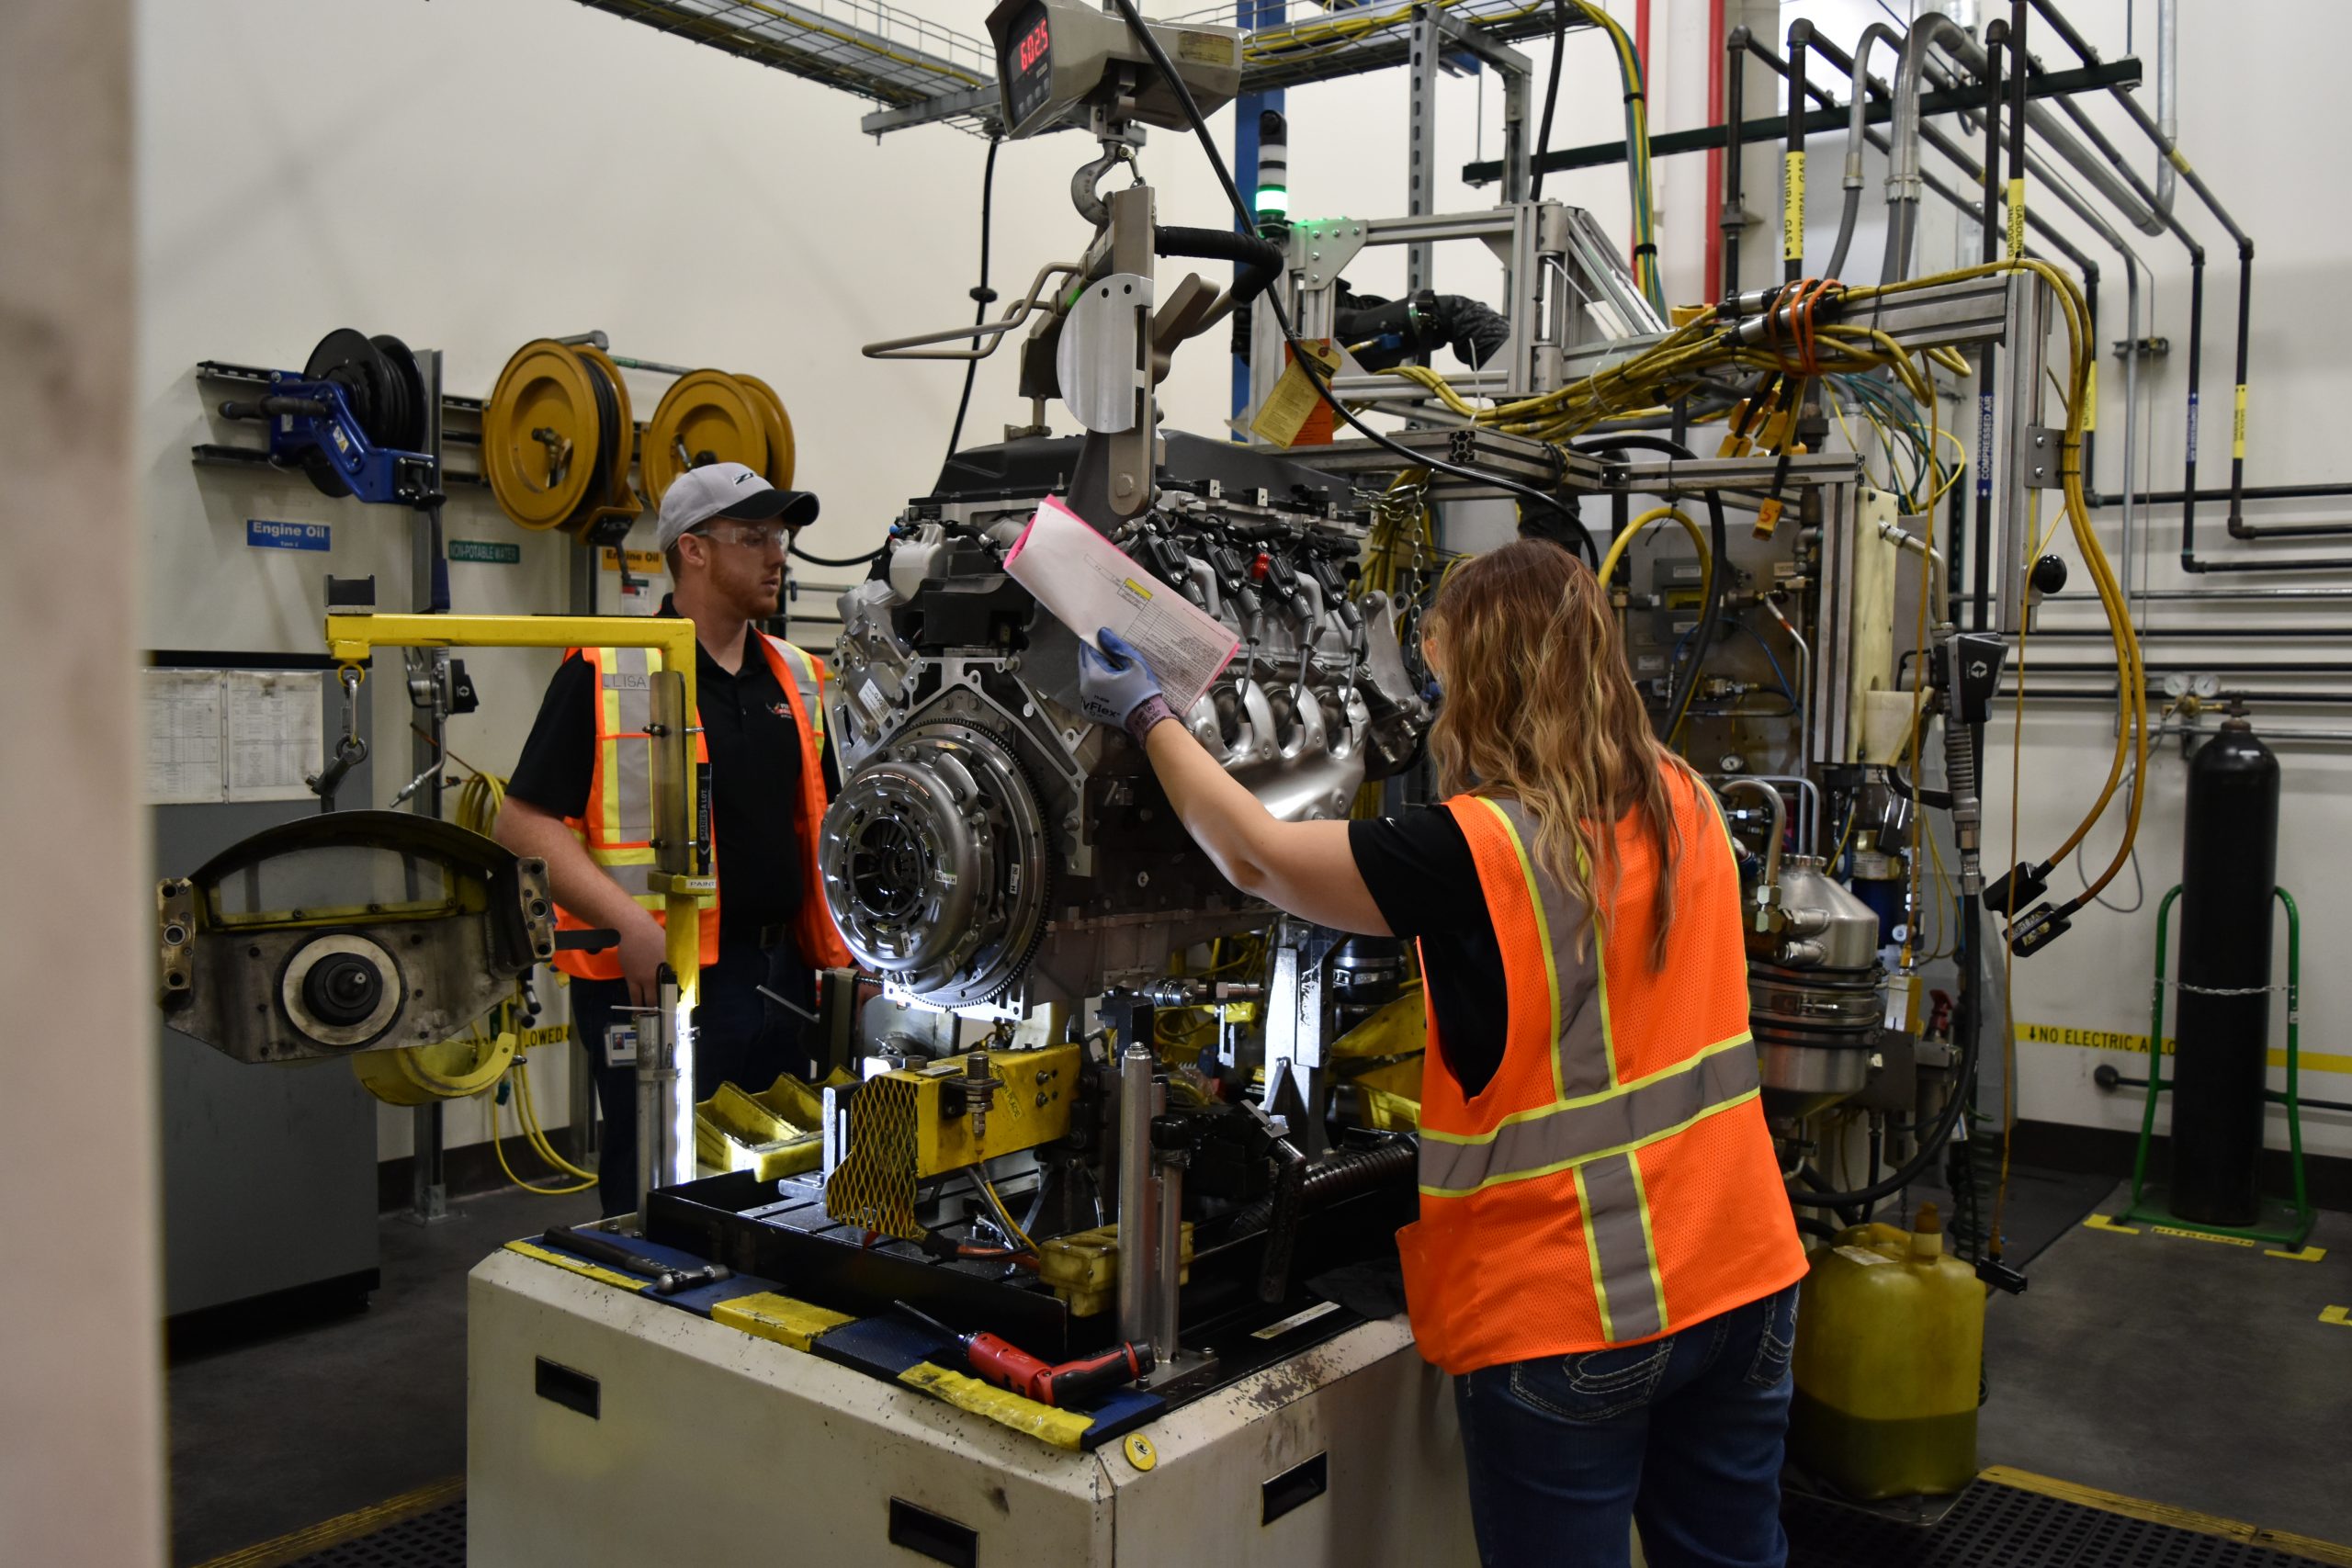
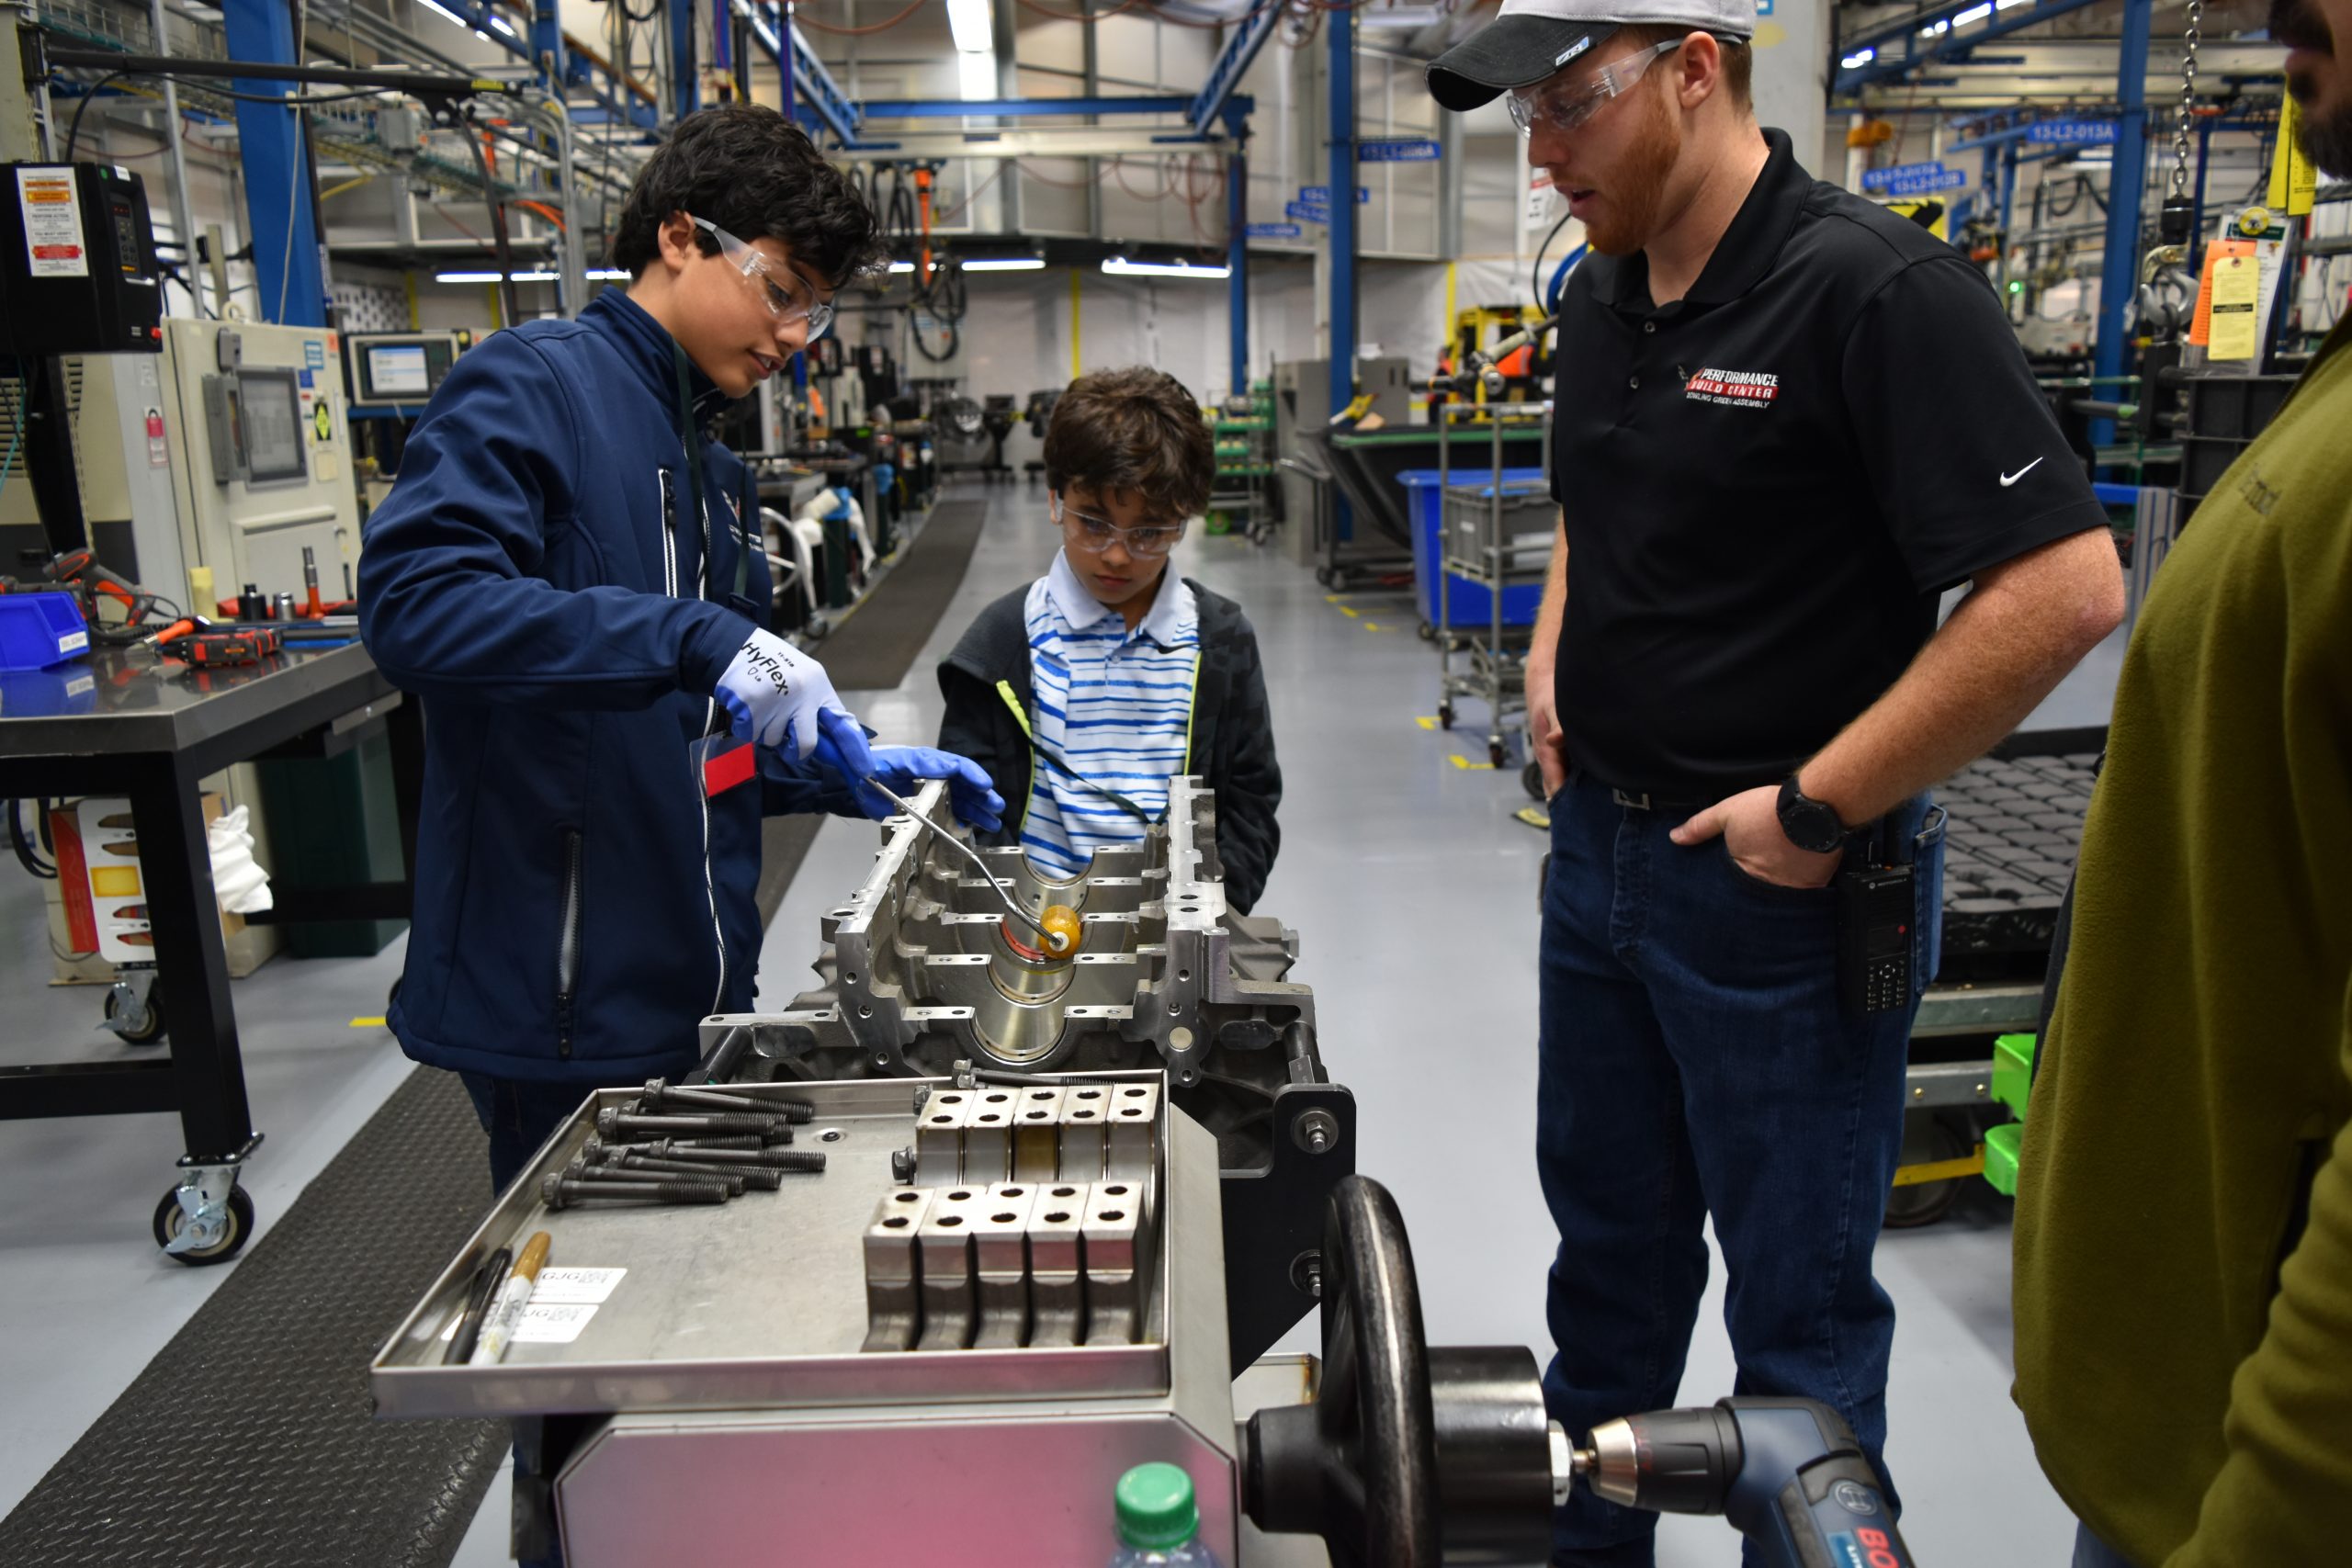
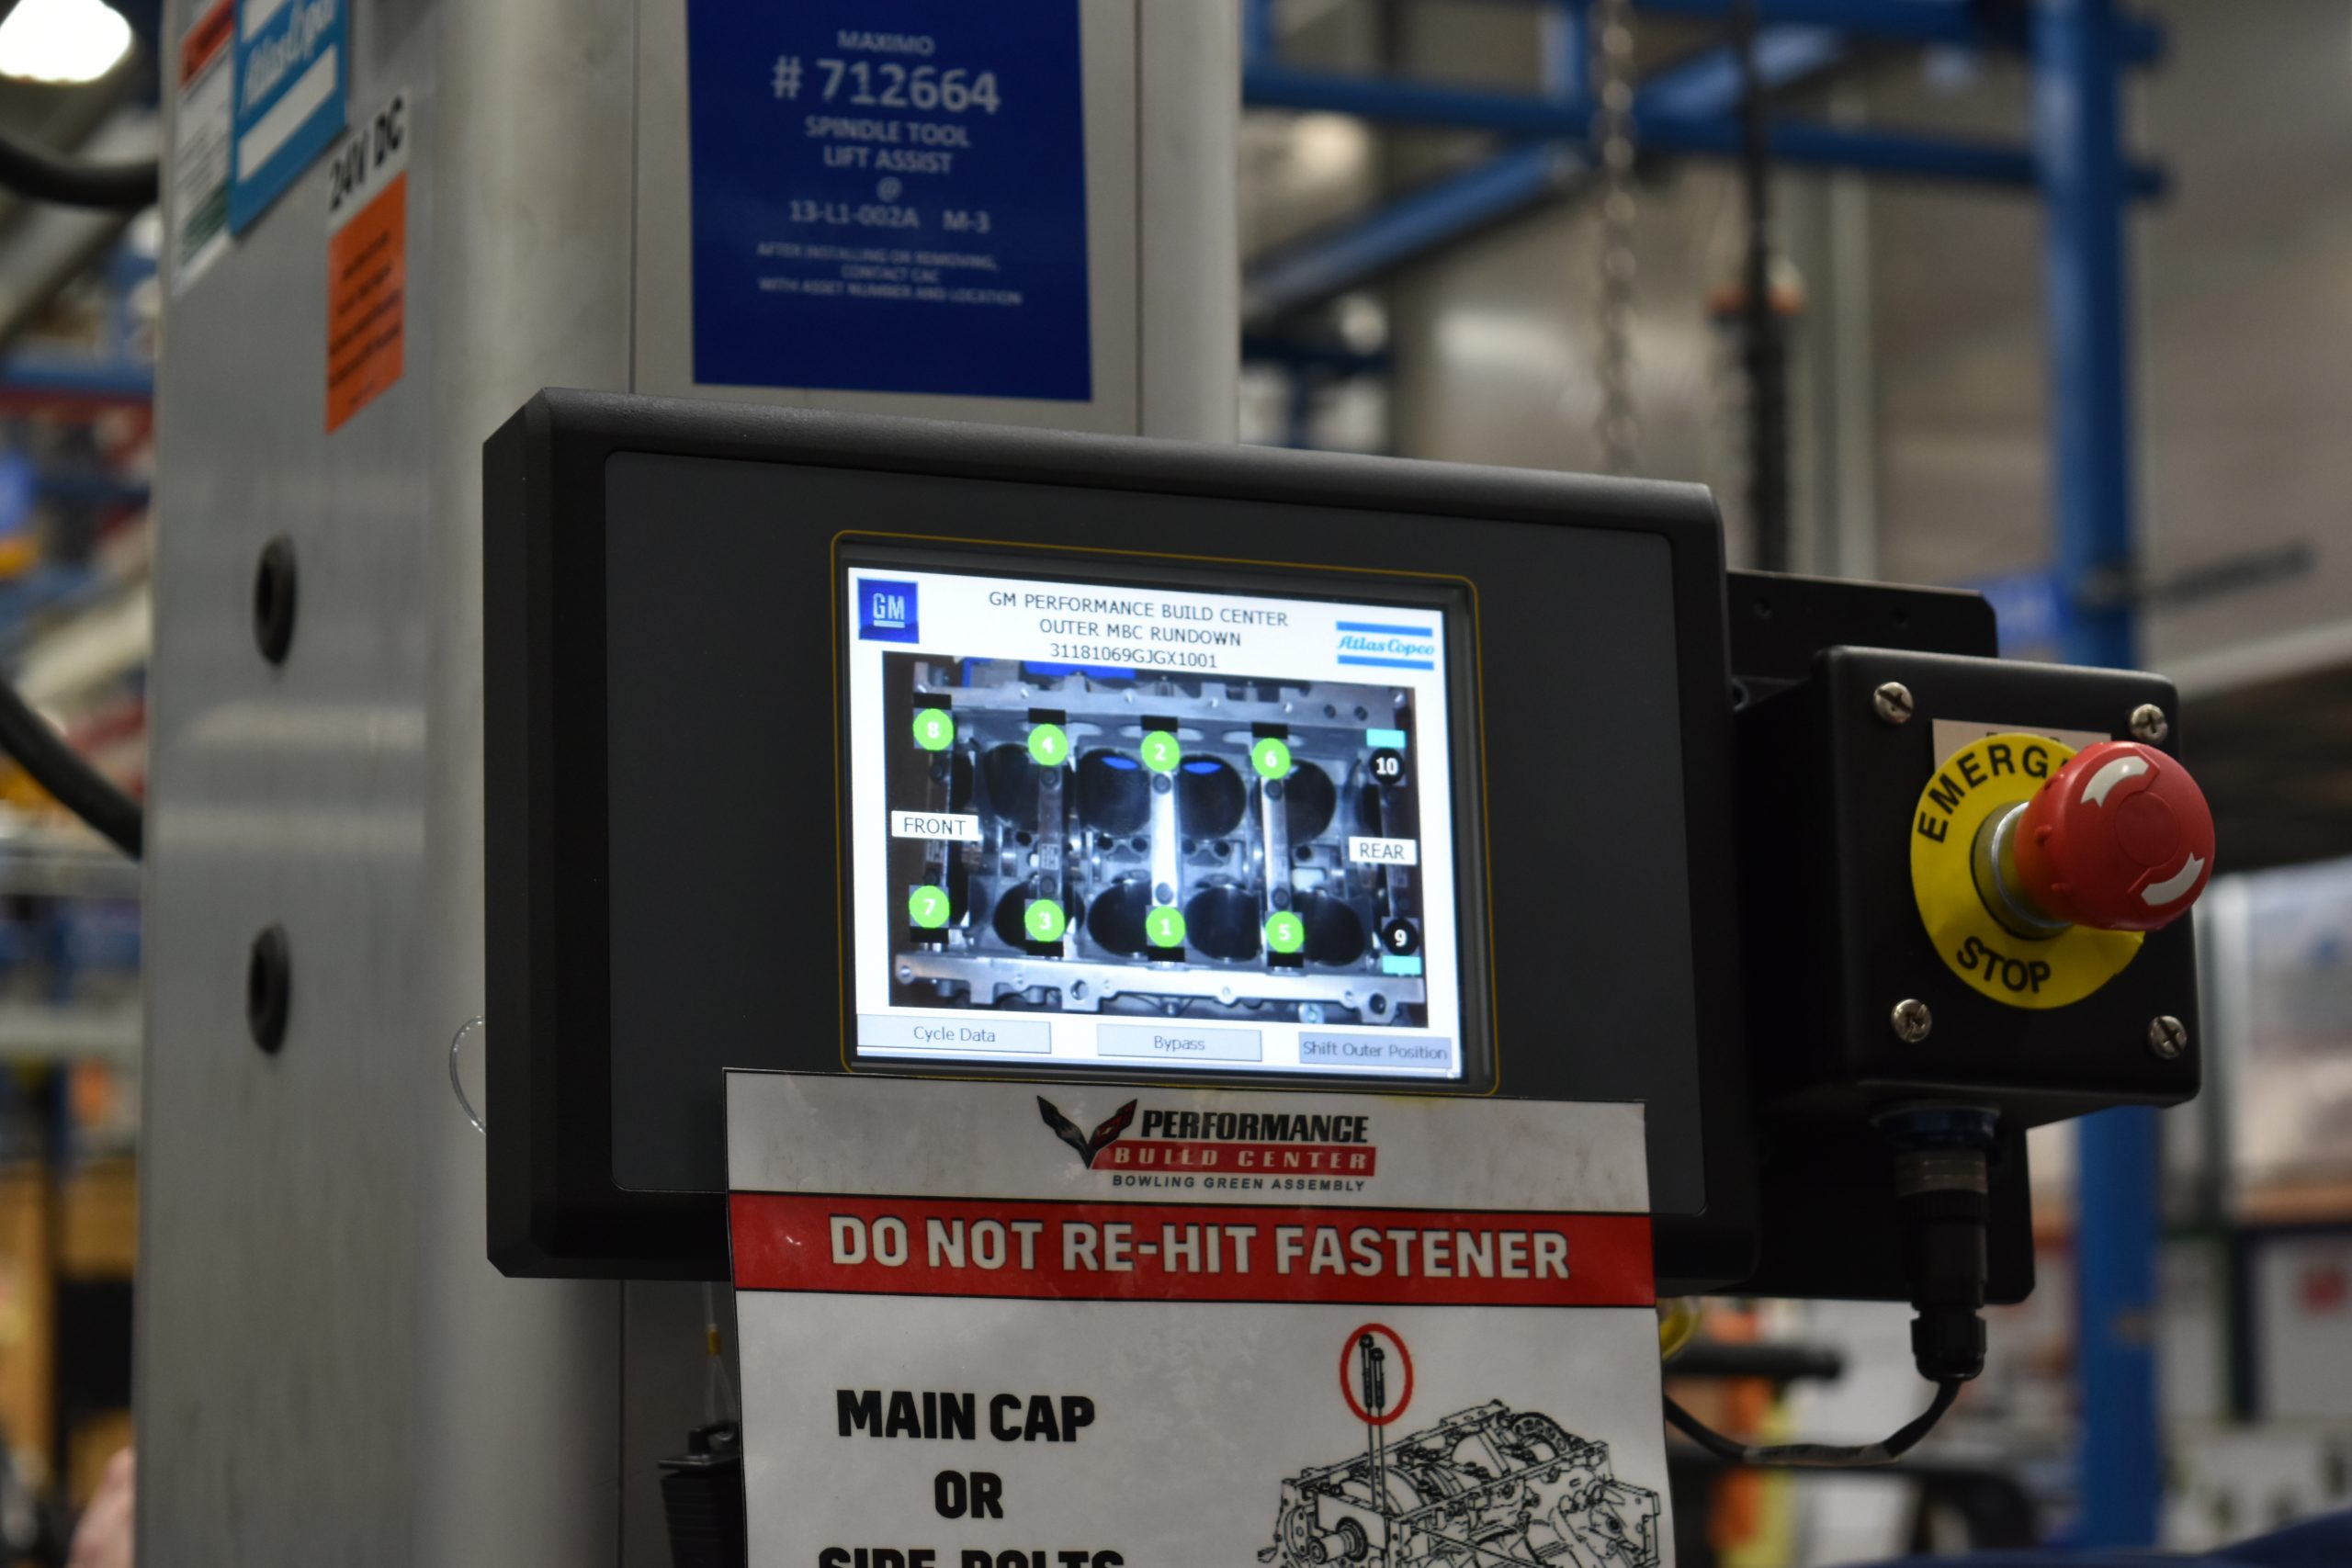
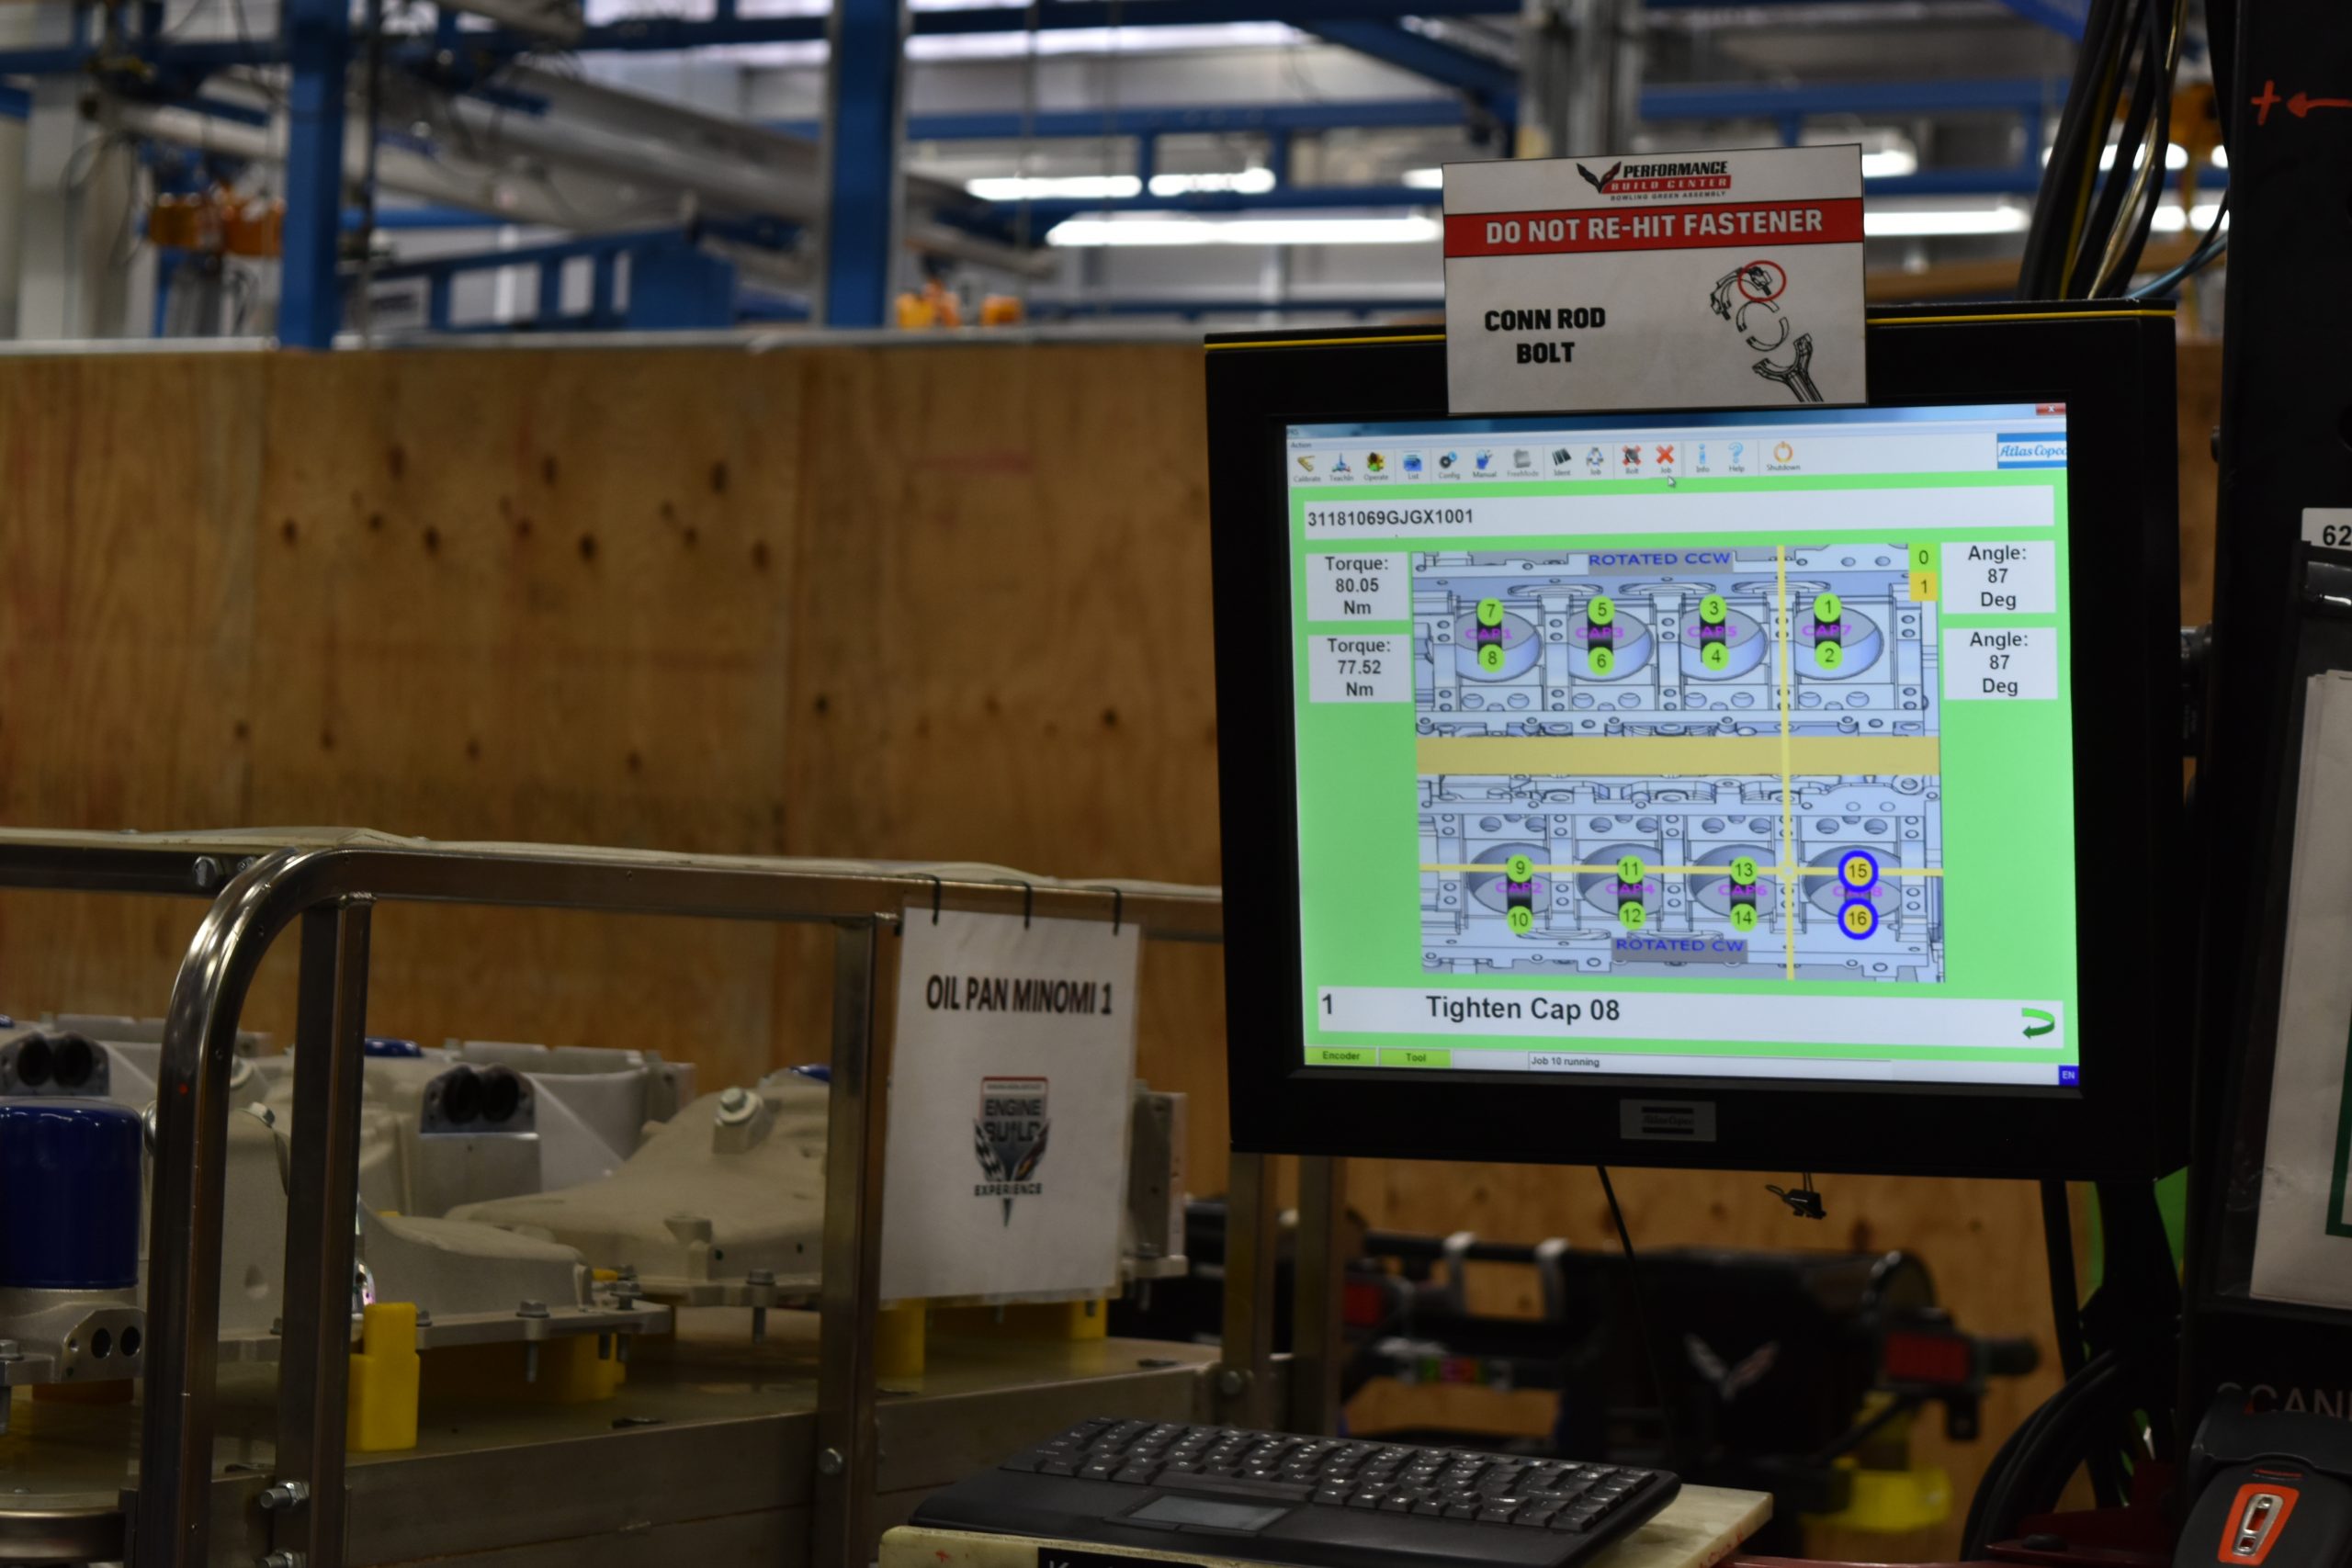
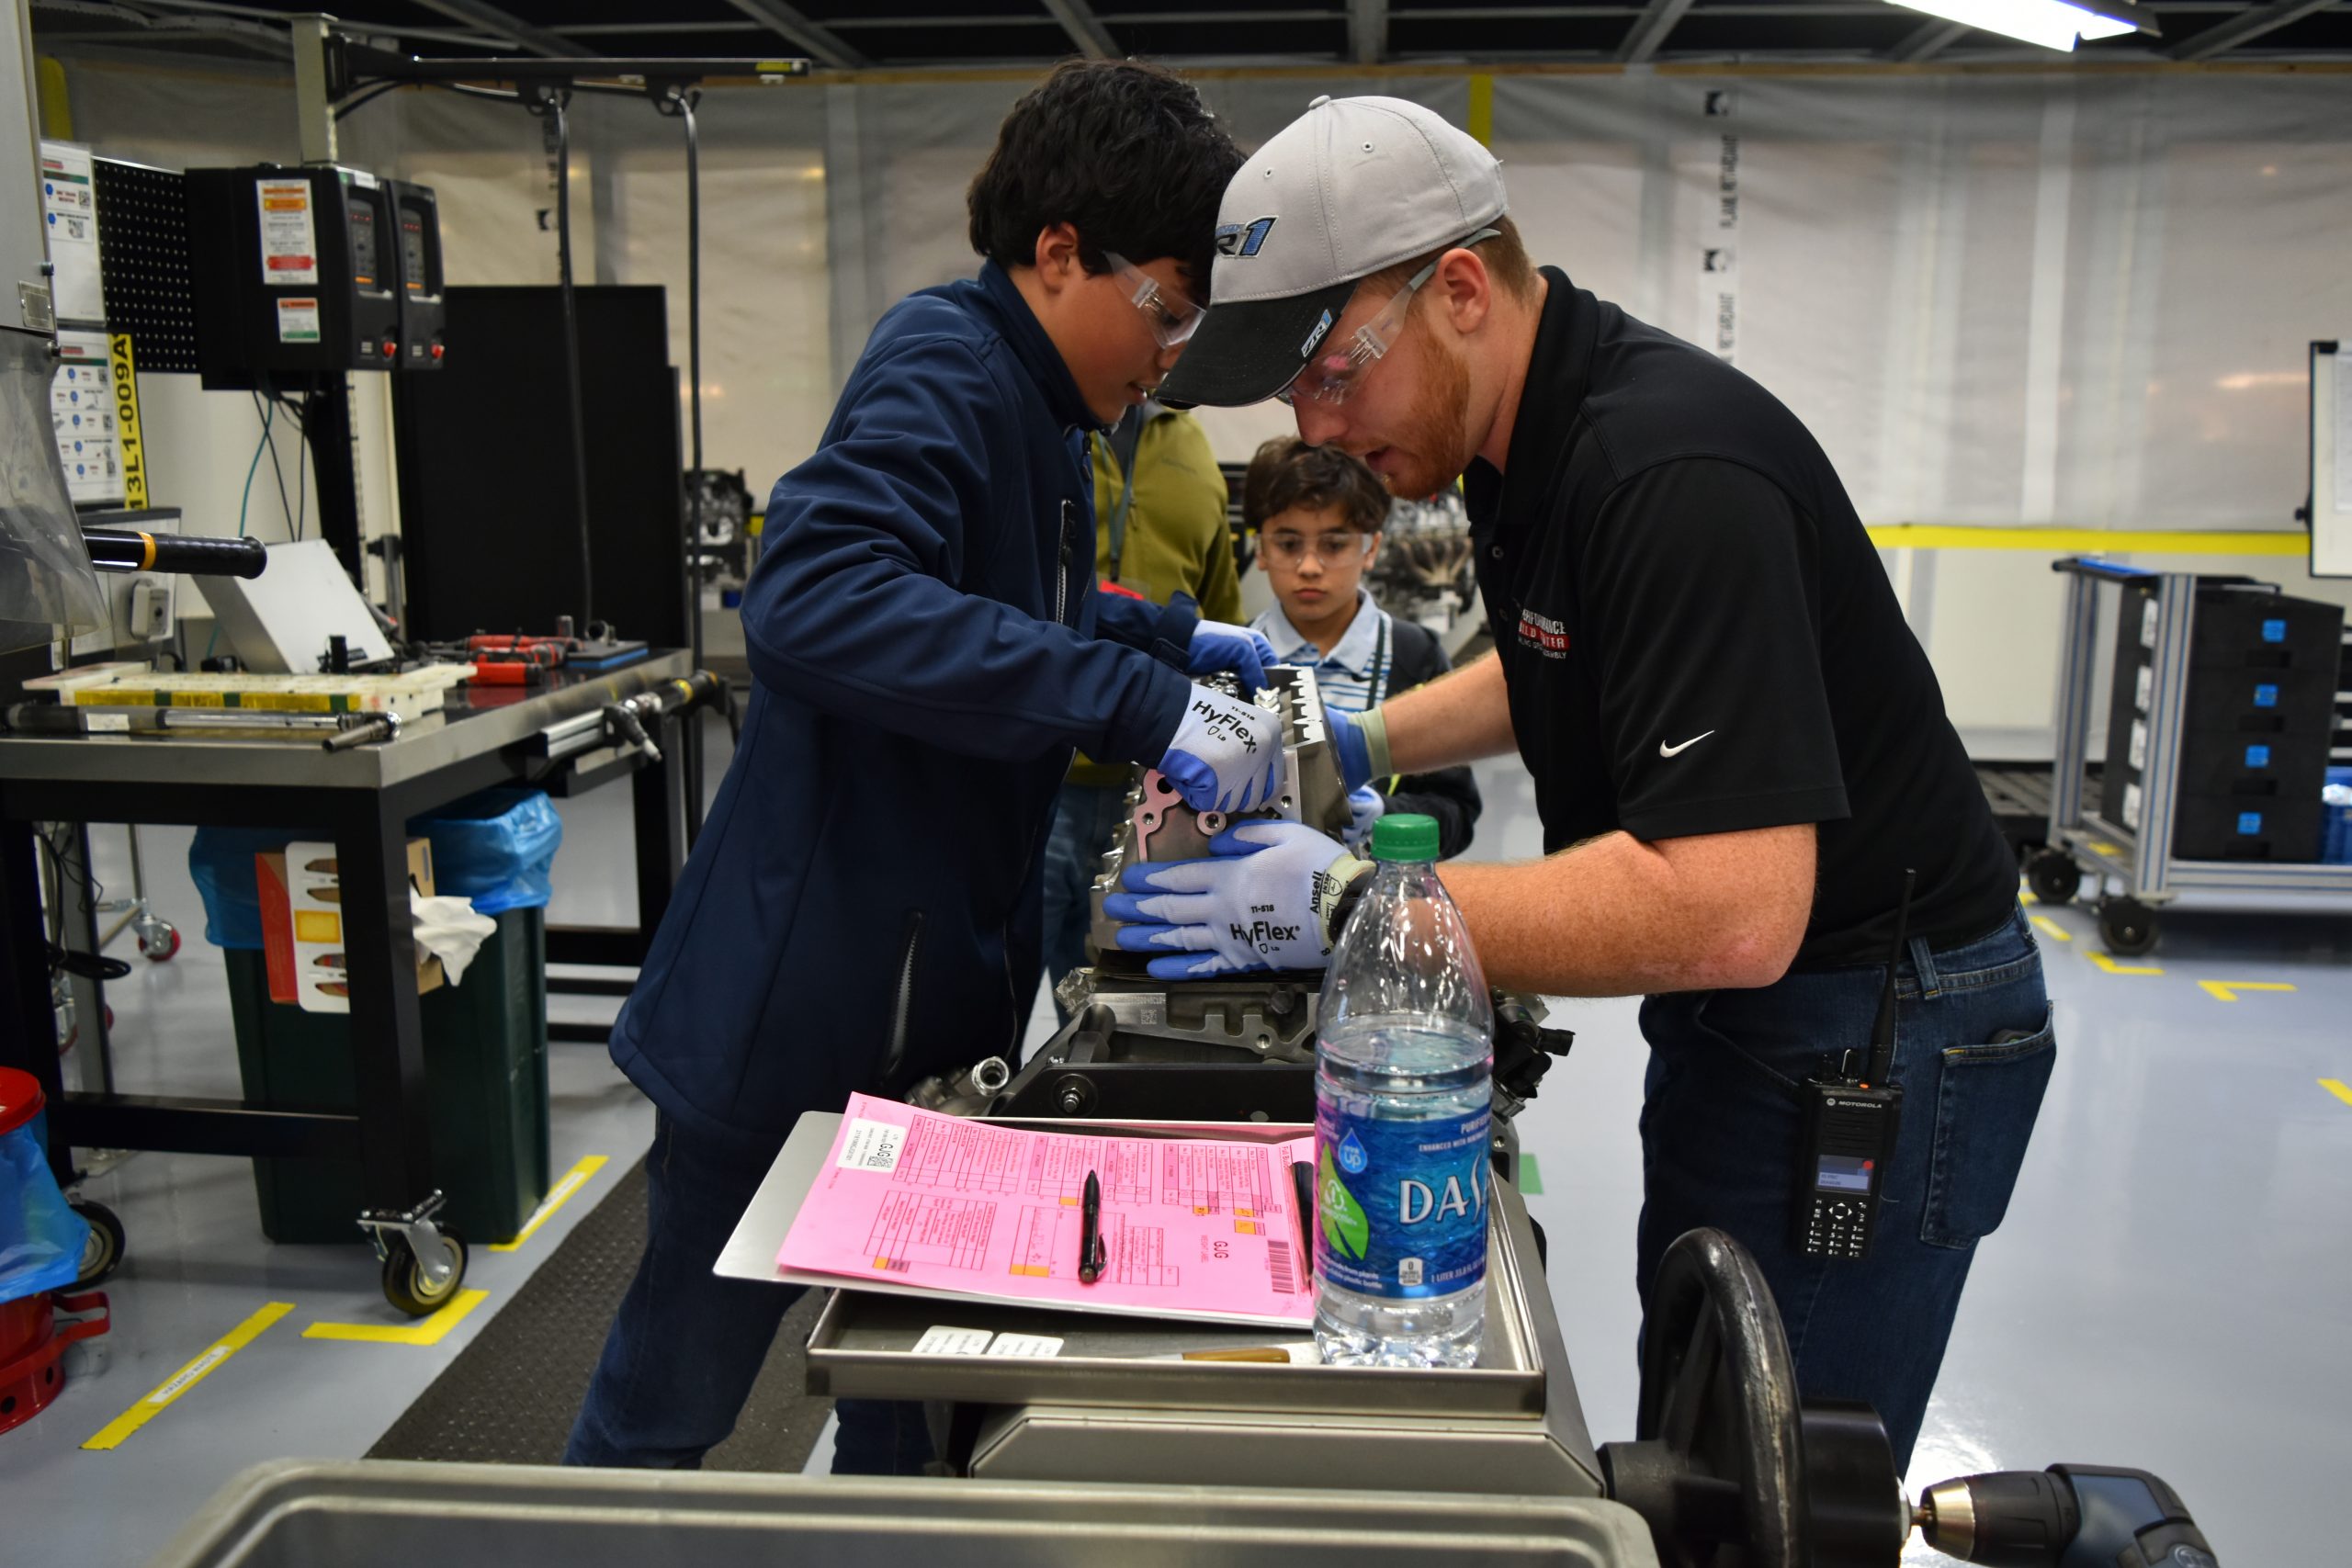
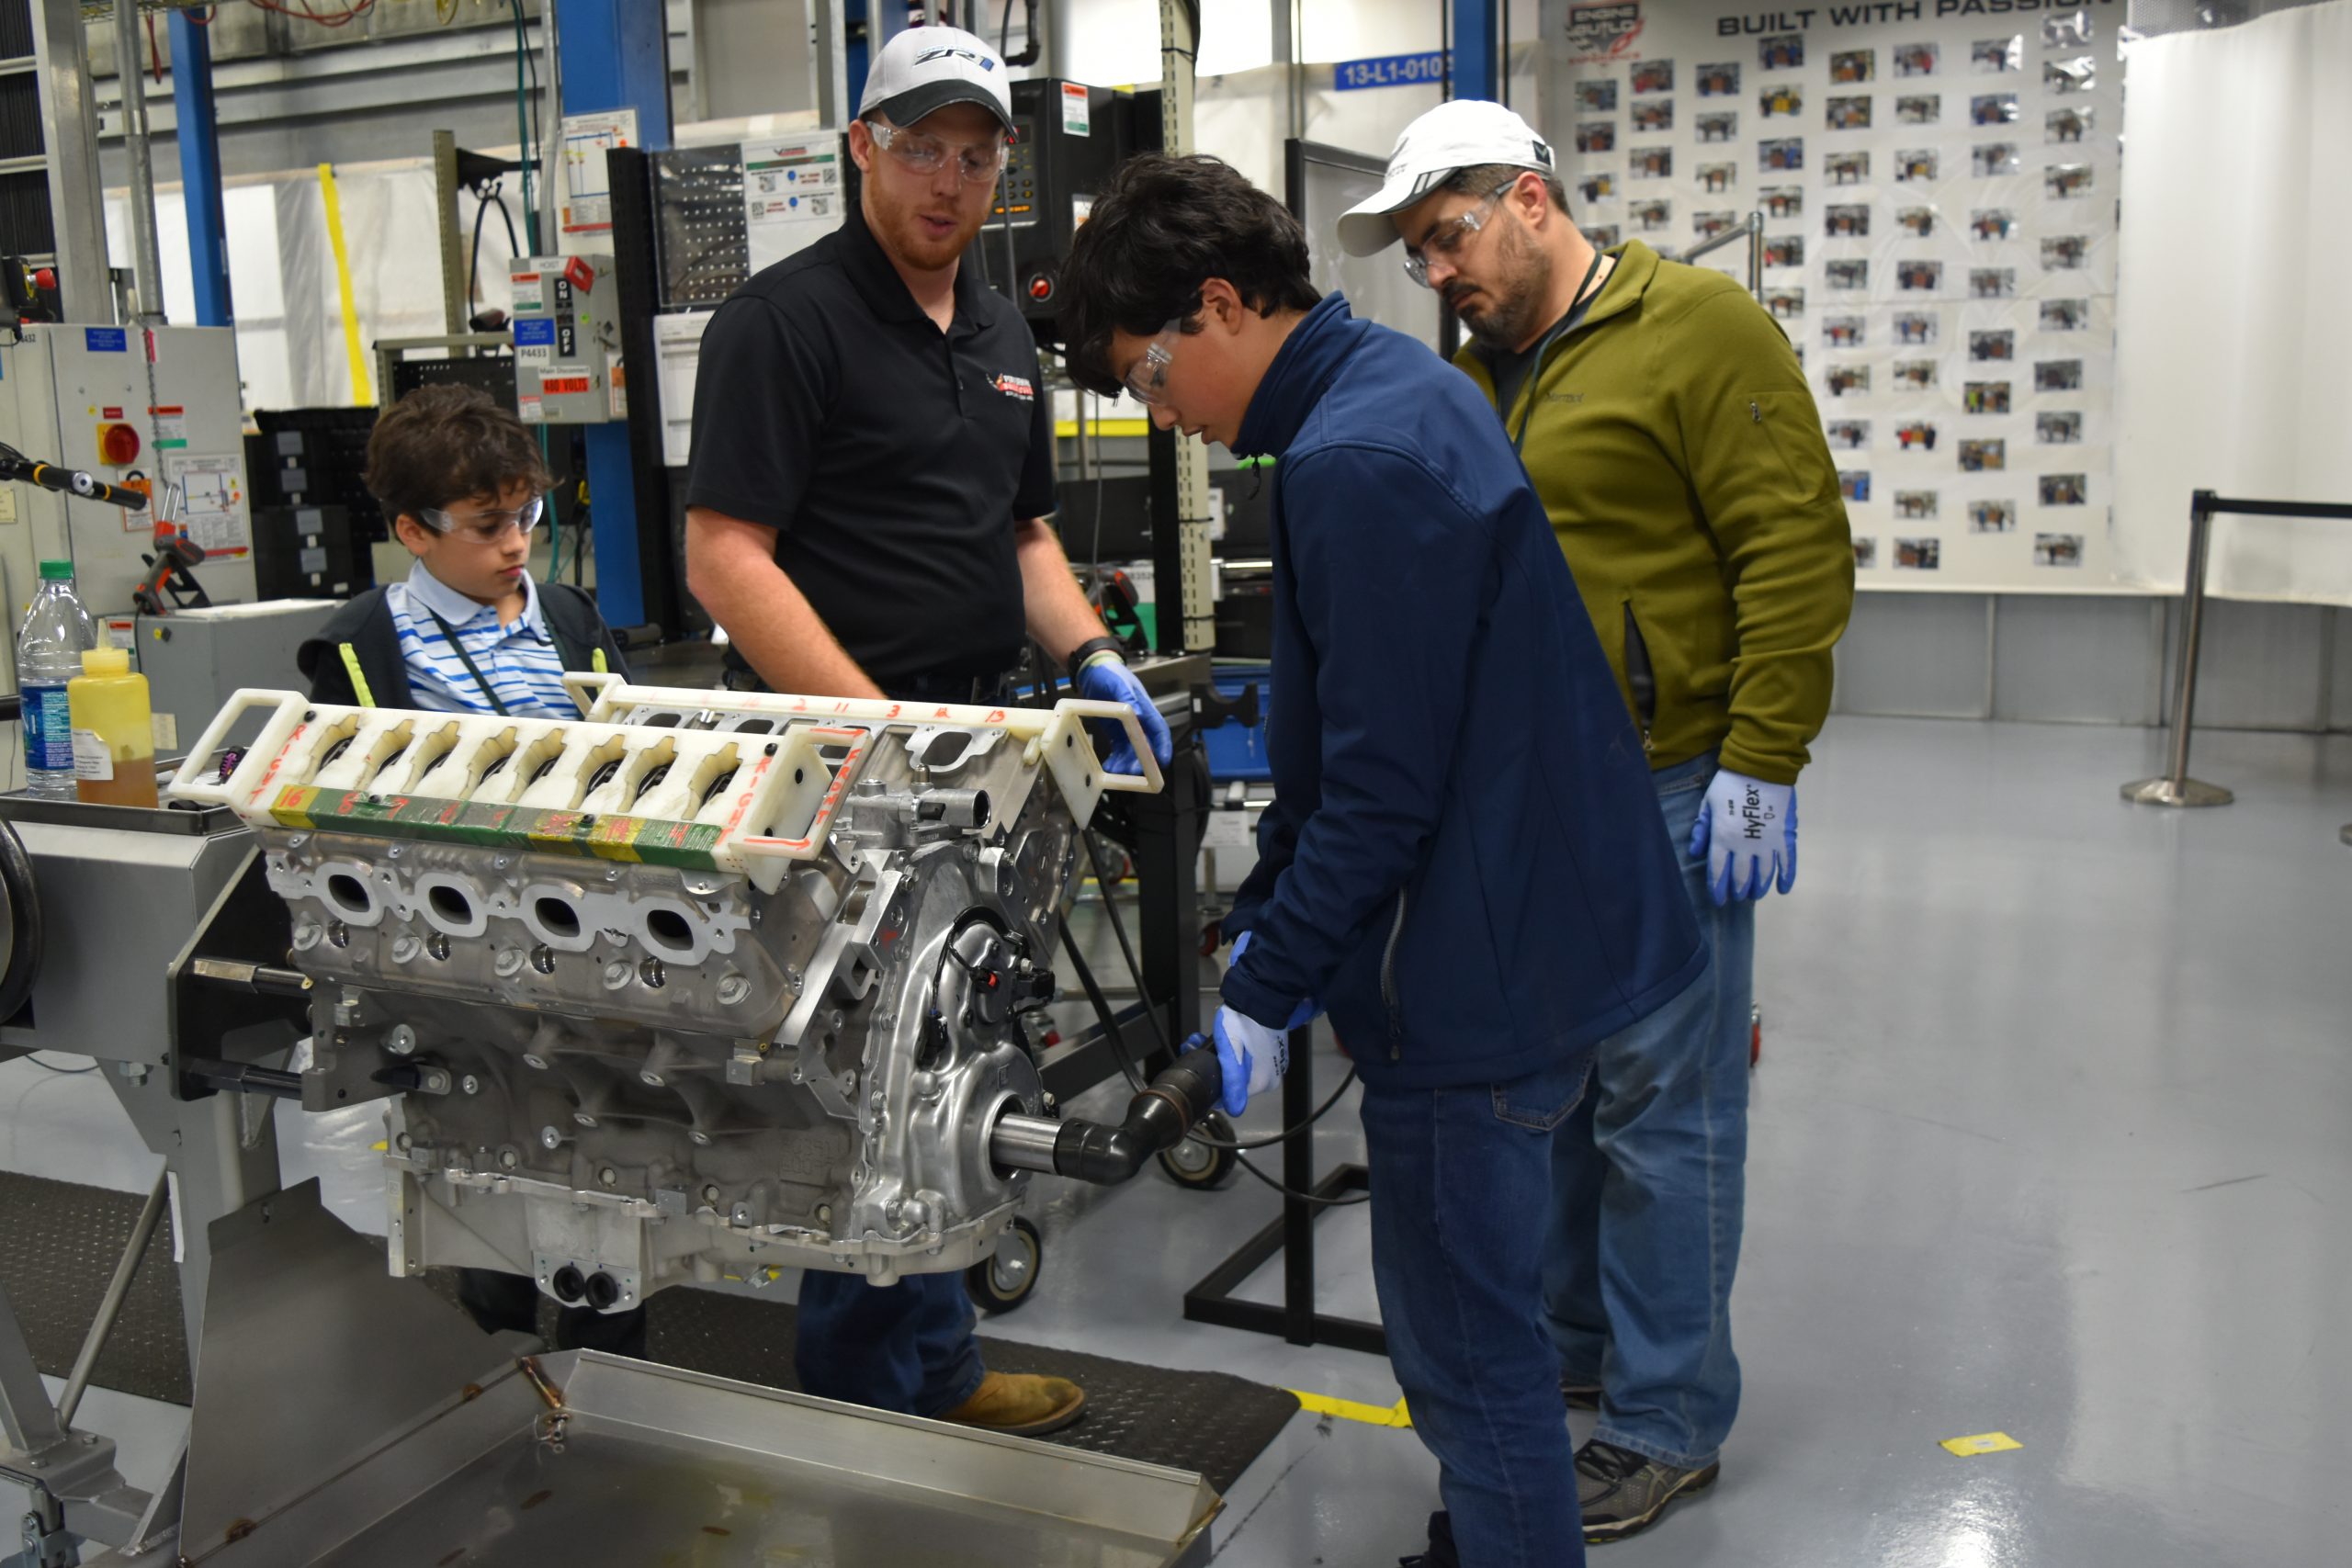
8. Onto station 3! Torque down cap bolts, consult our monitors, then get peer quality check.


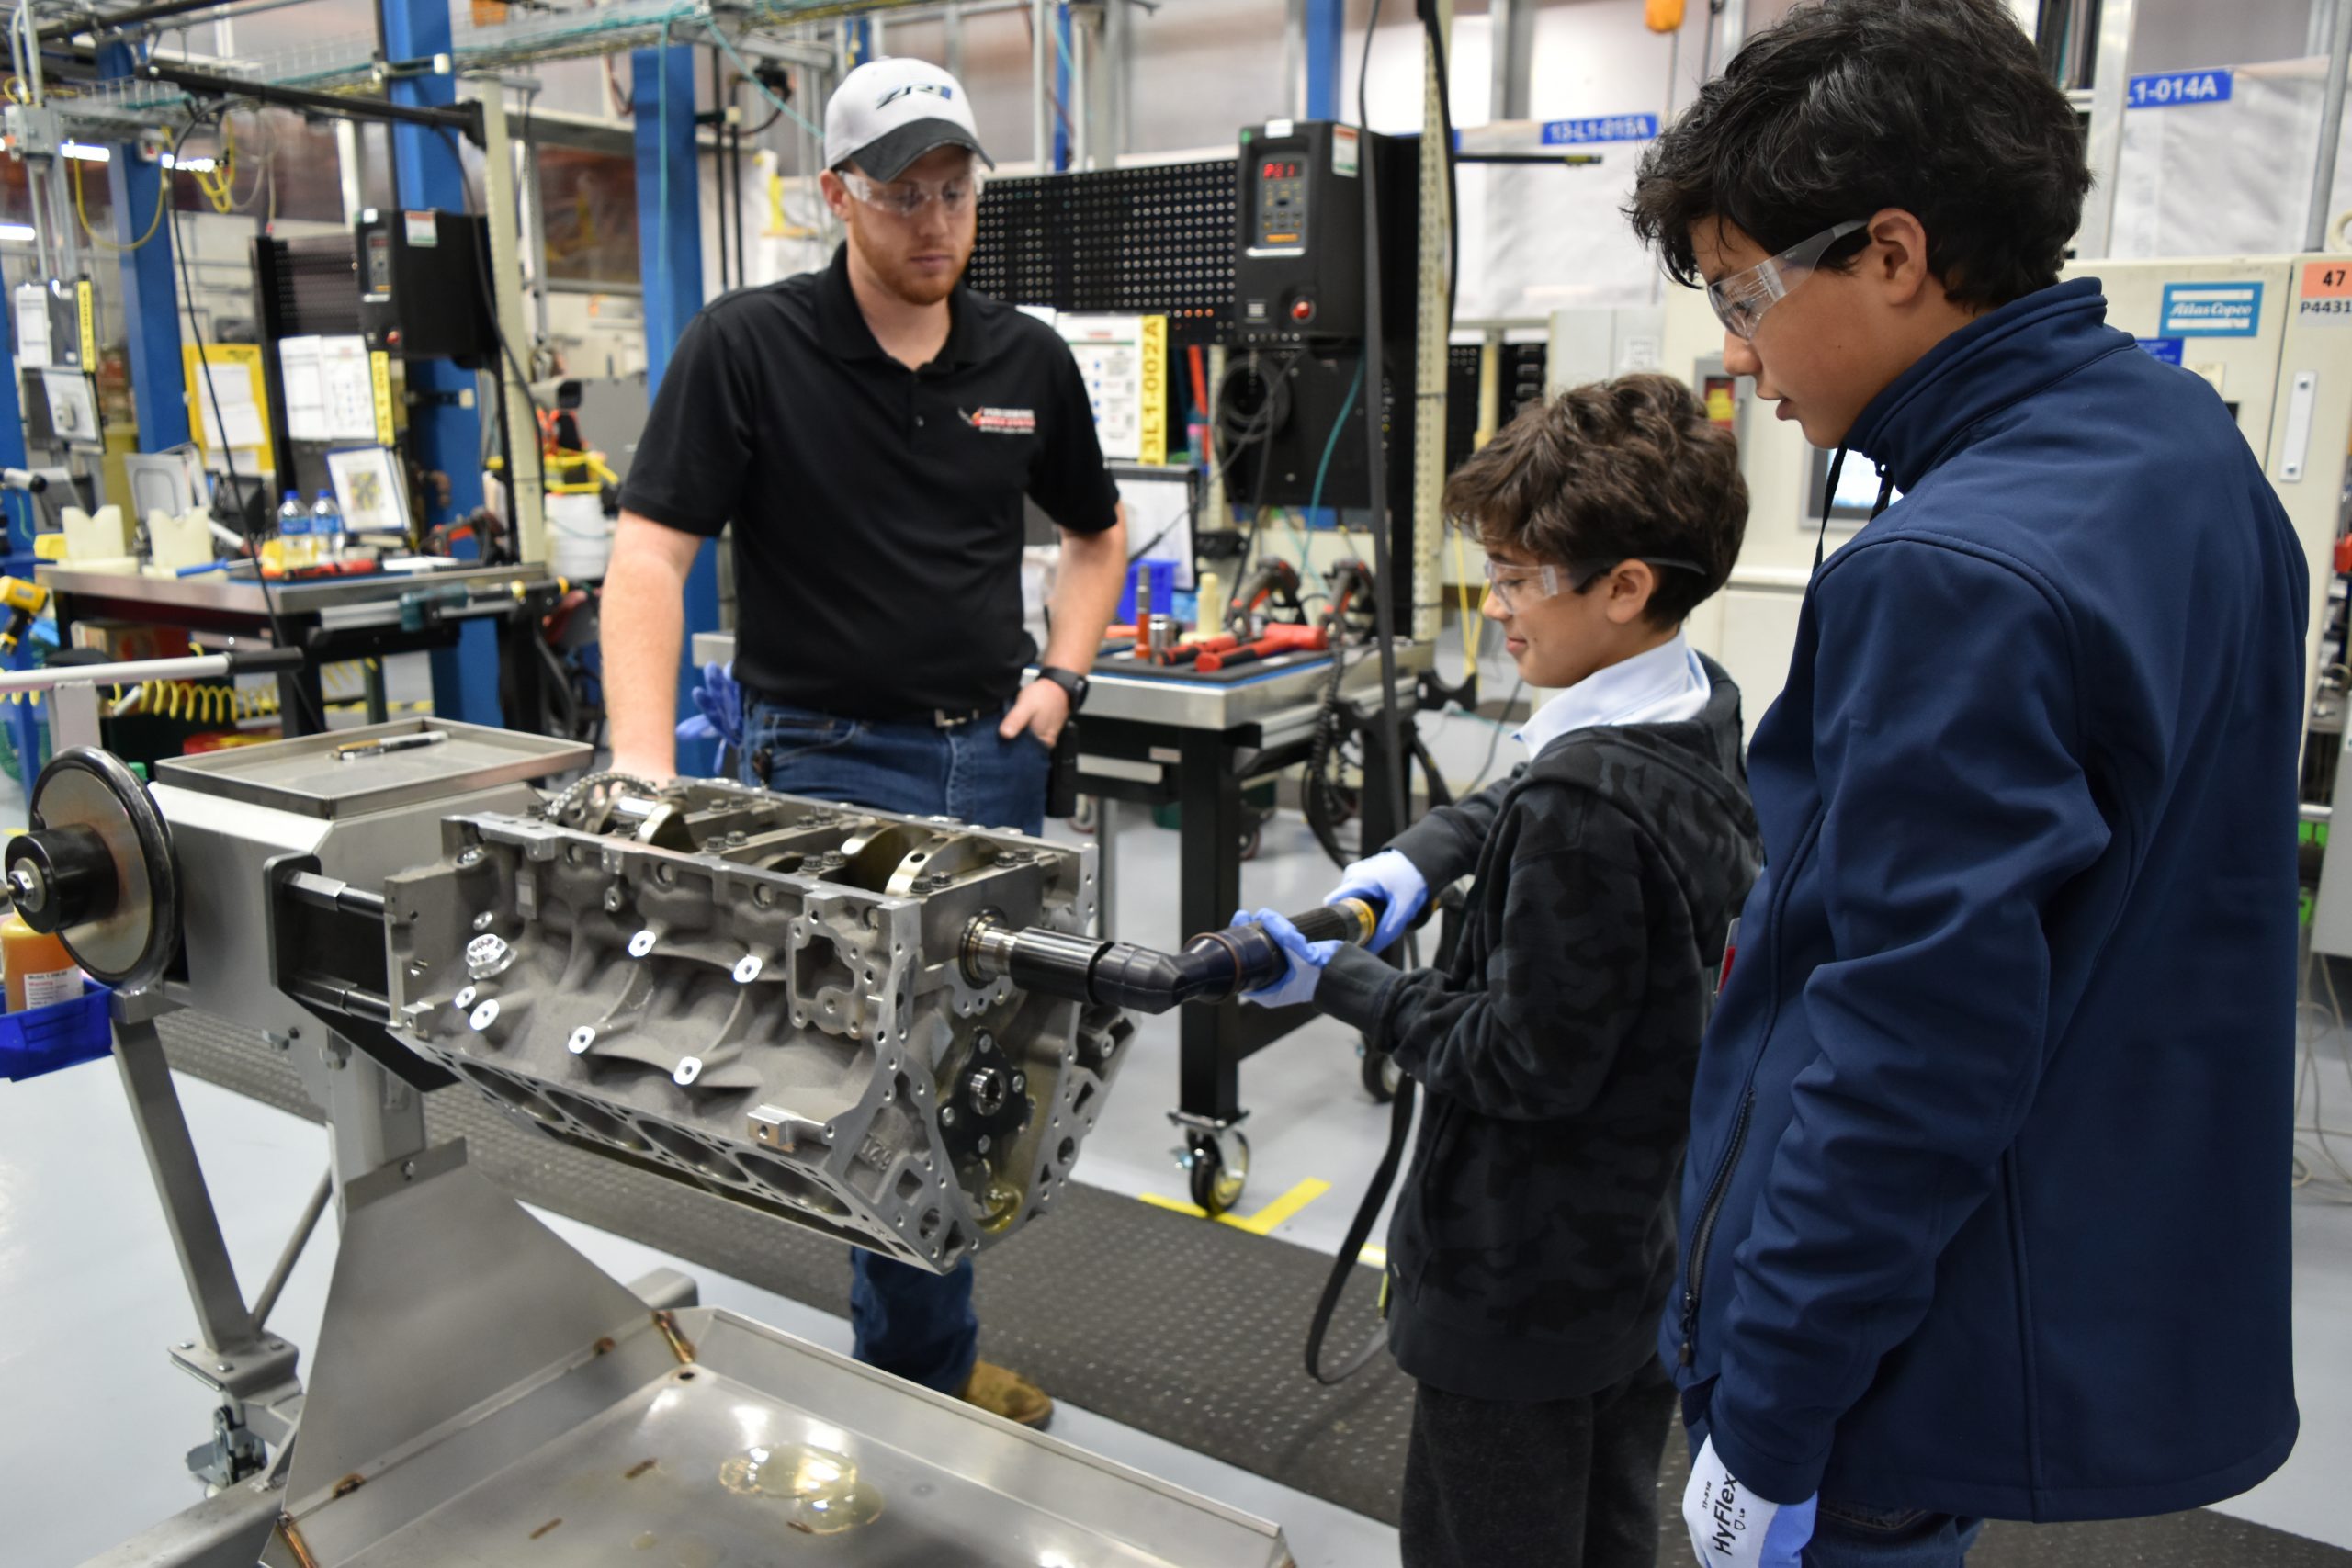
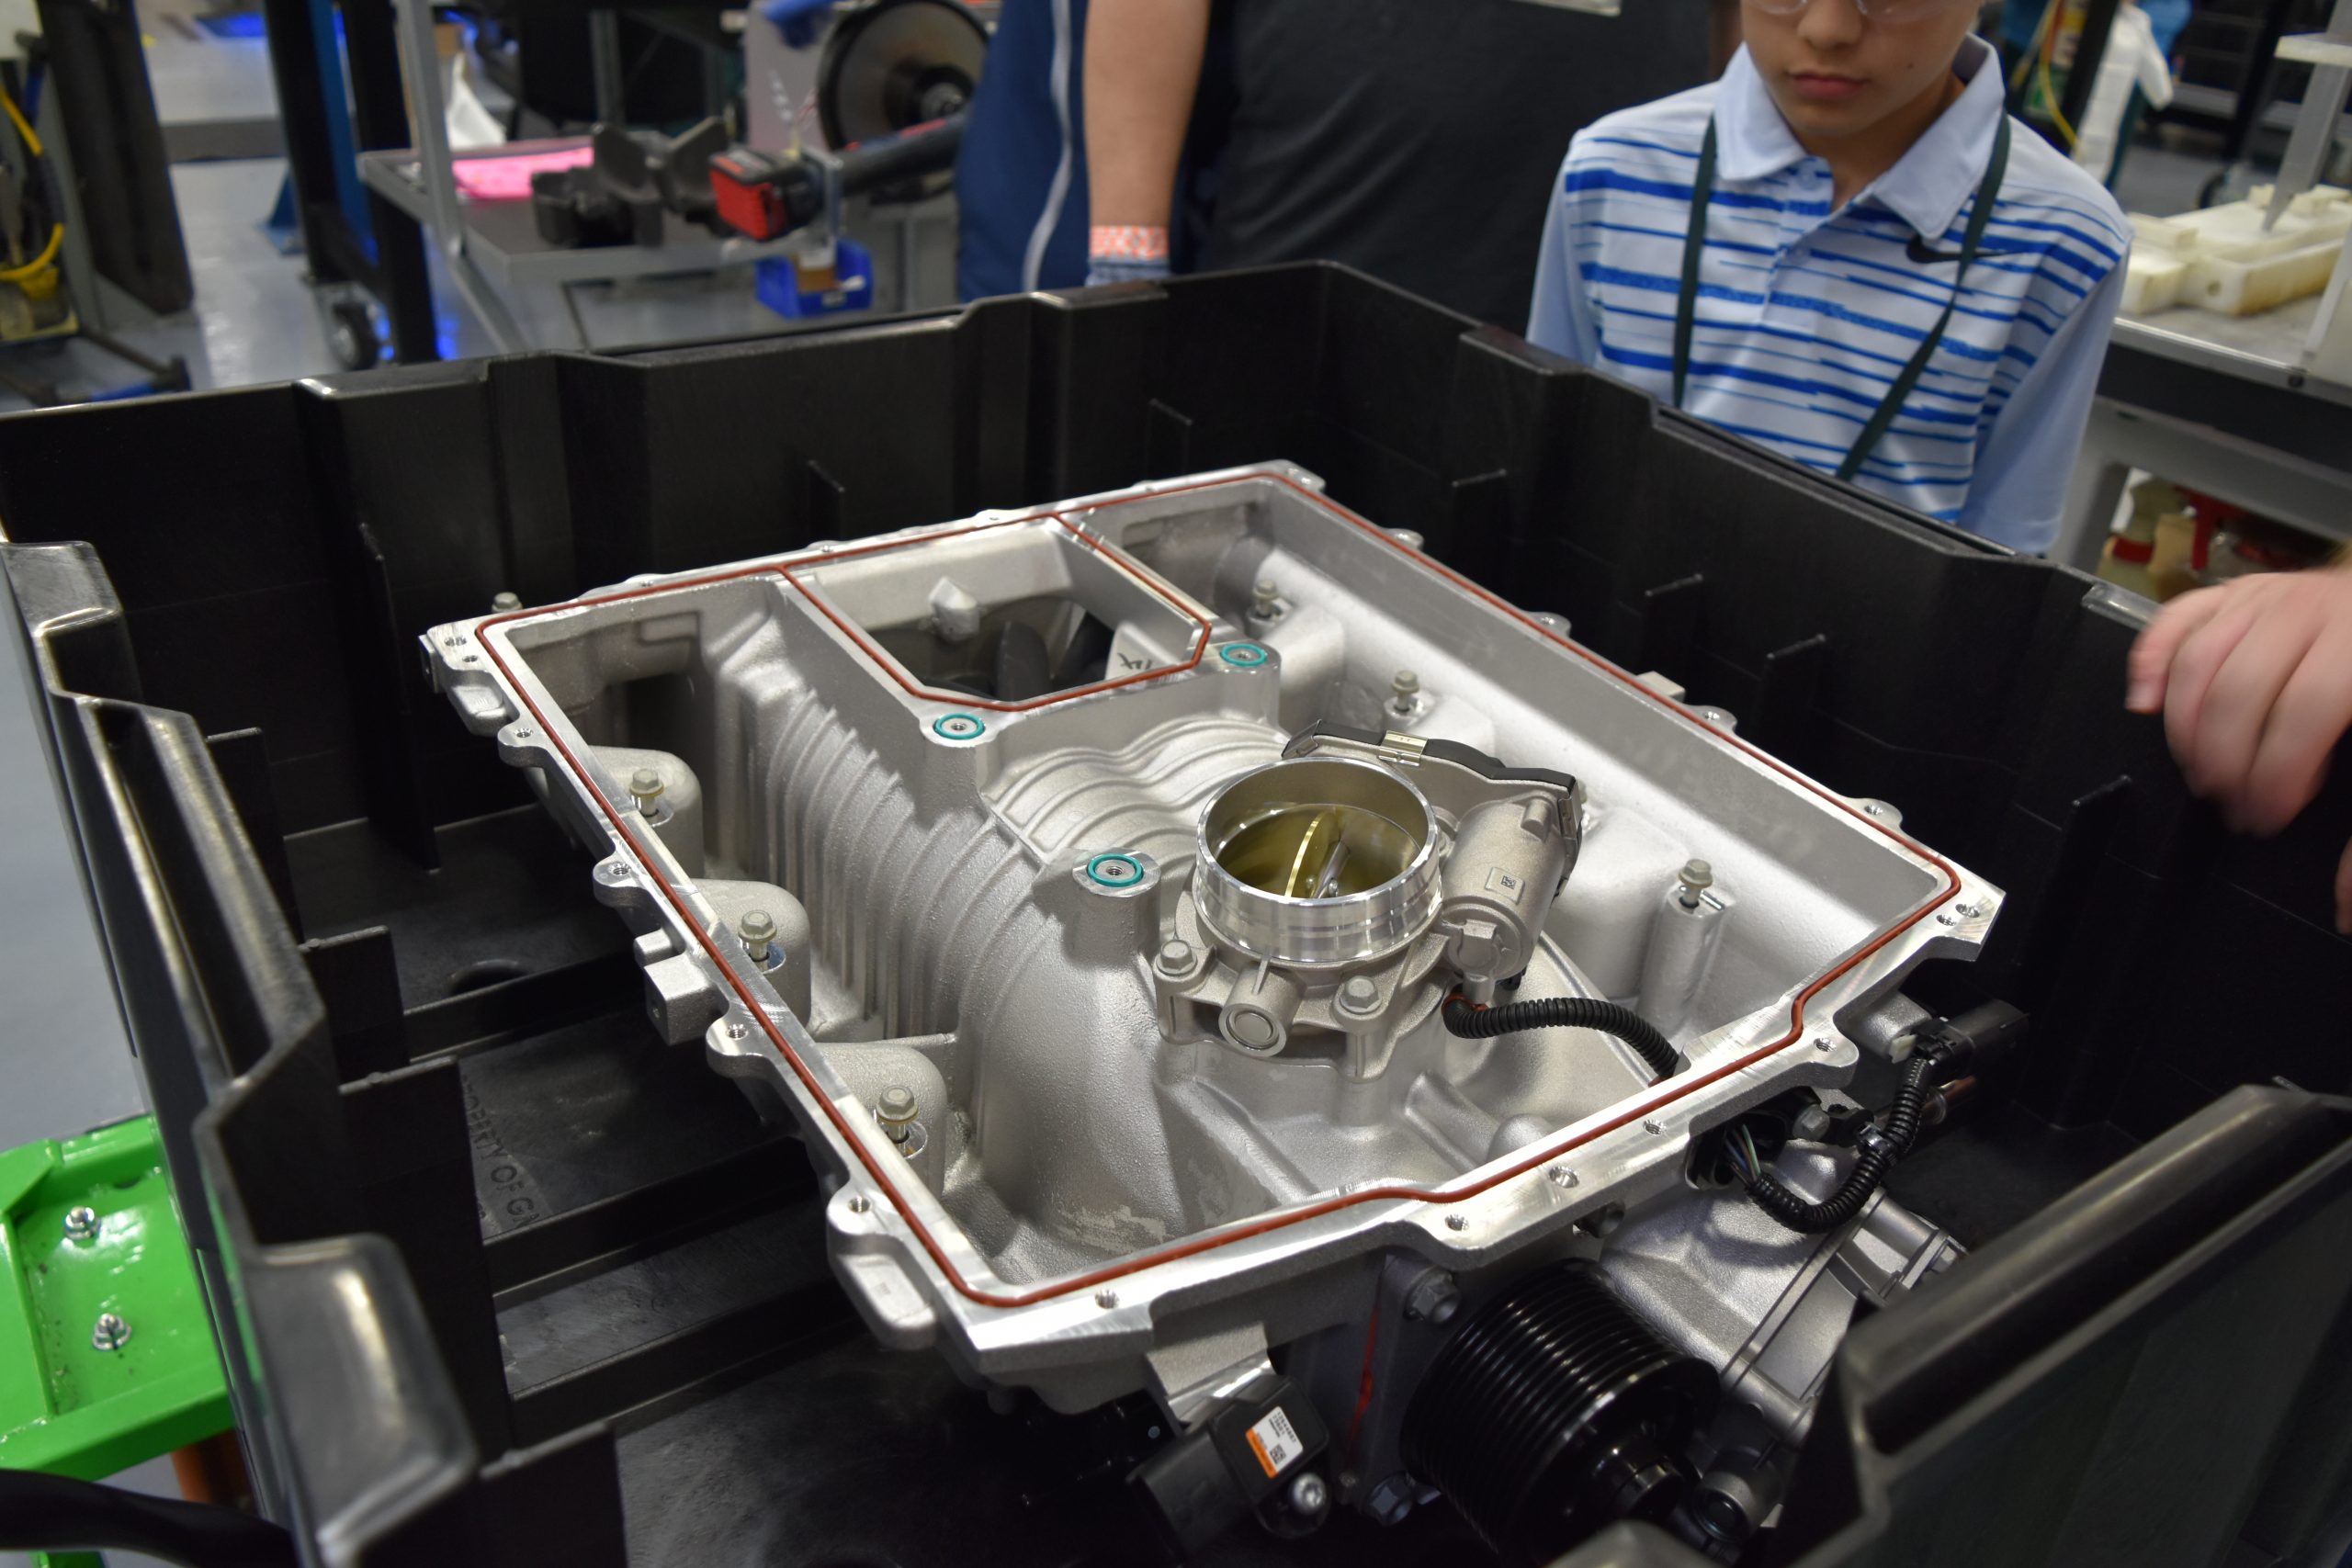
9. Station 4, here we come. Install the chain, some accessories, and the oil pan.


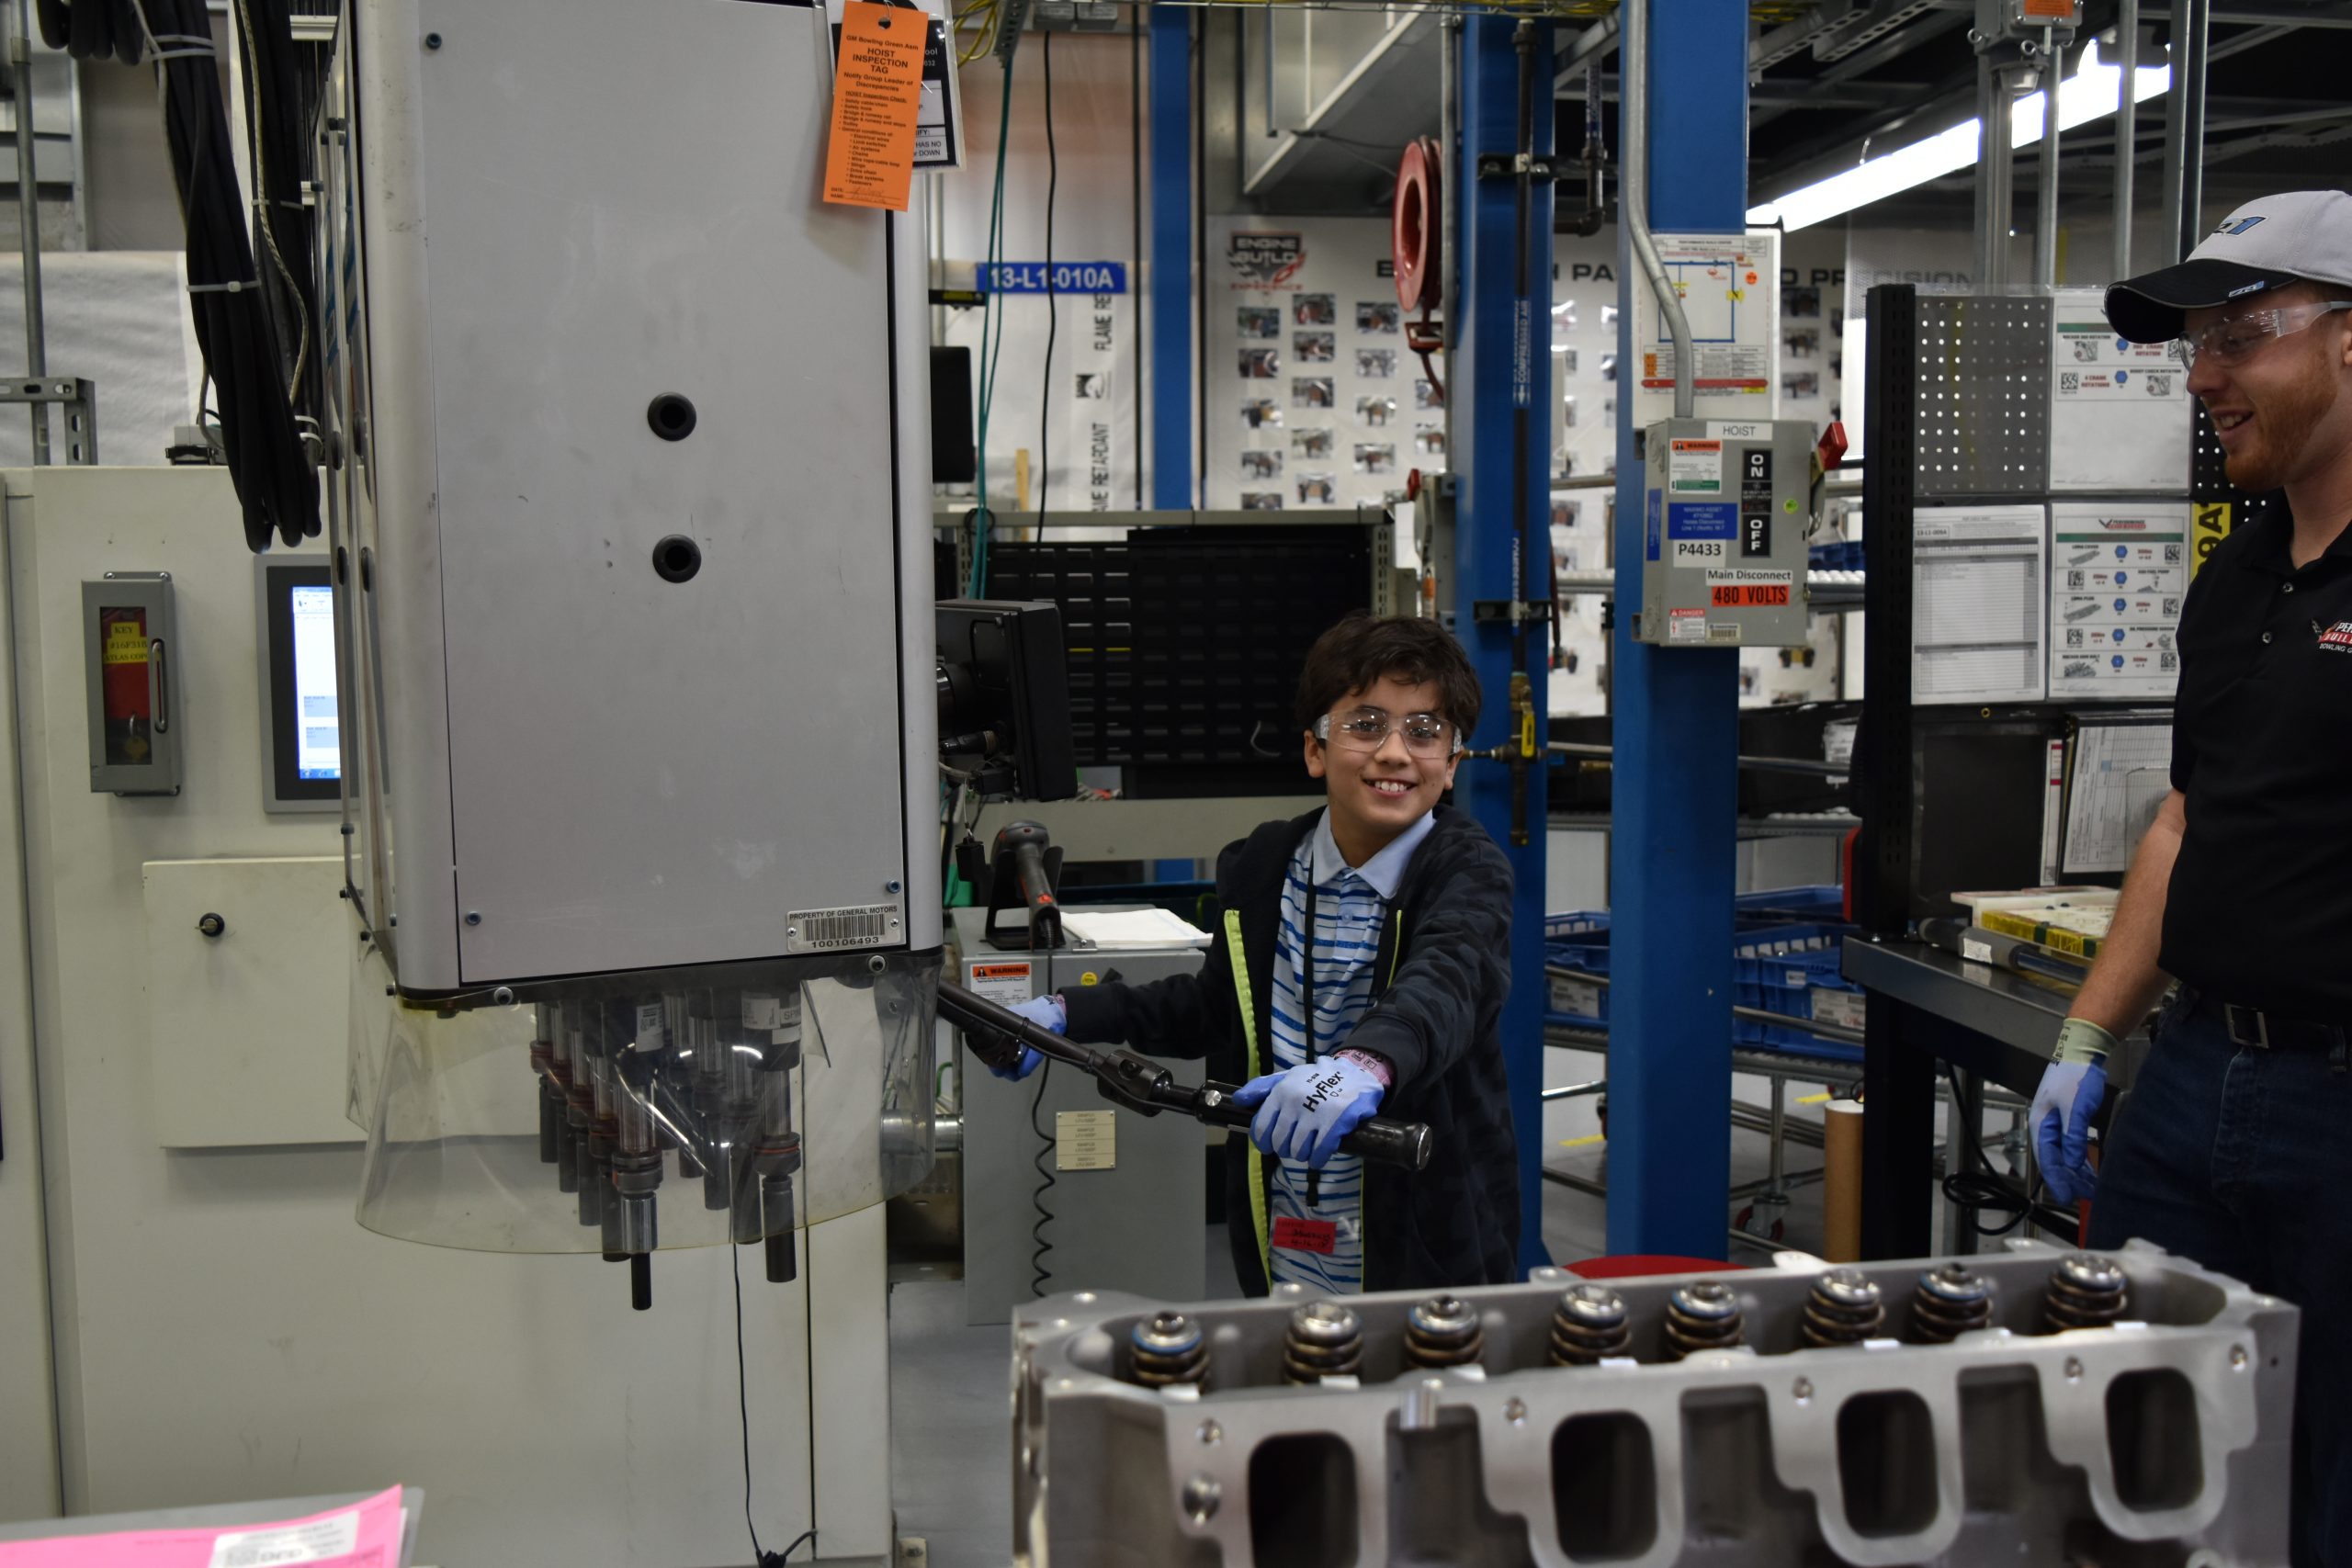
10. Install the heads, take hold of Nick’s favorite machine, and lock ’em down!

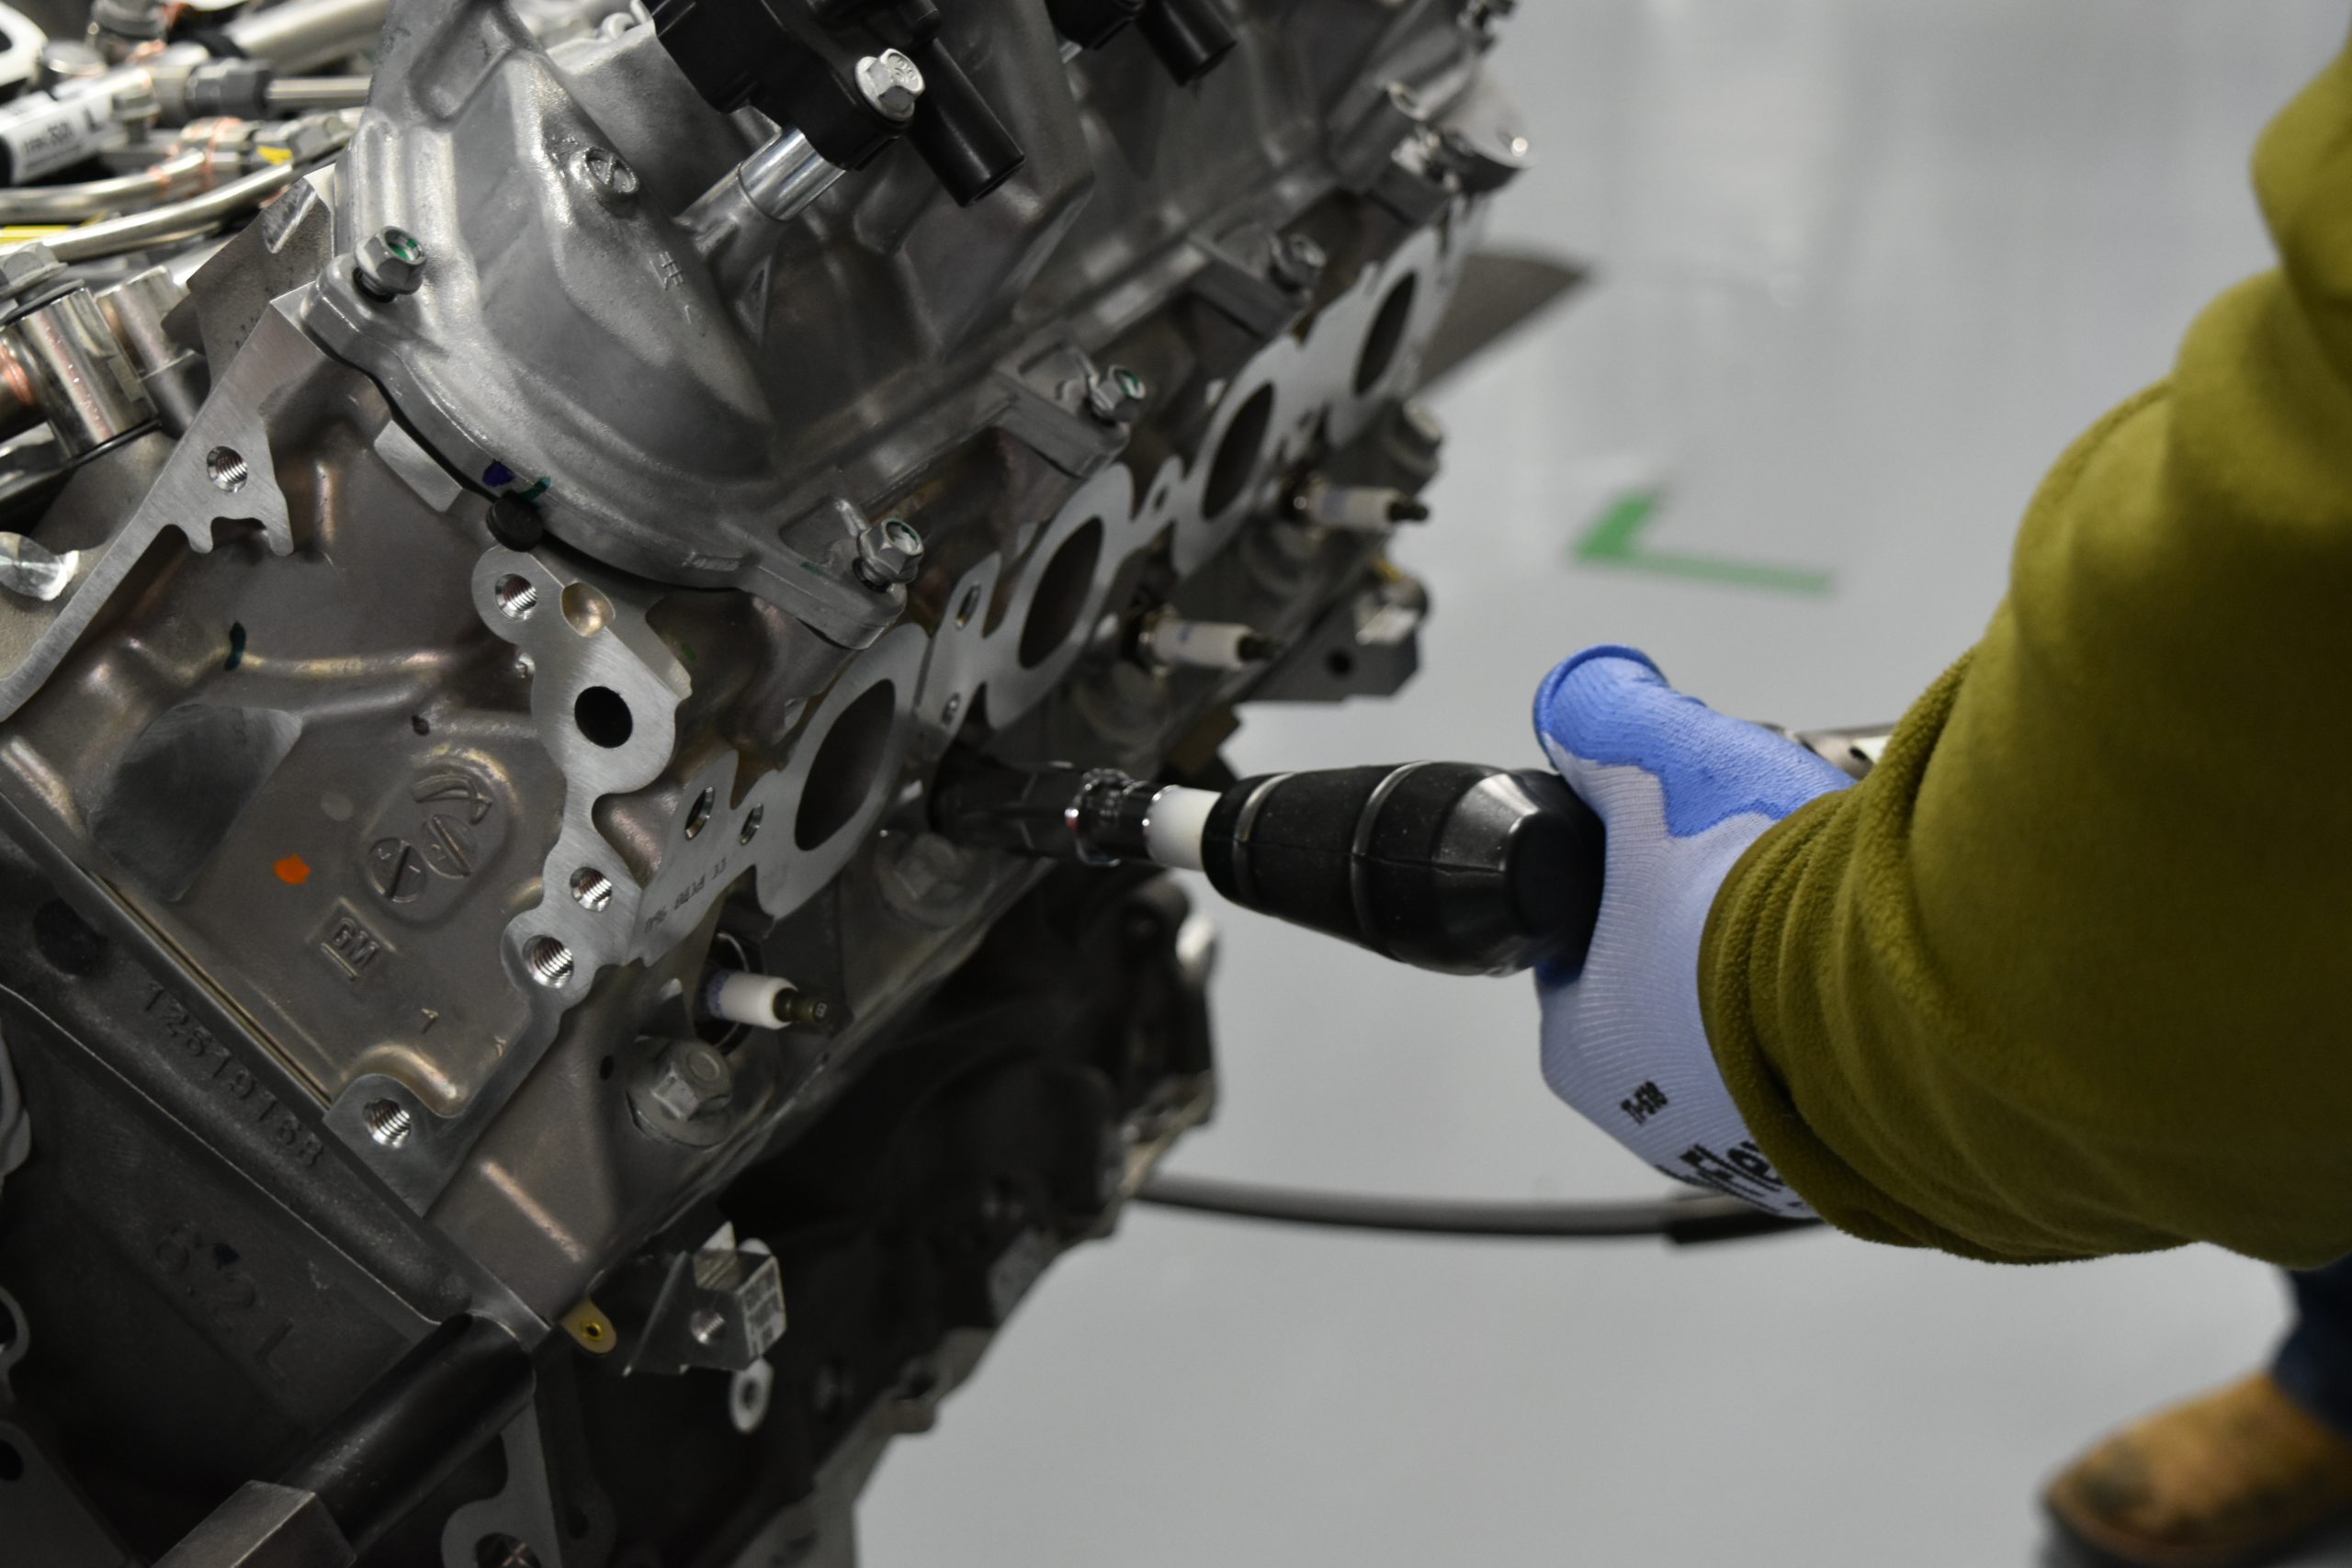
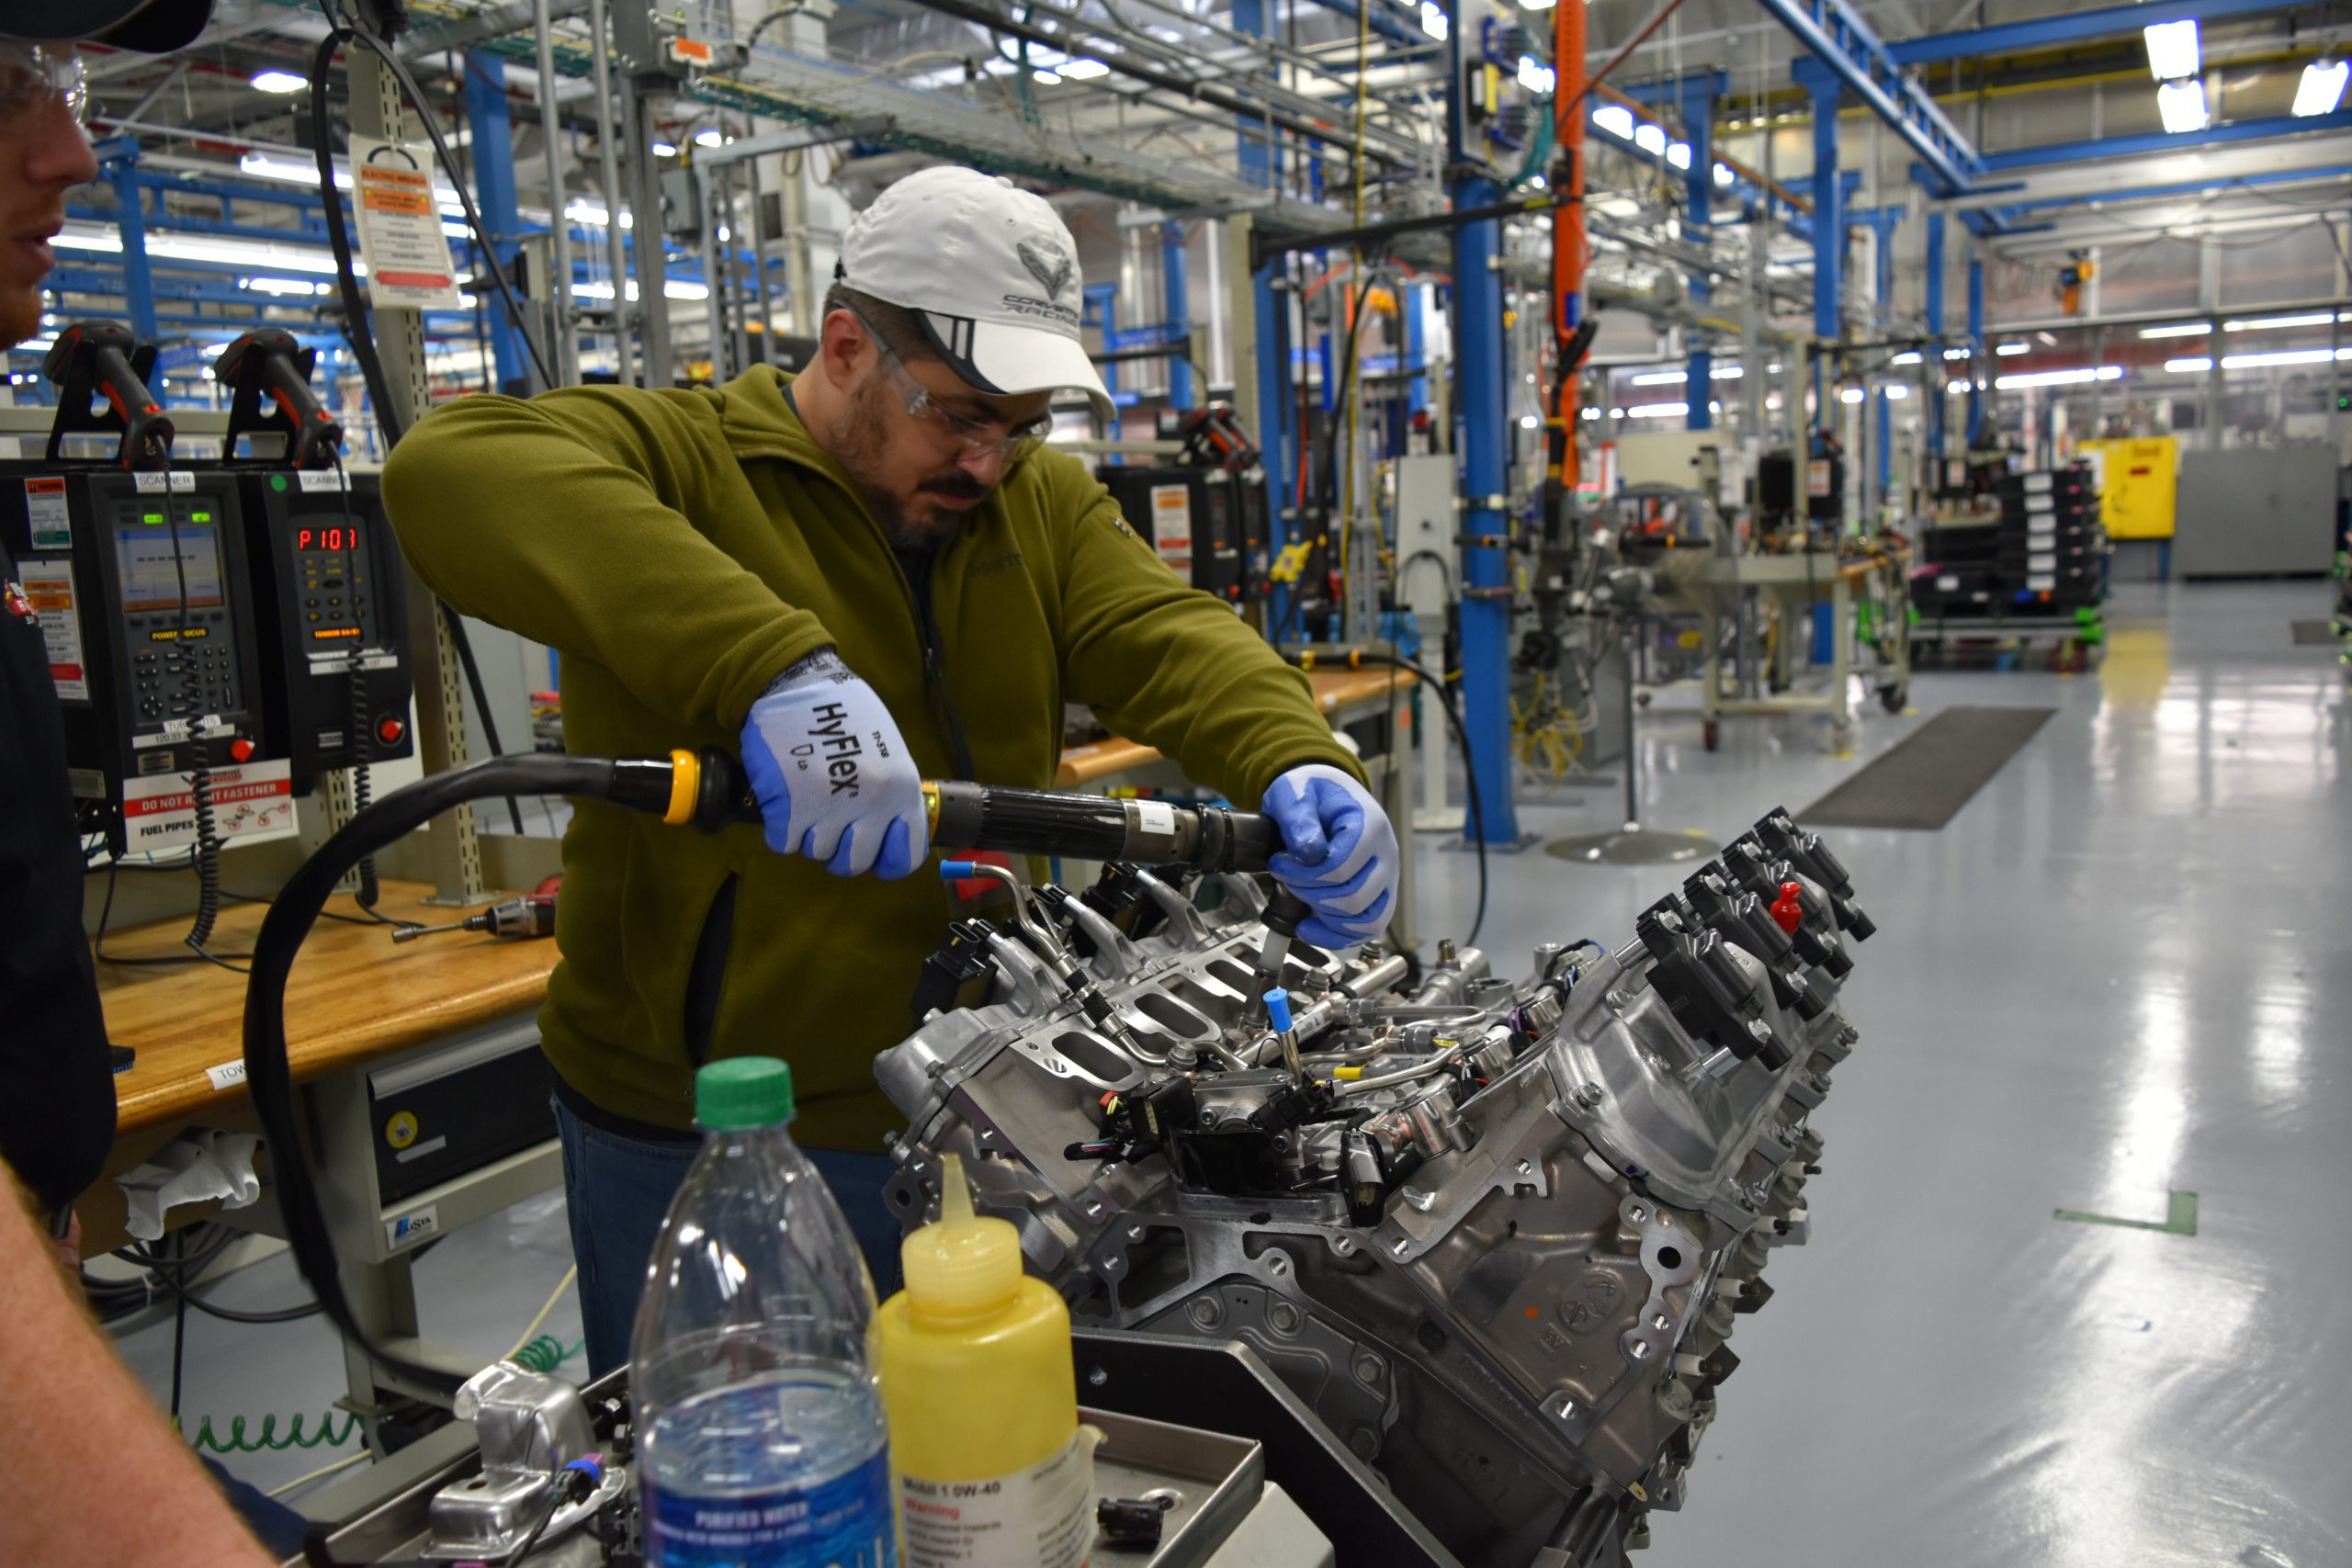
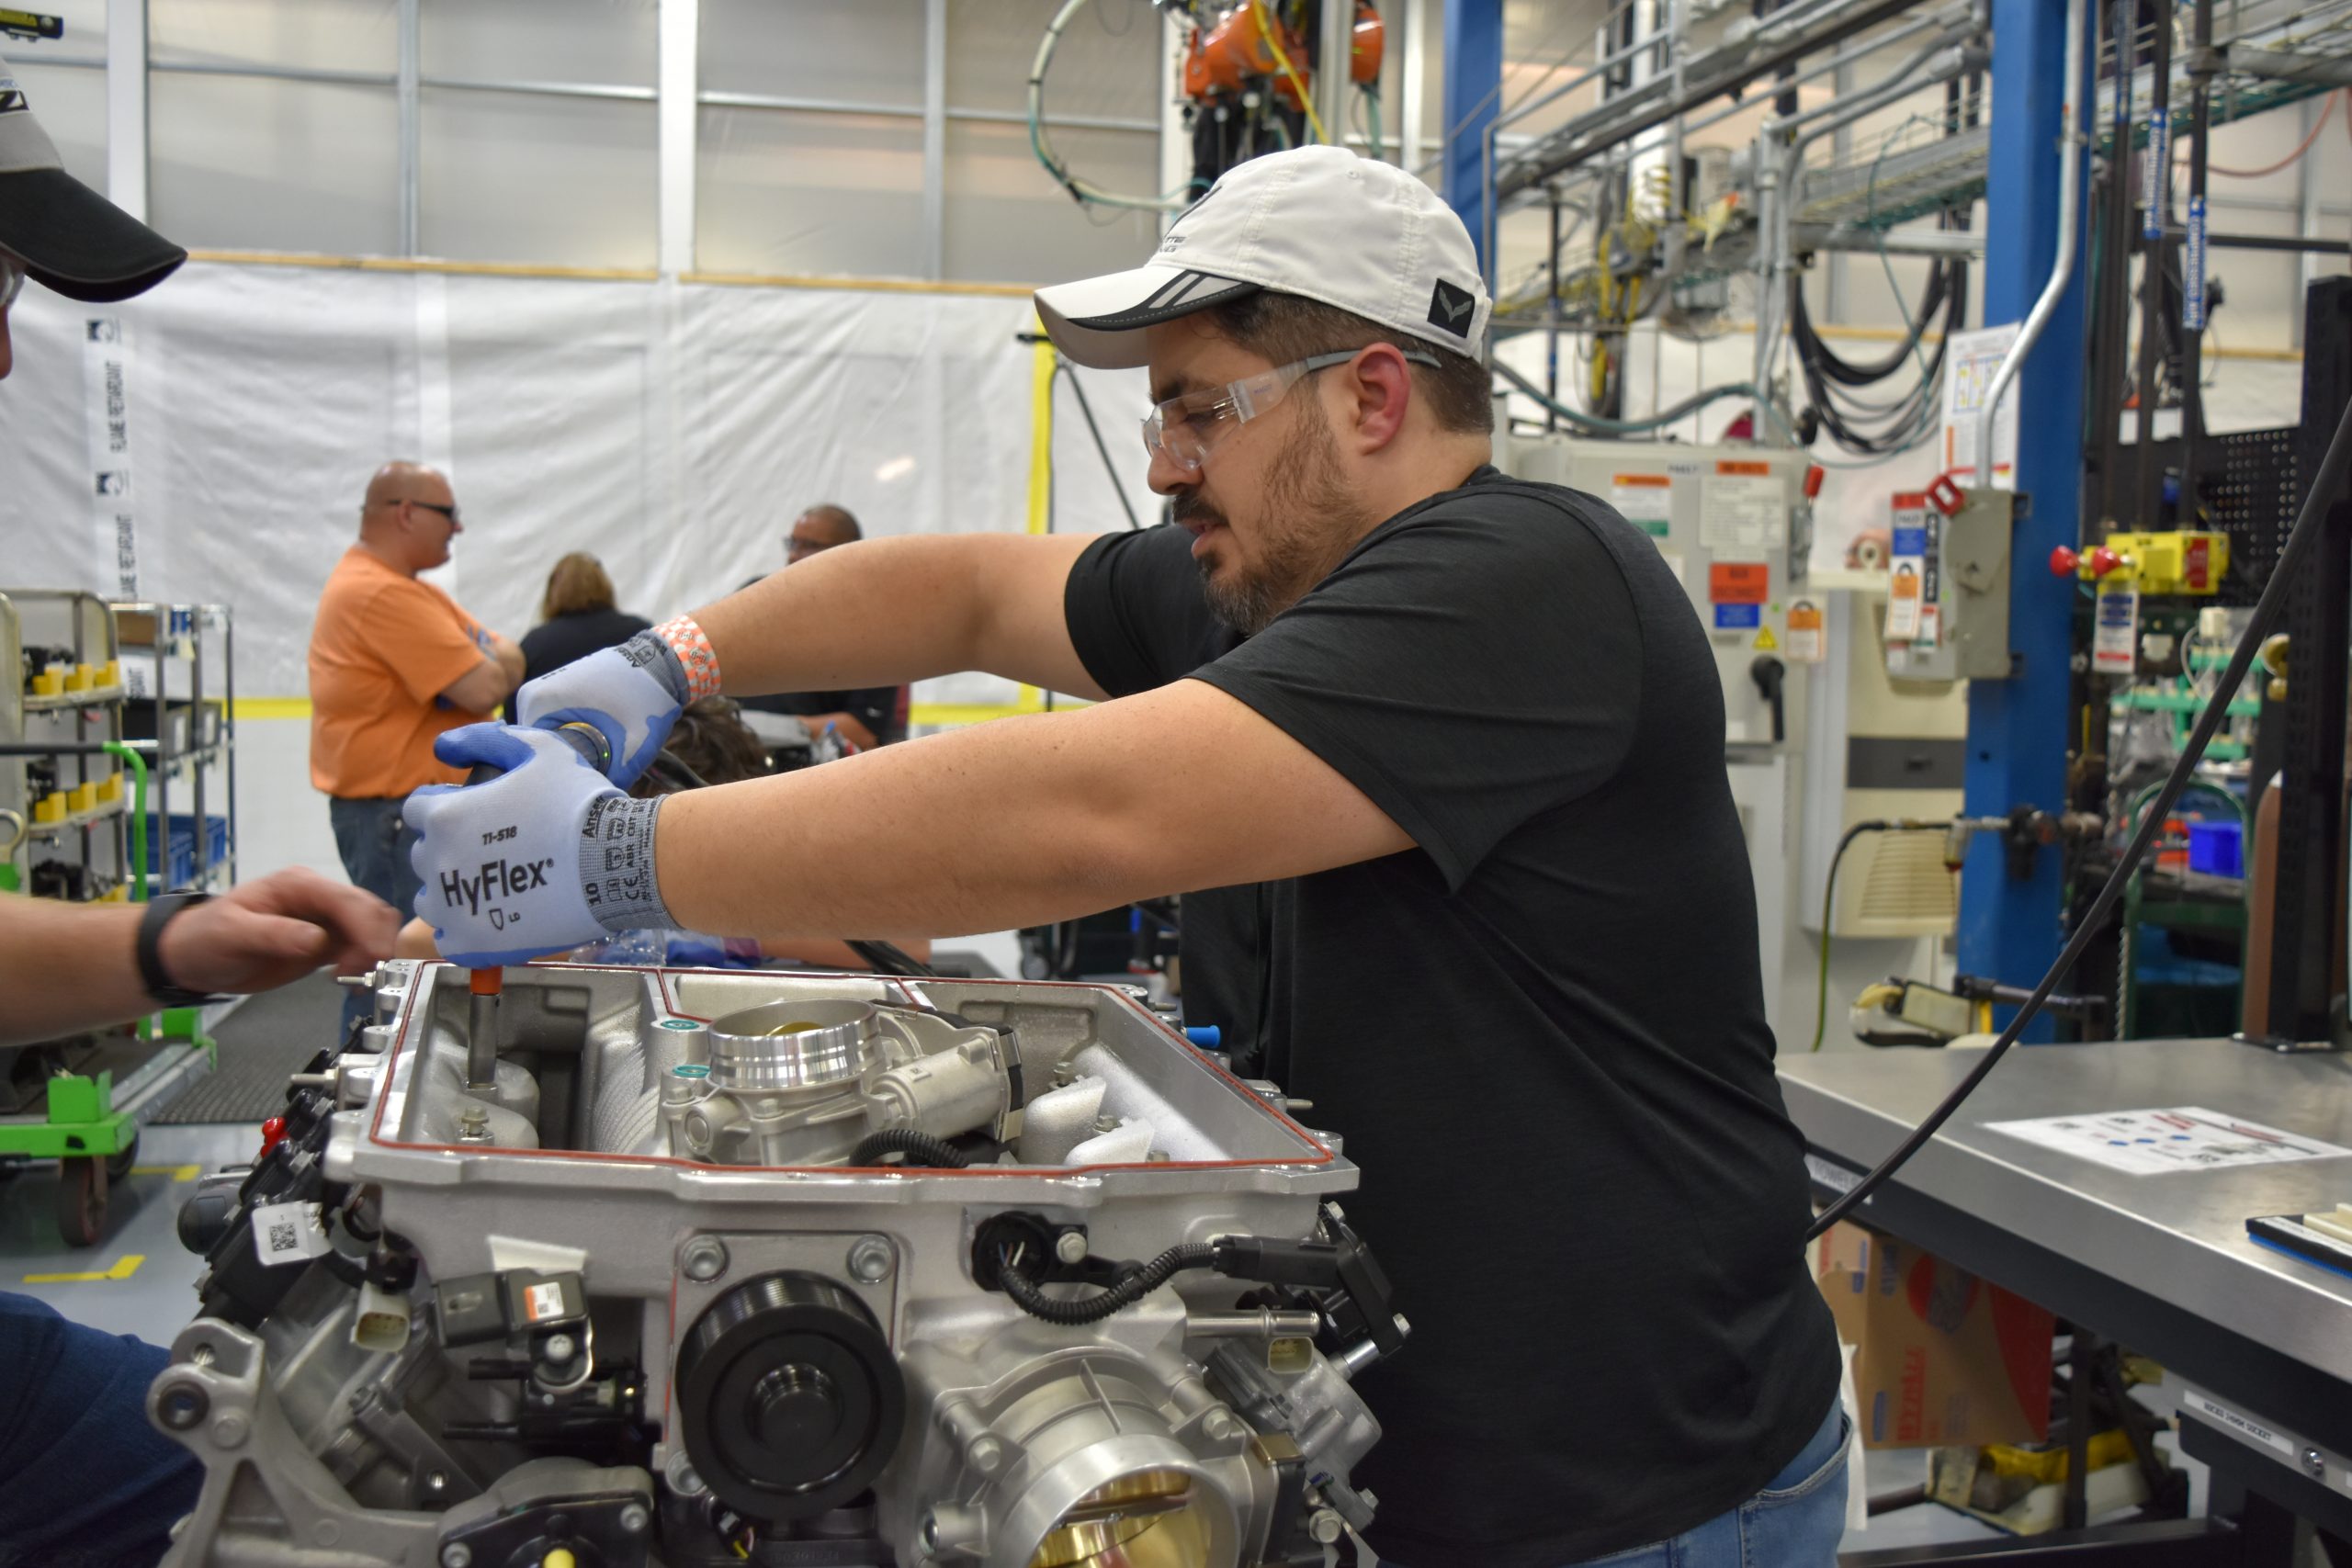
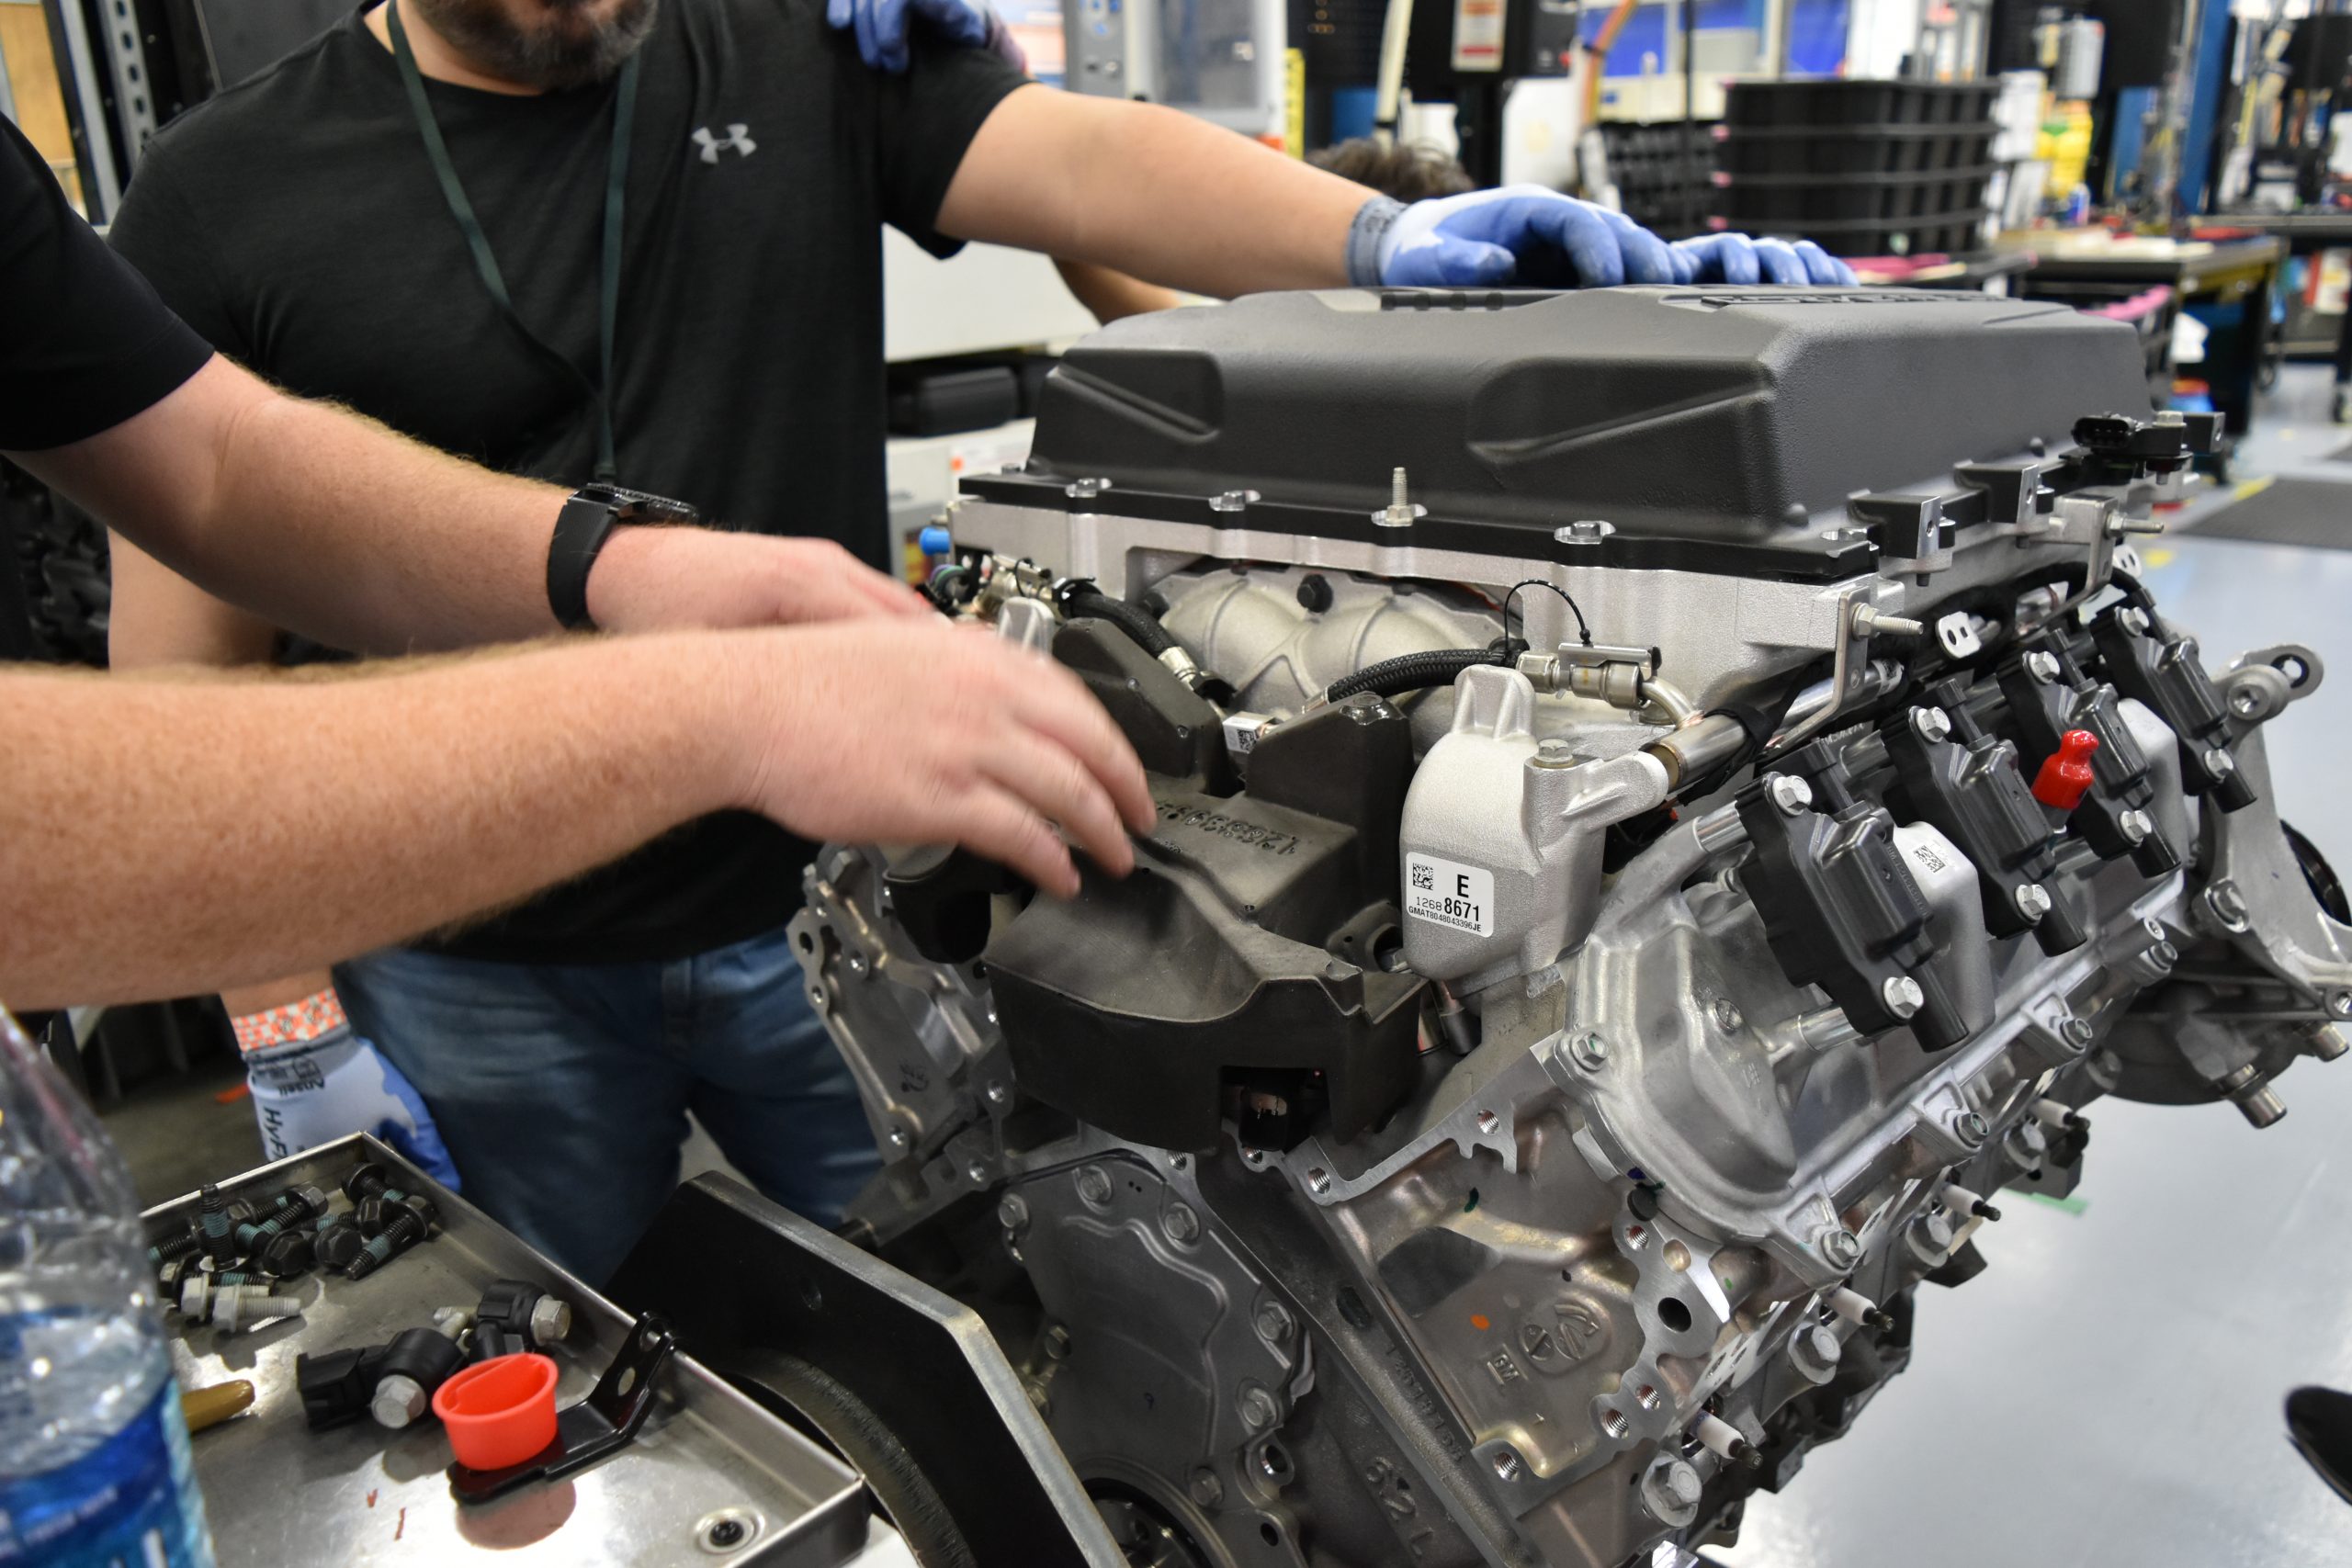
11. Install valves, tighten things up, then get started on the fuel injection.
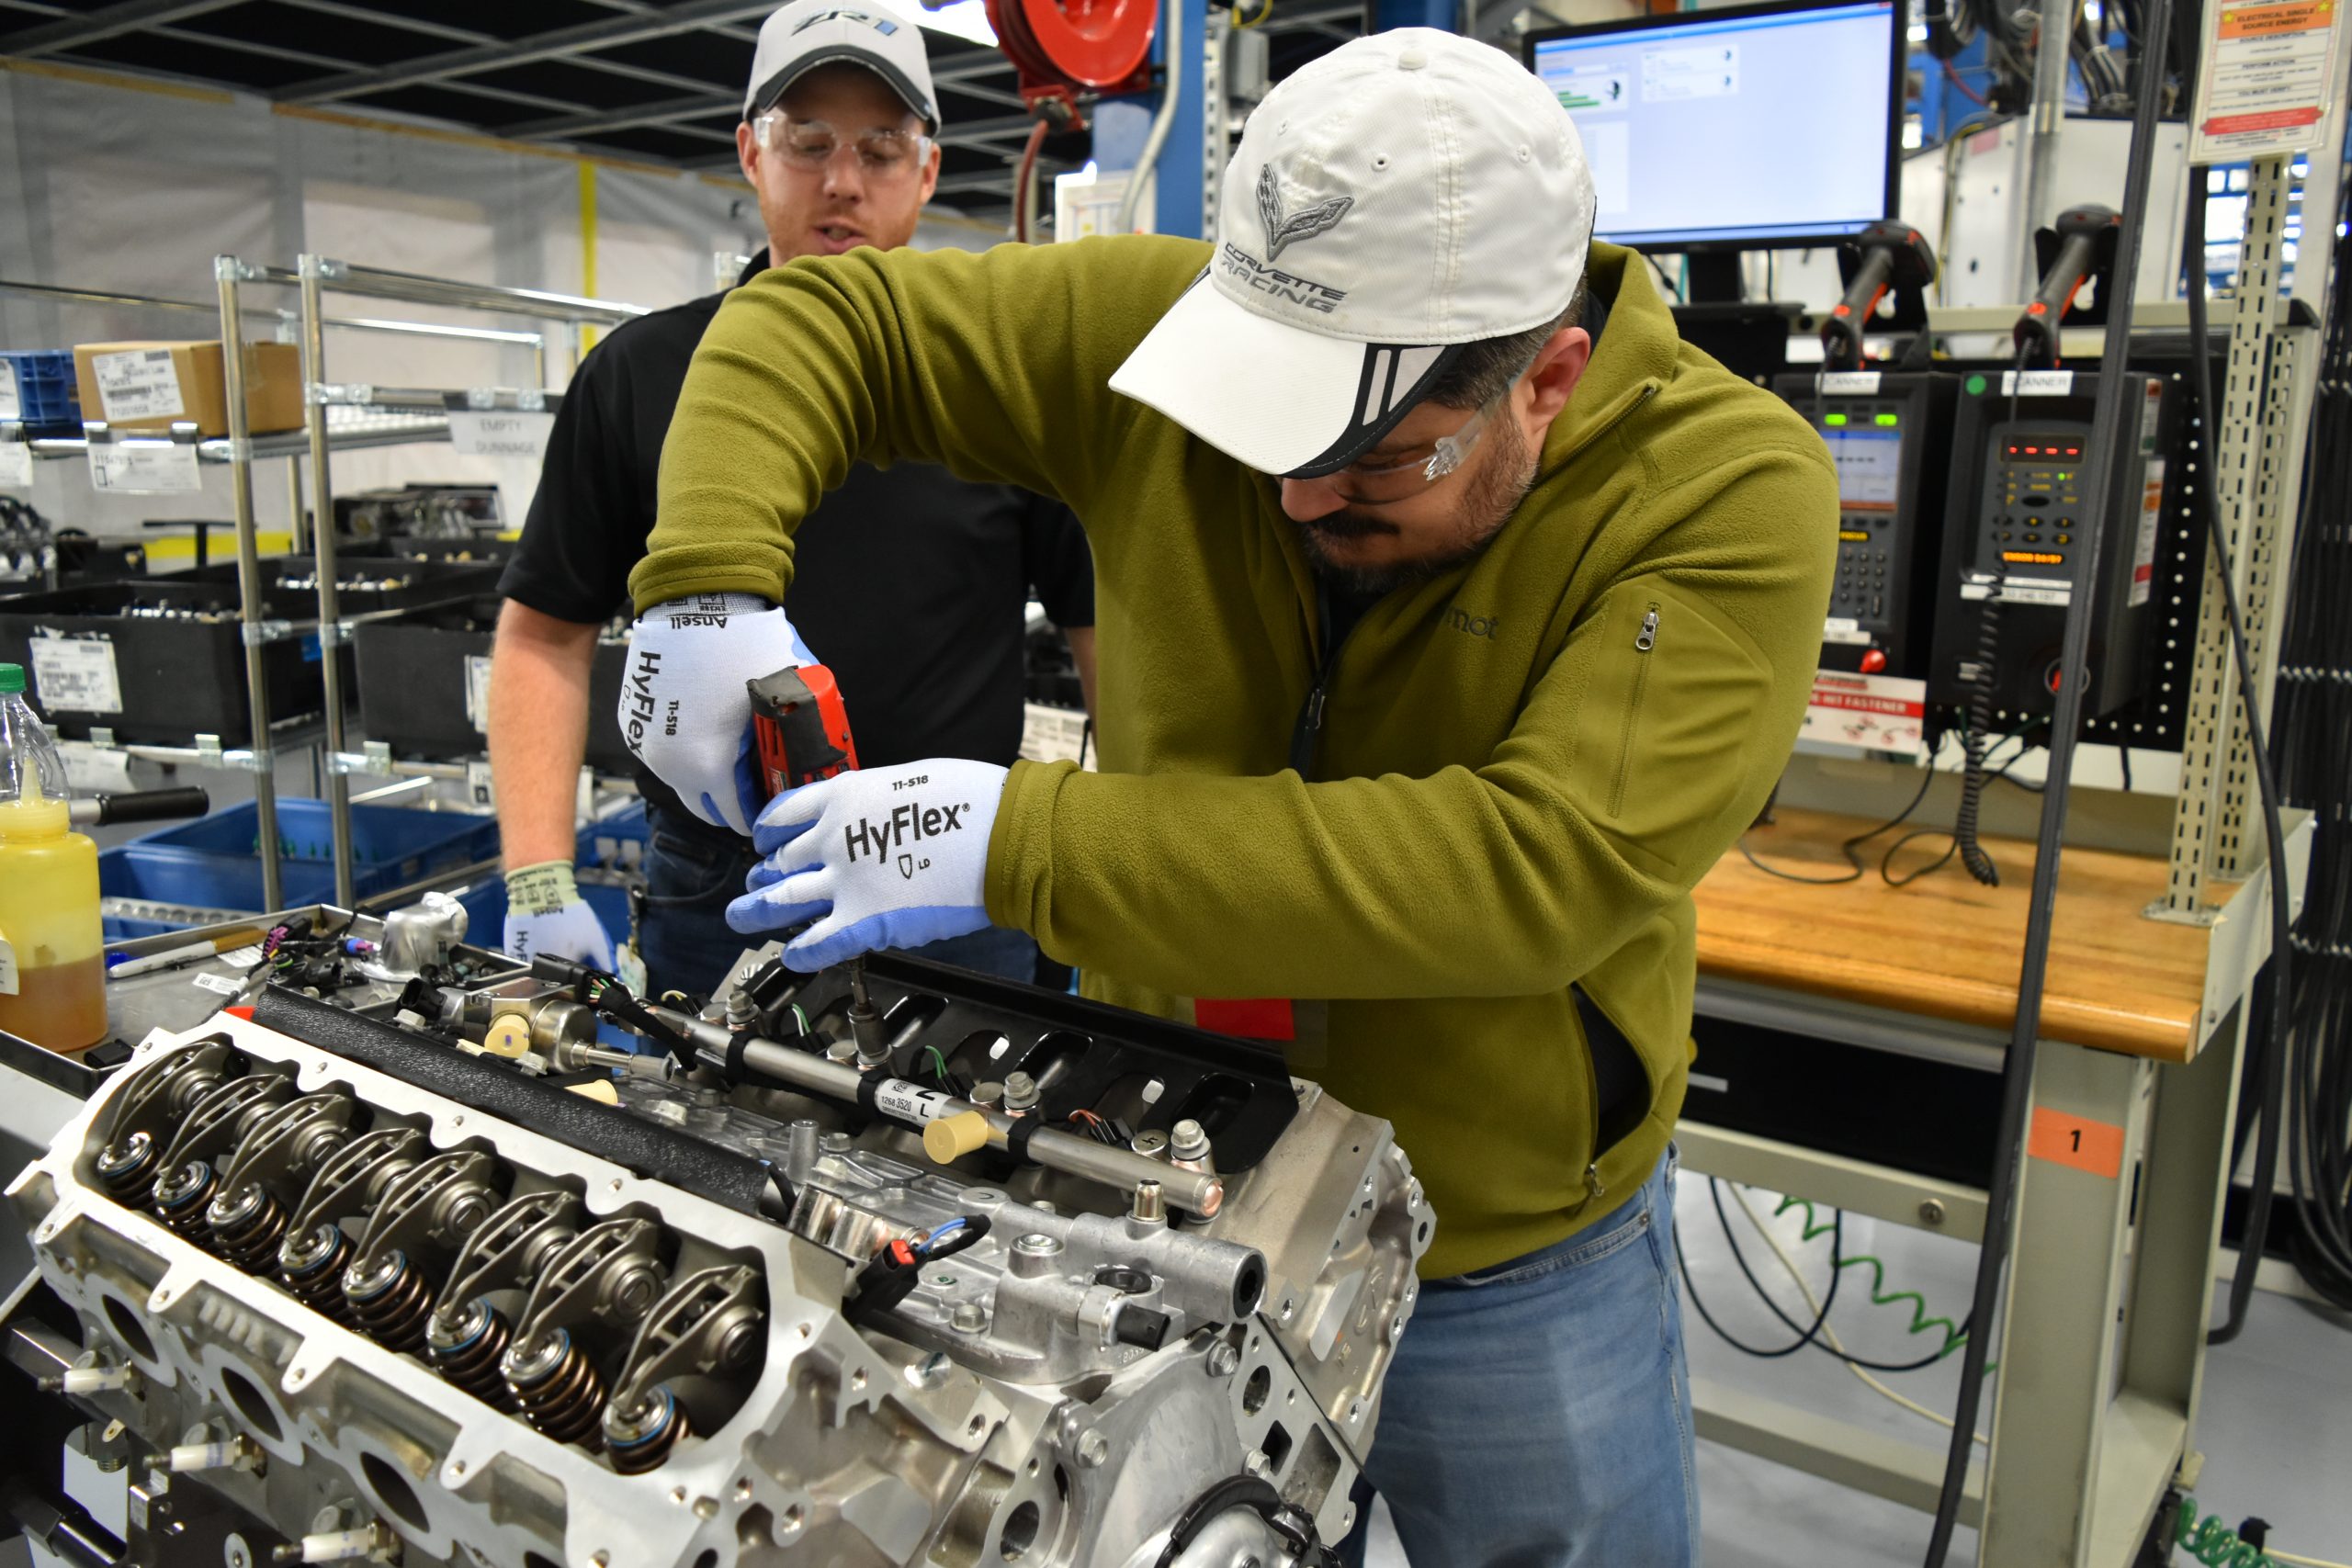
12. Install spark plugs, finish installing fuel injection system.

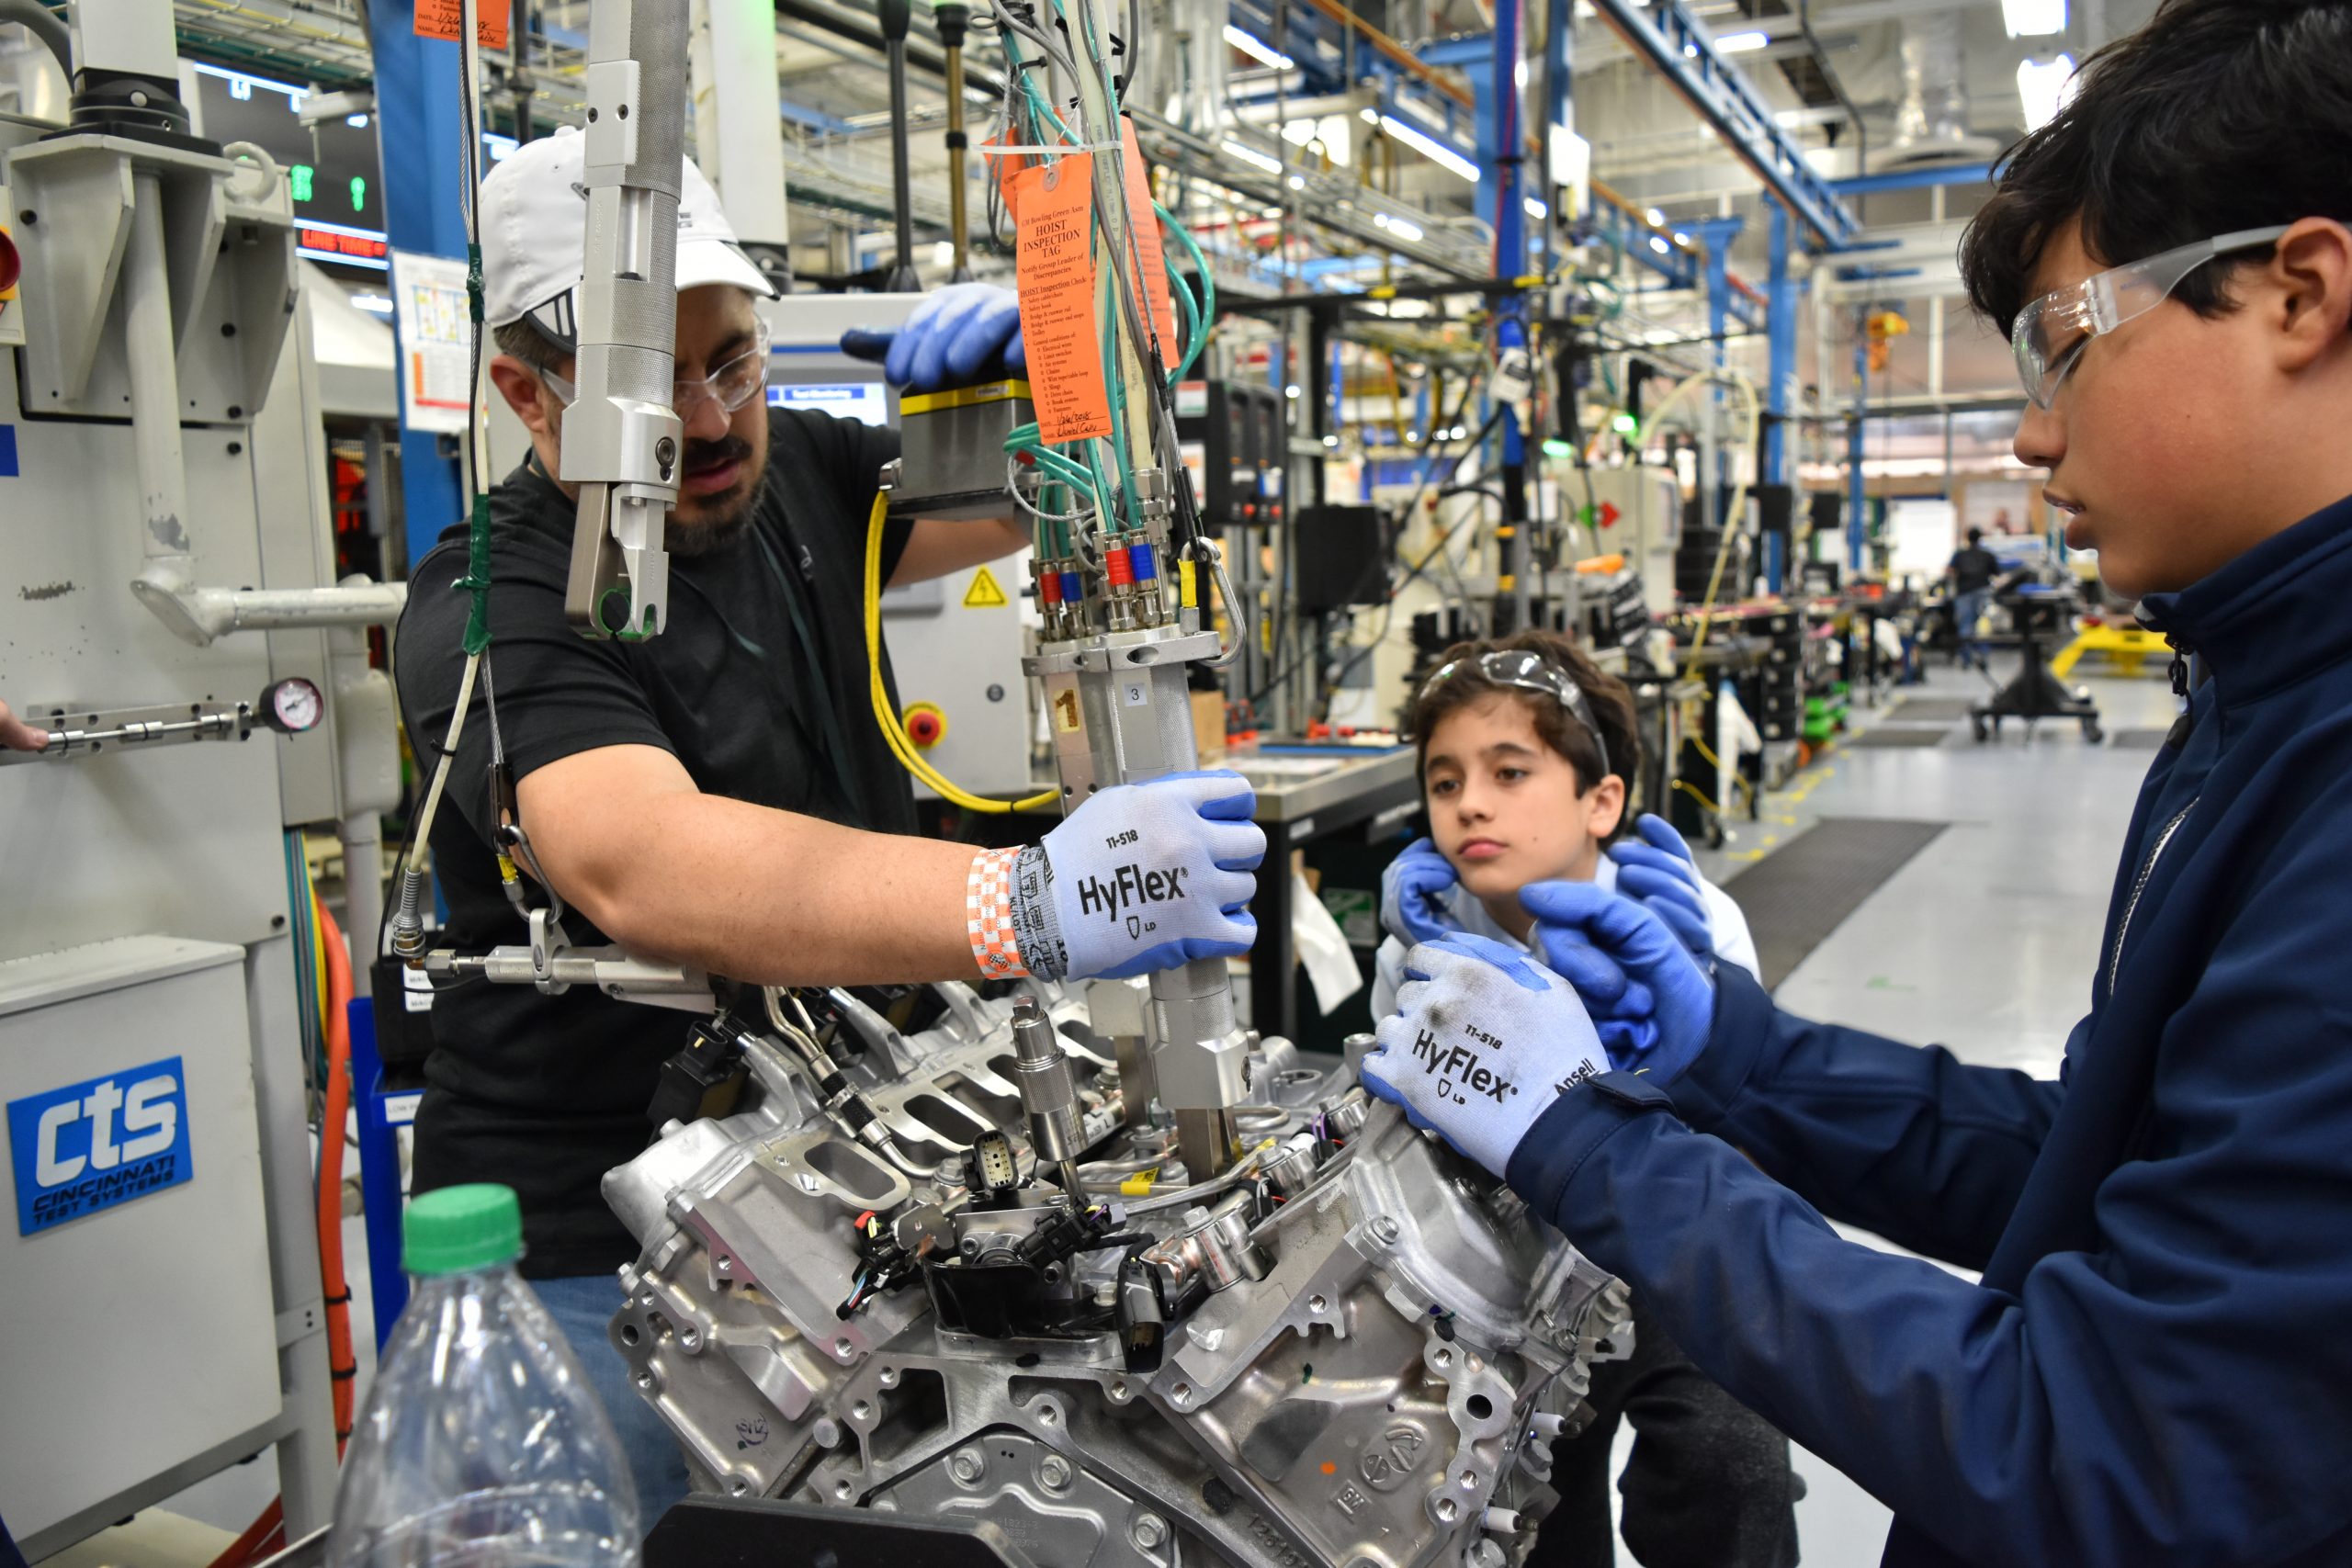
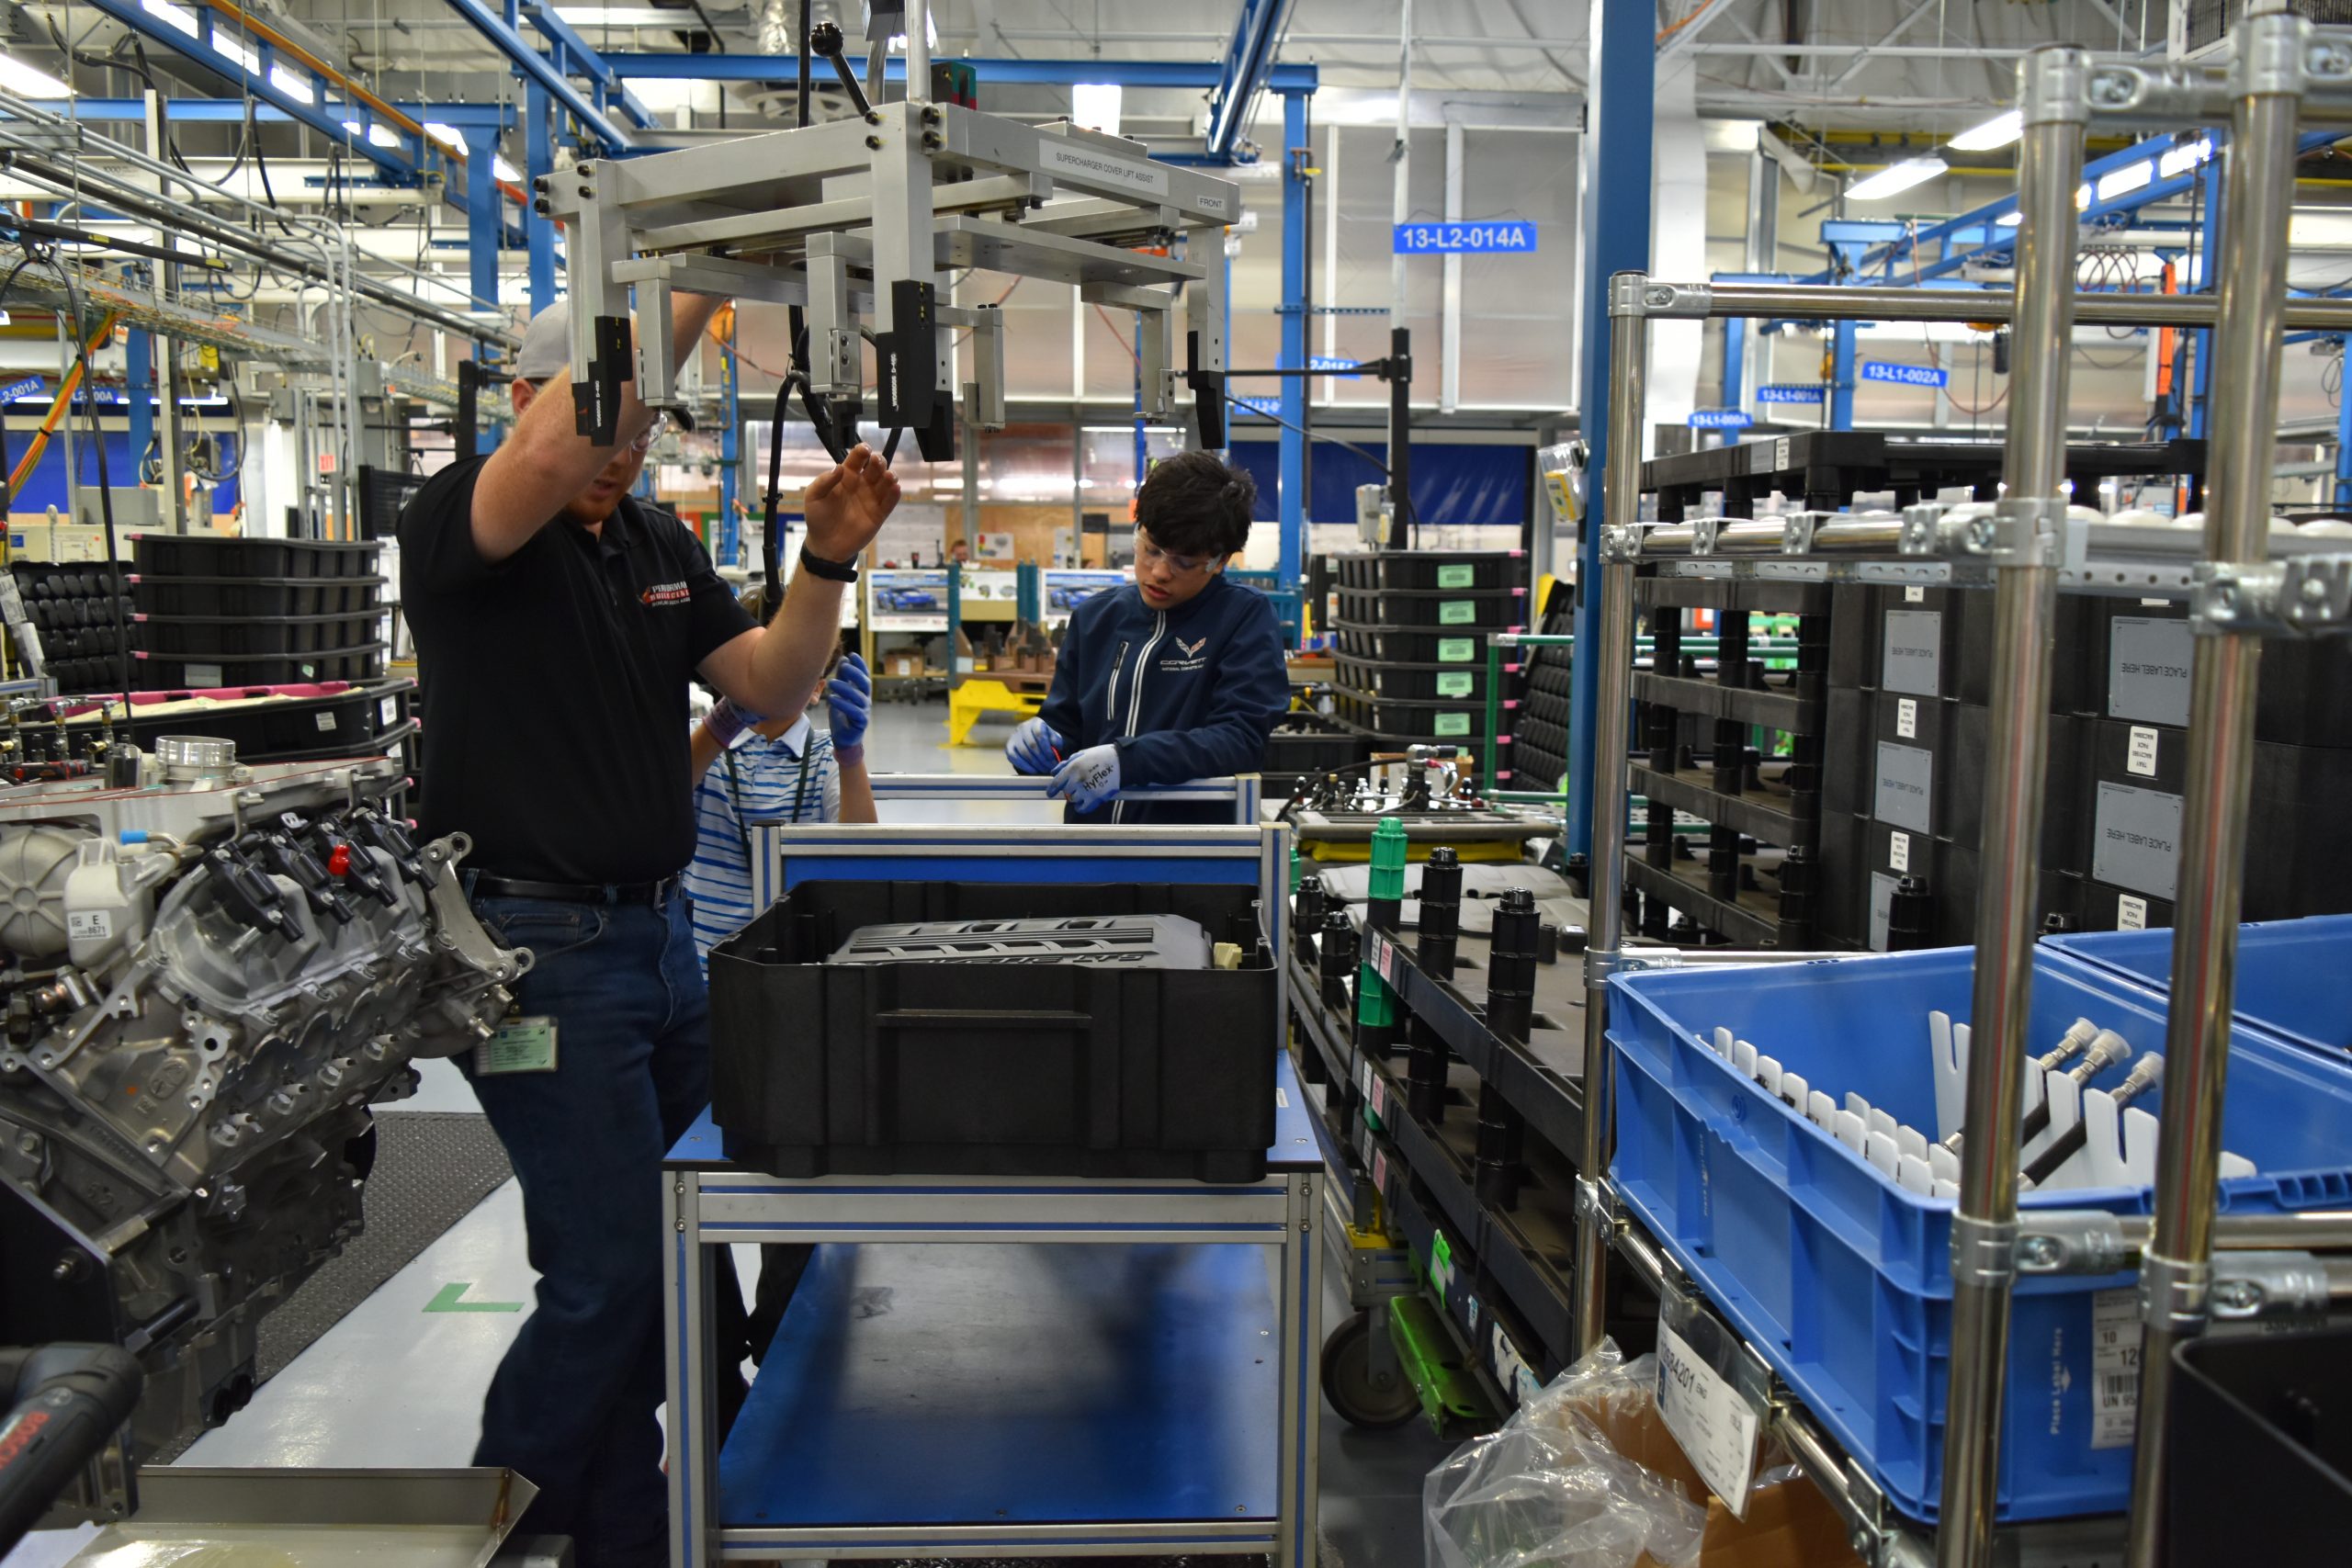
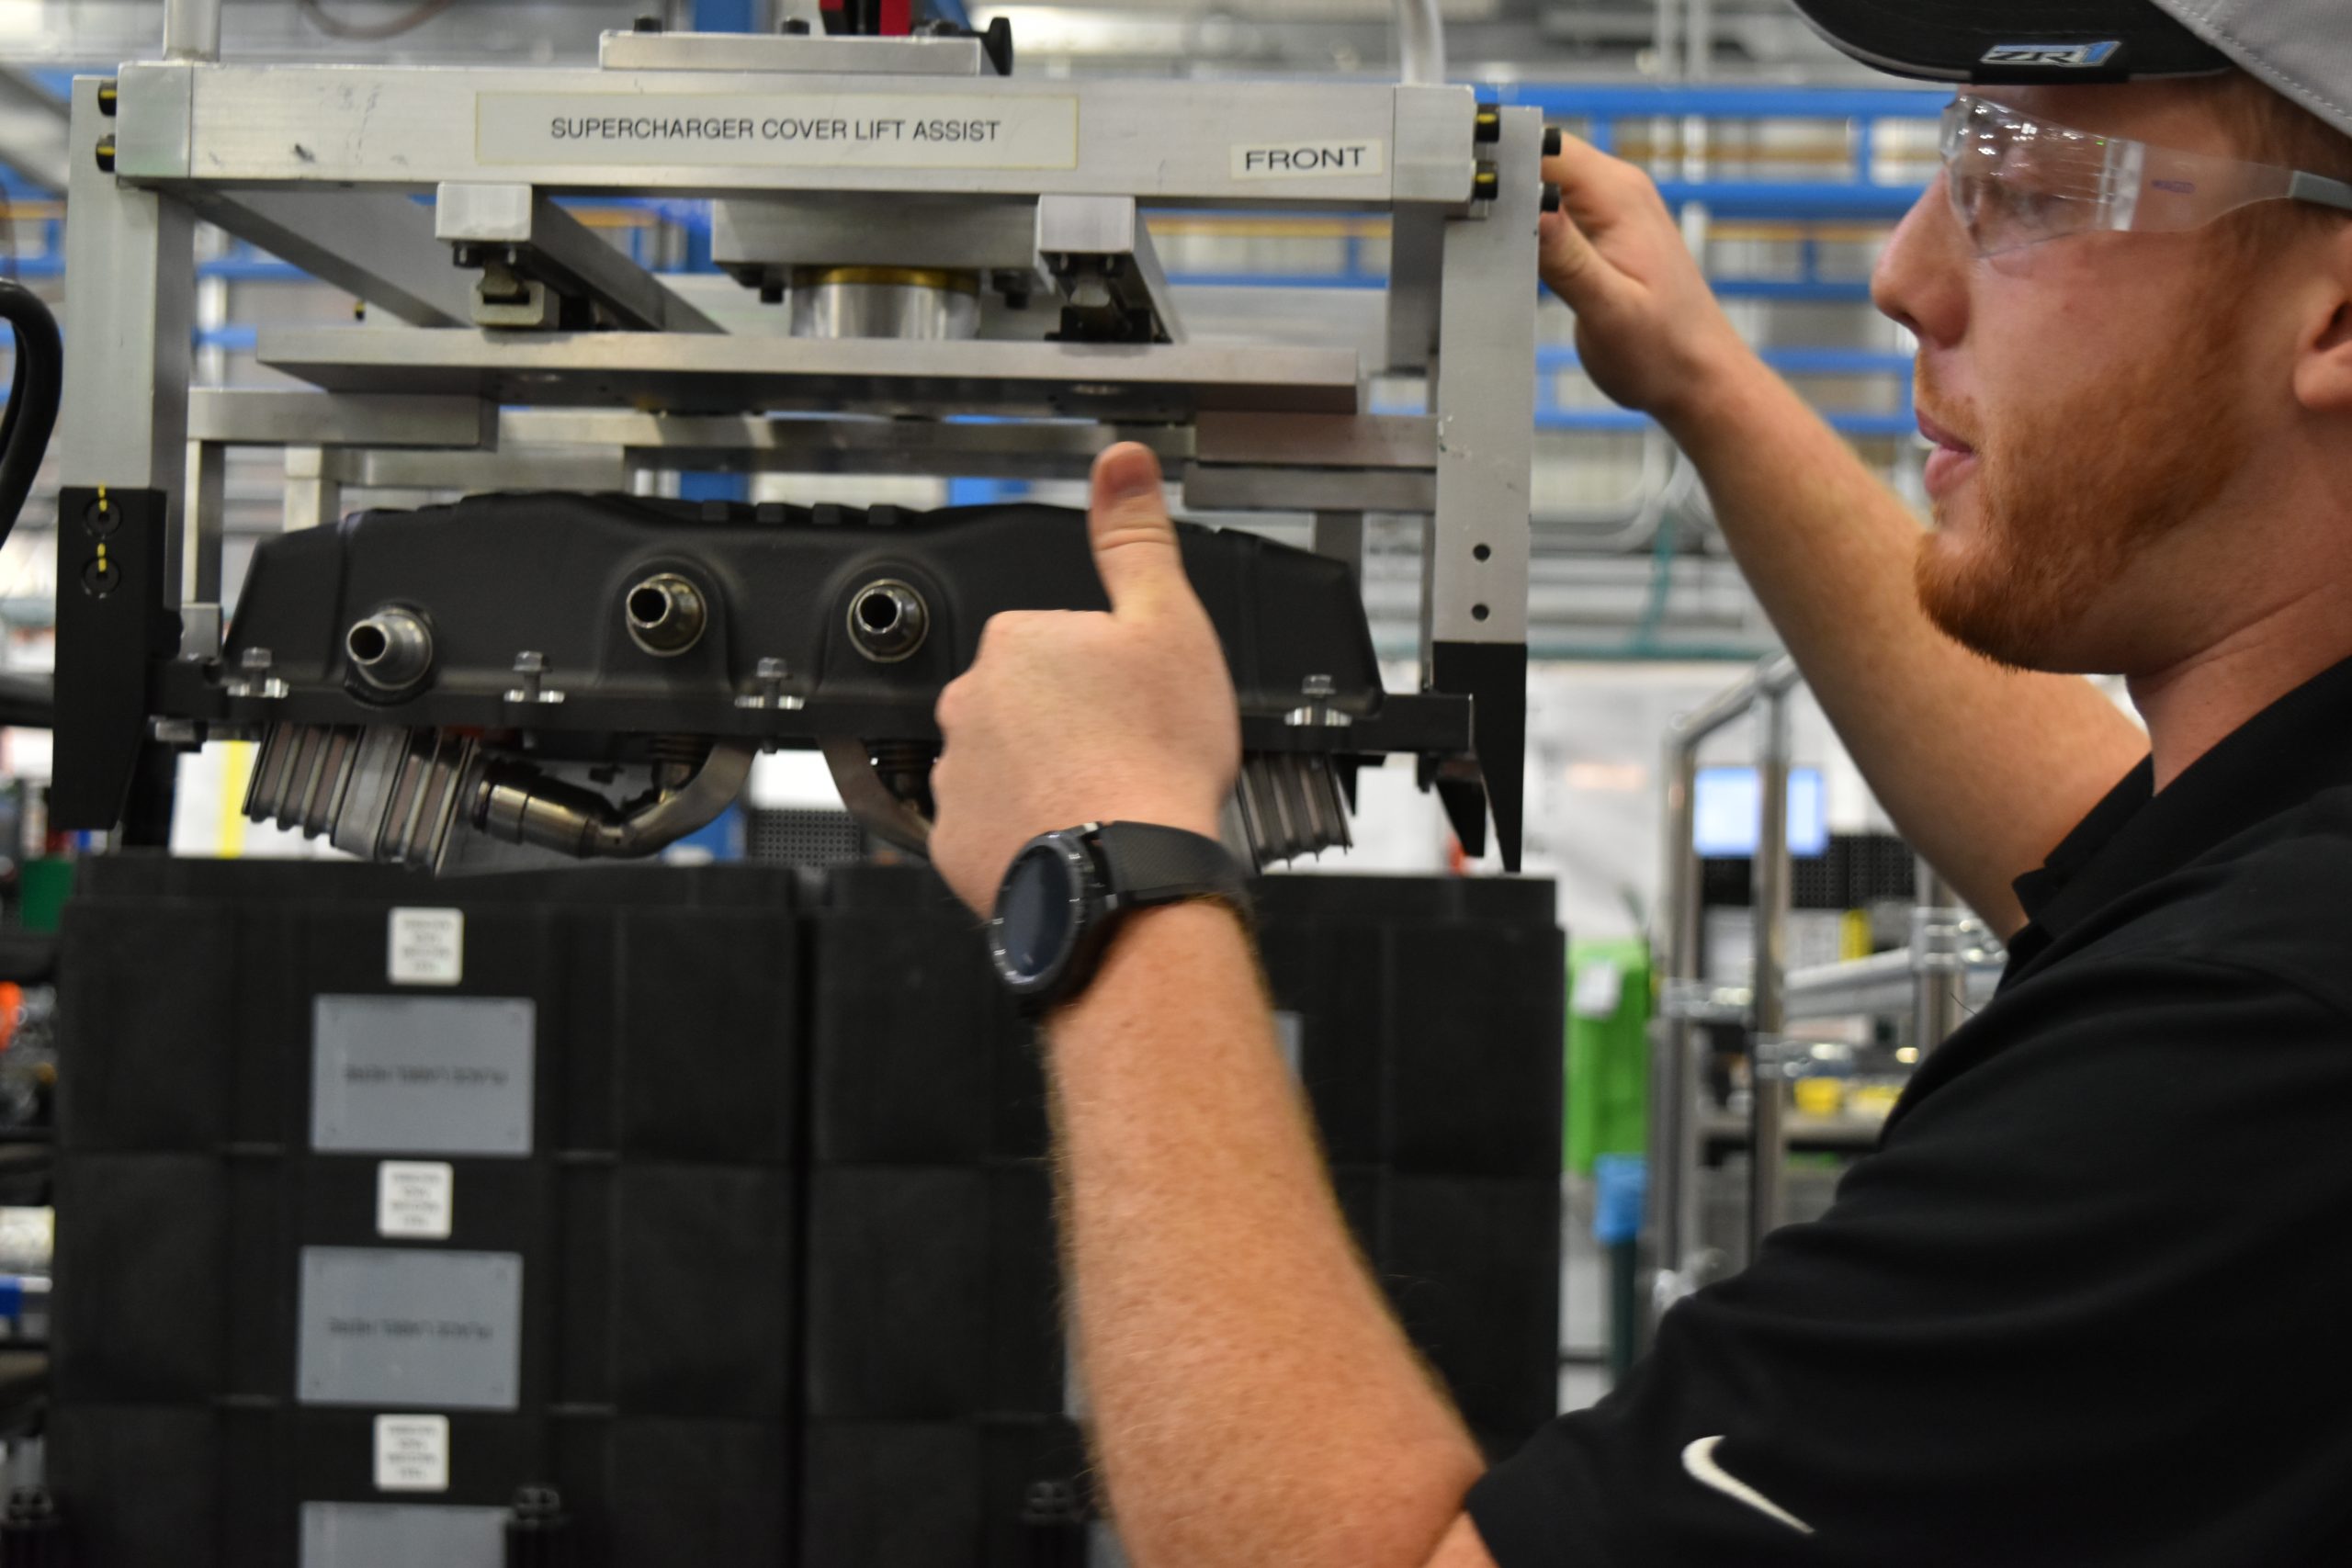
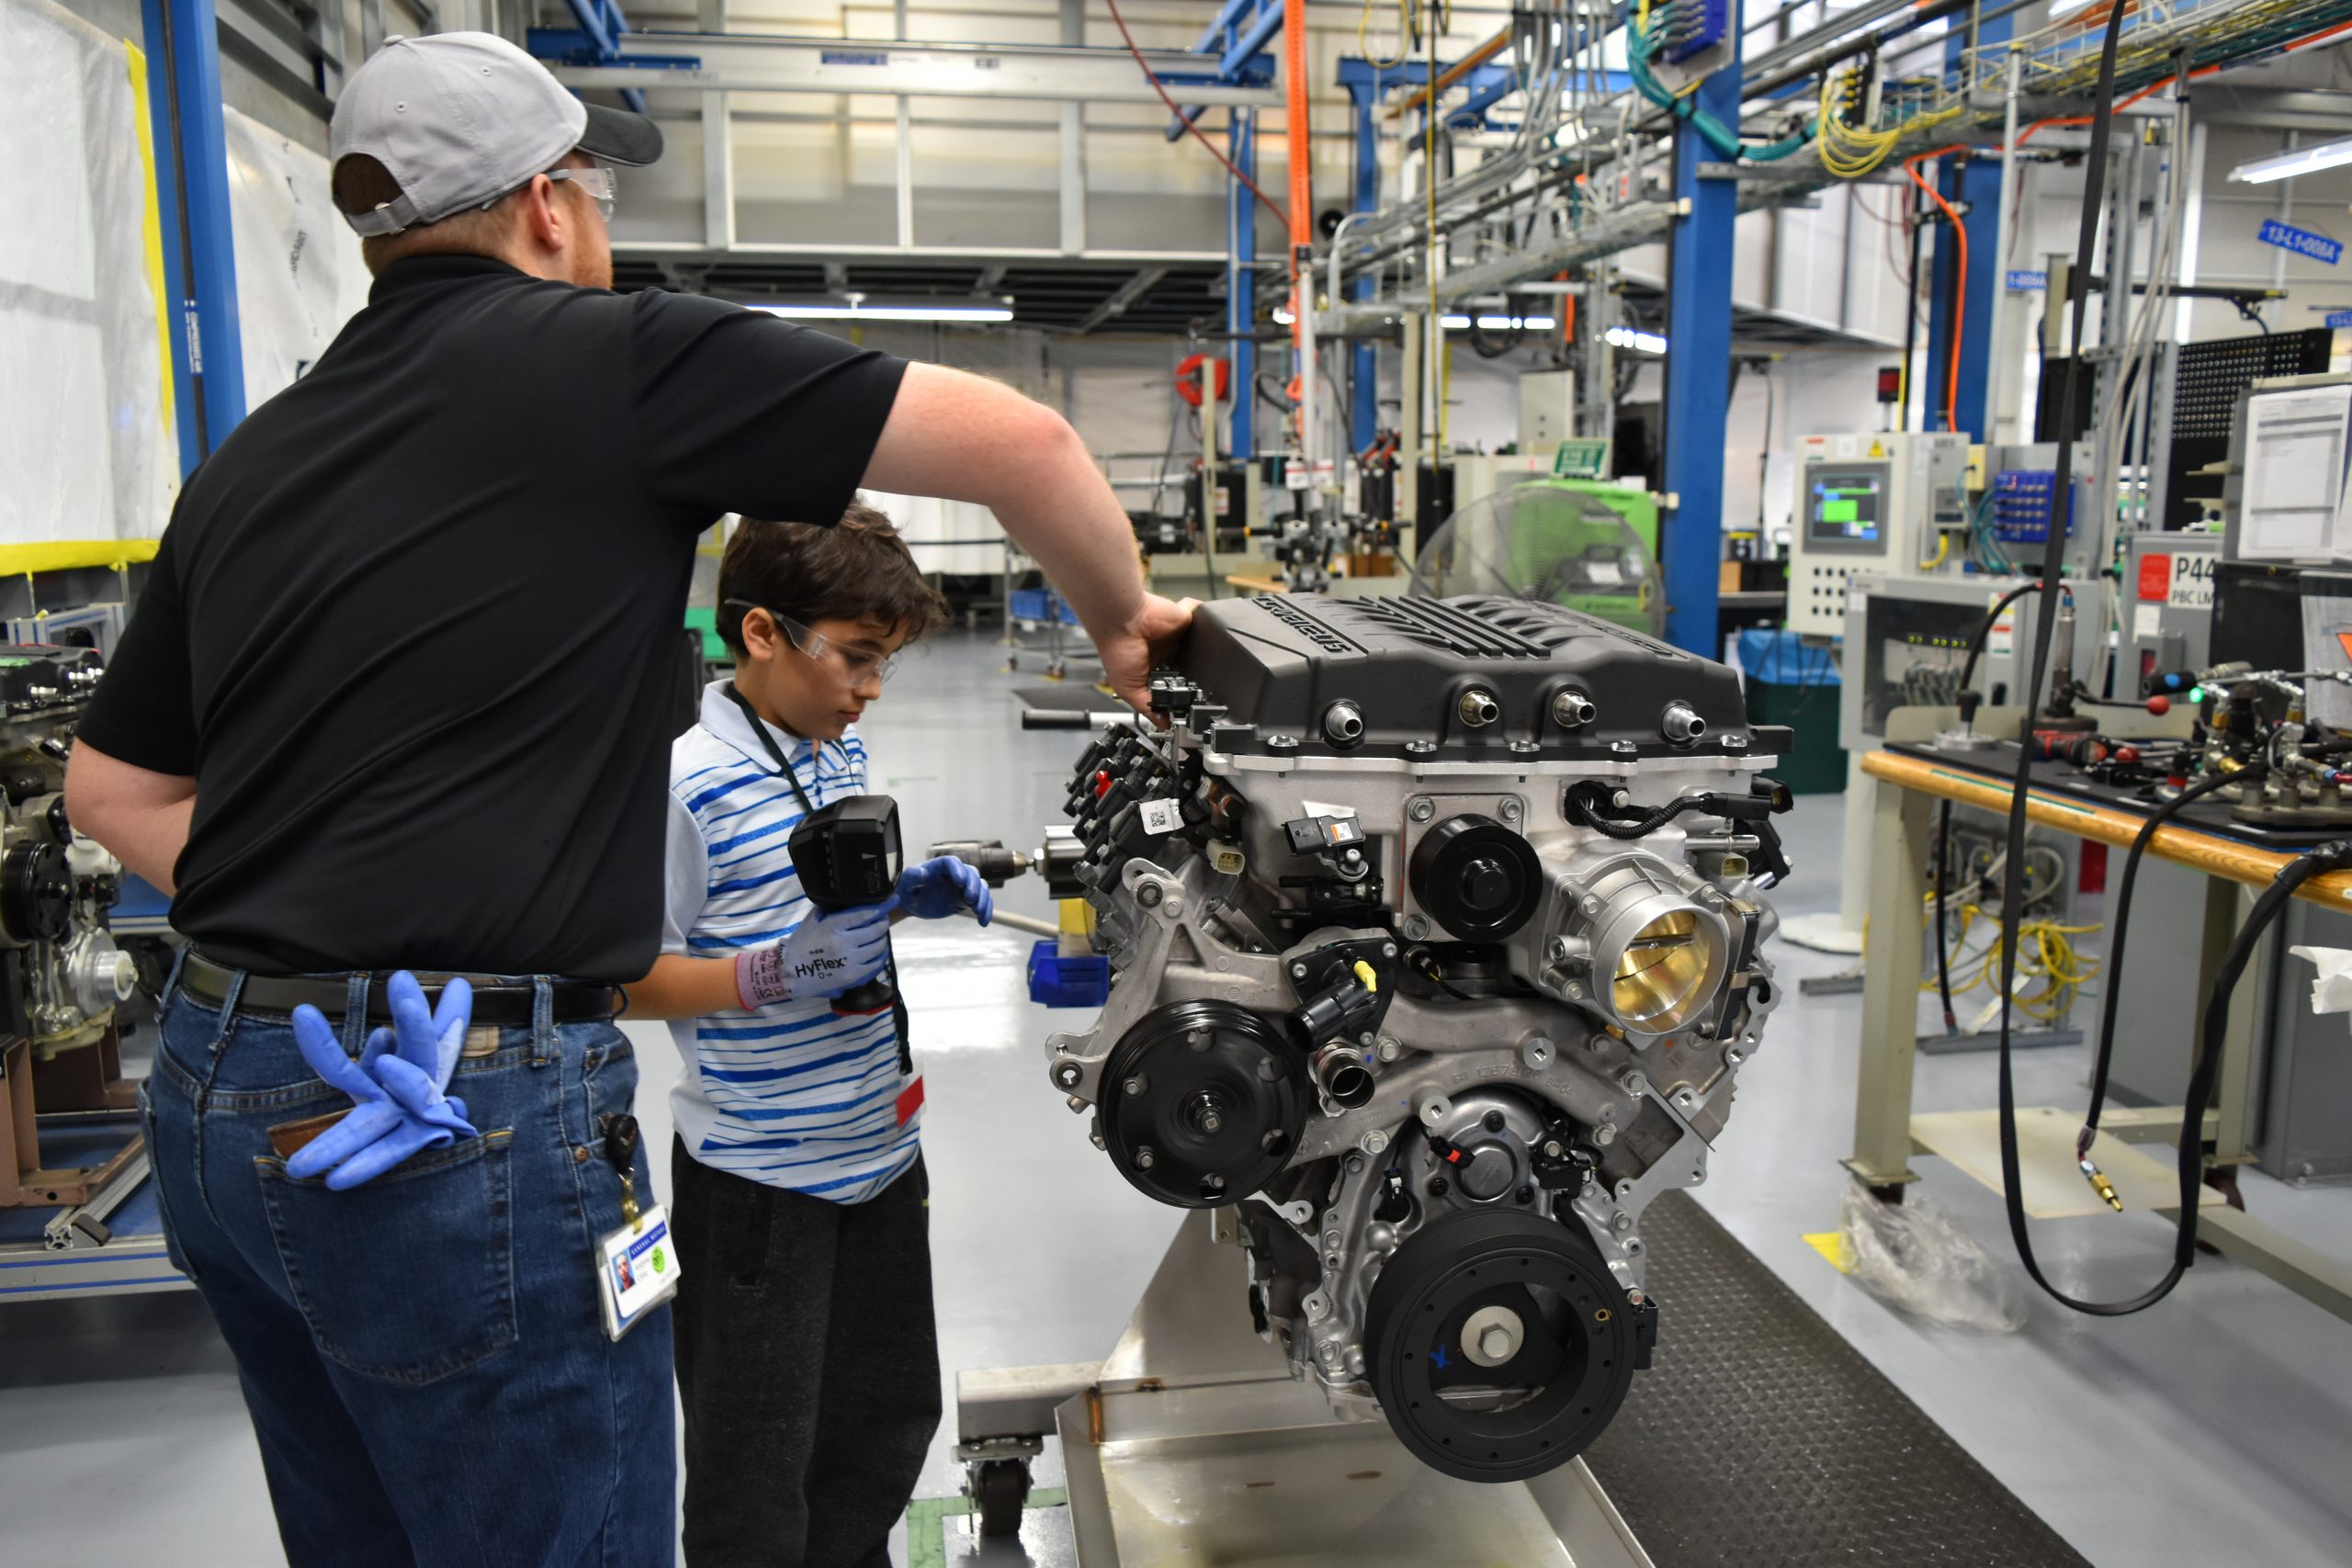
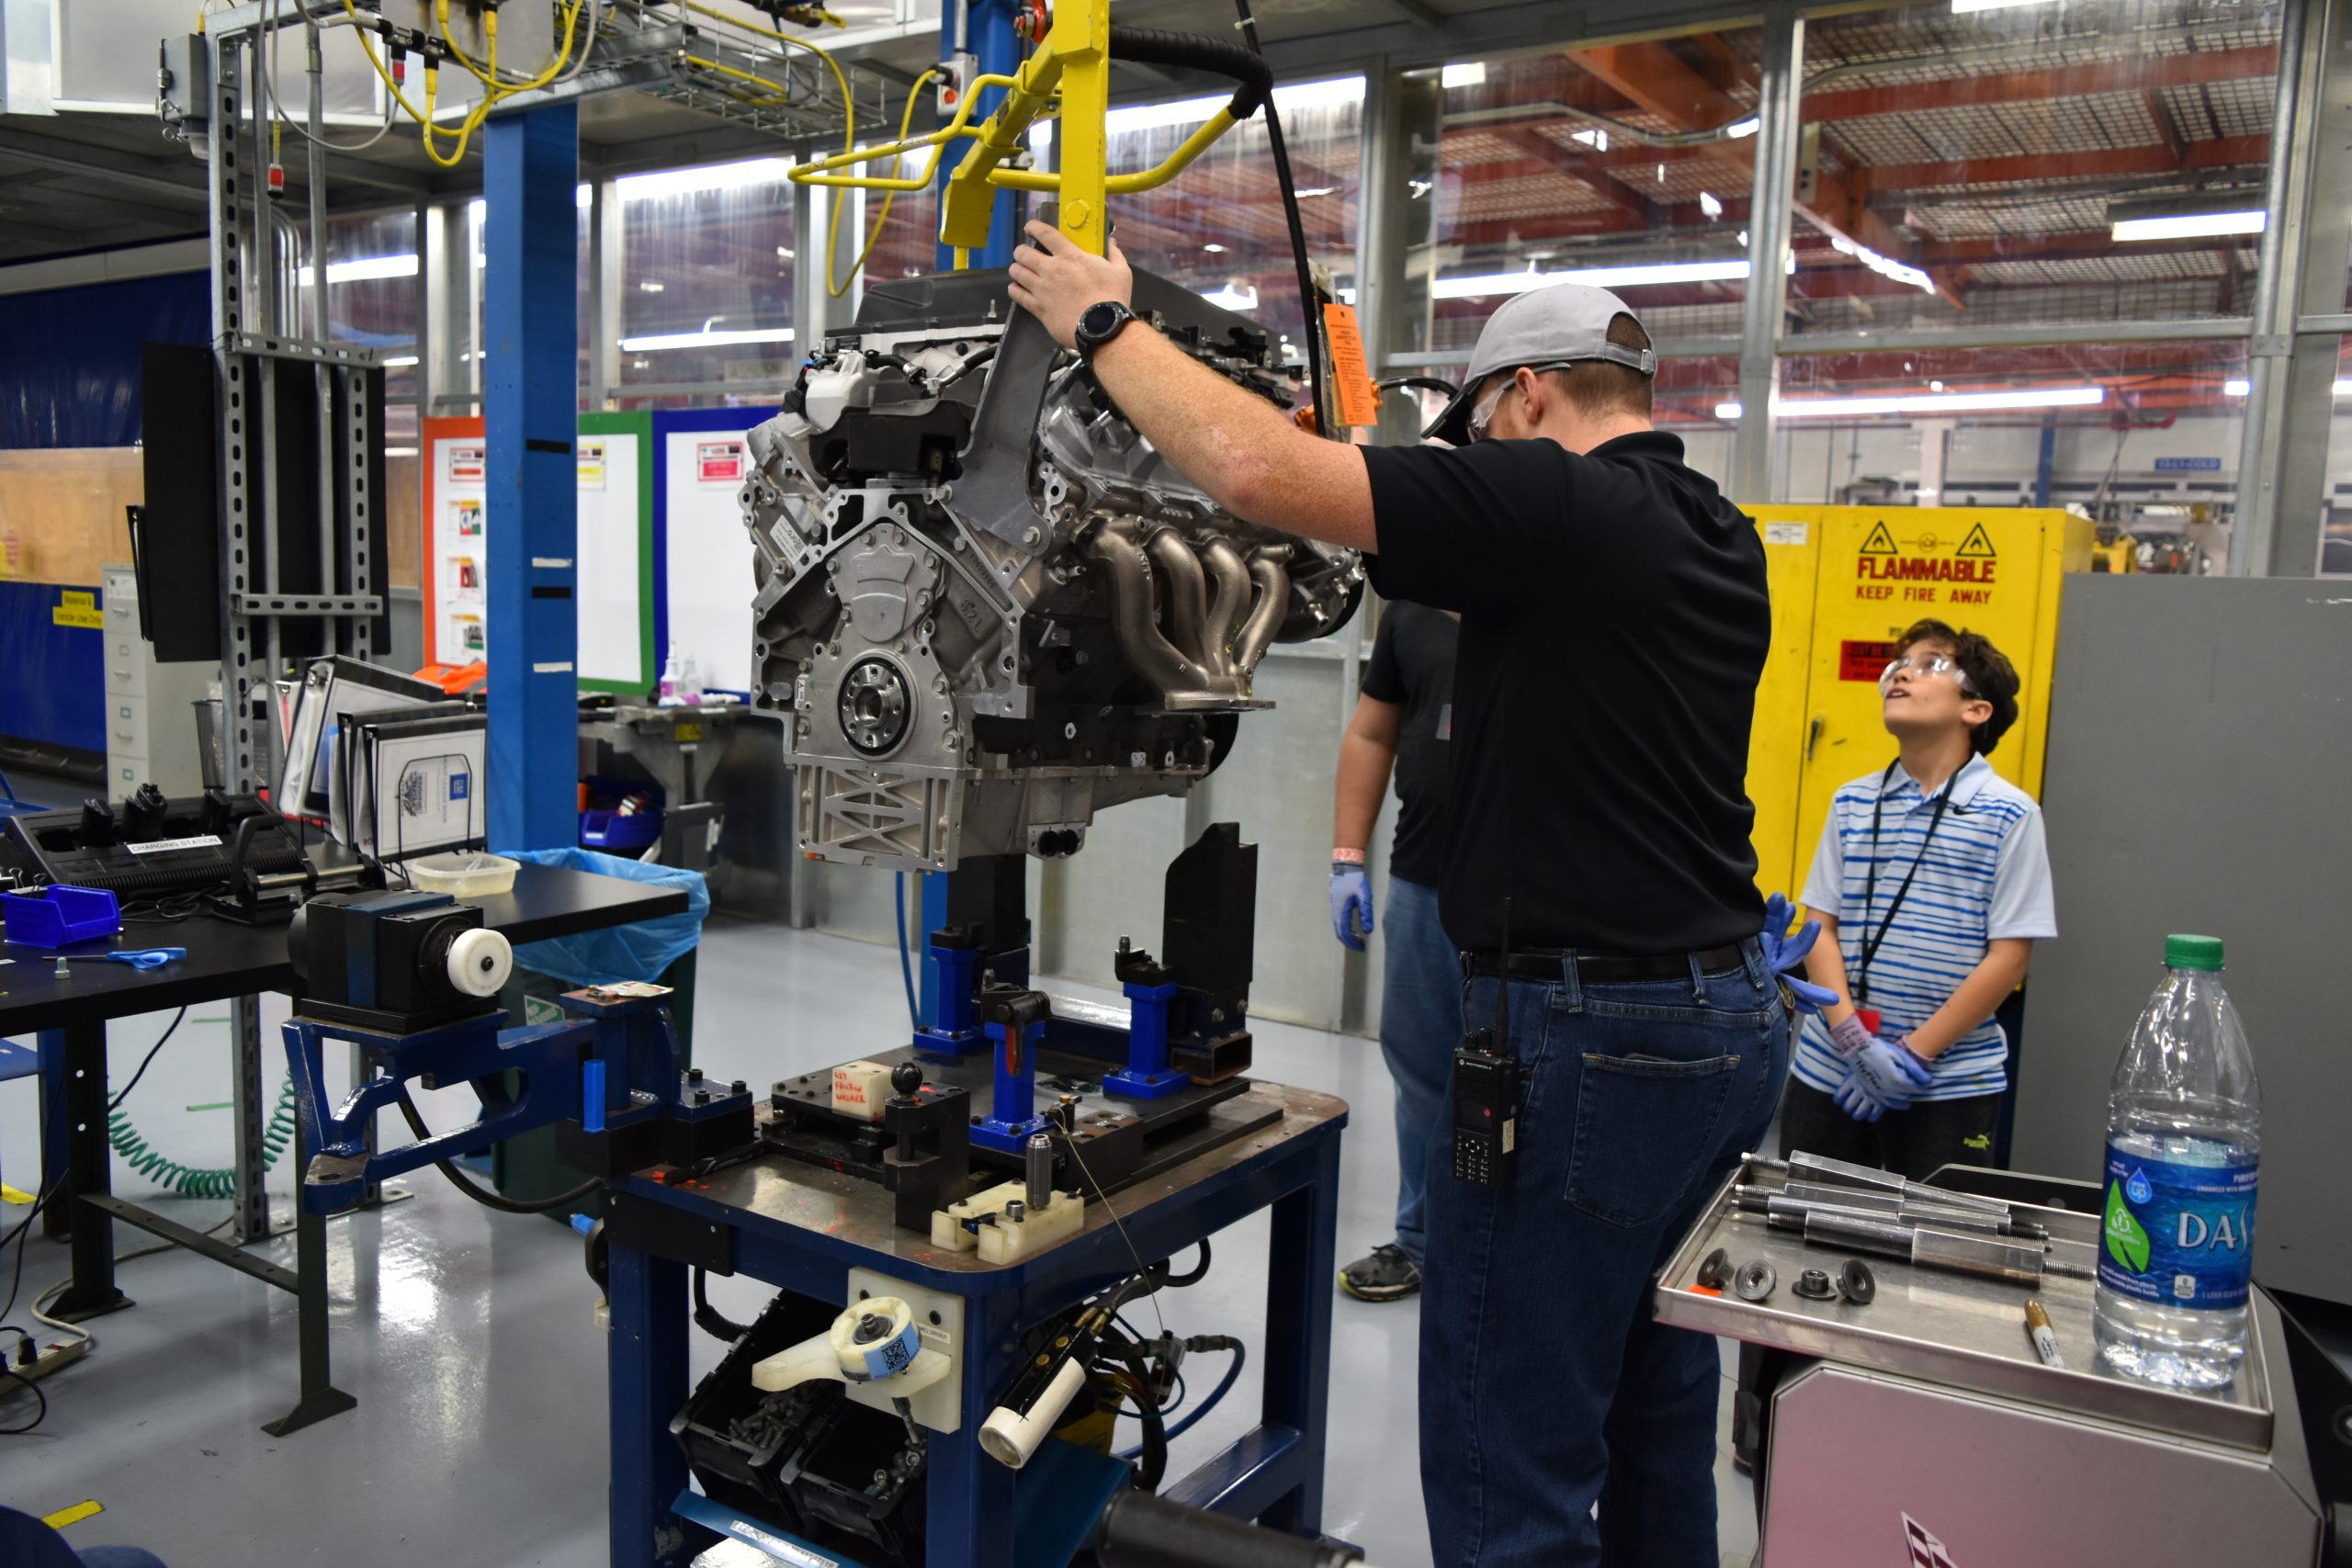
13. Time to install the Eaton supercharger! Special equipment was need to lift and place the part.


14. Part 2 of this exciting part of the job! Finish the supercharger installation, then show off our work with excitement and pride.

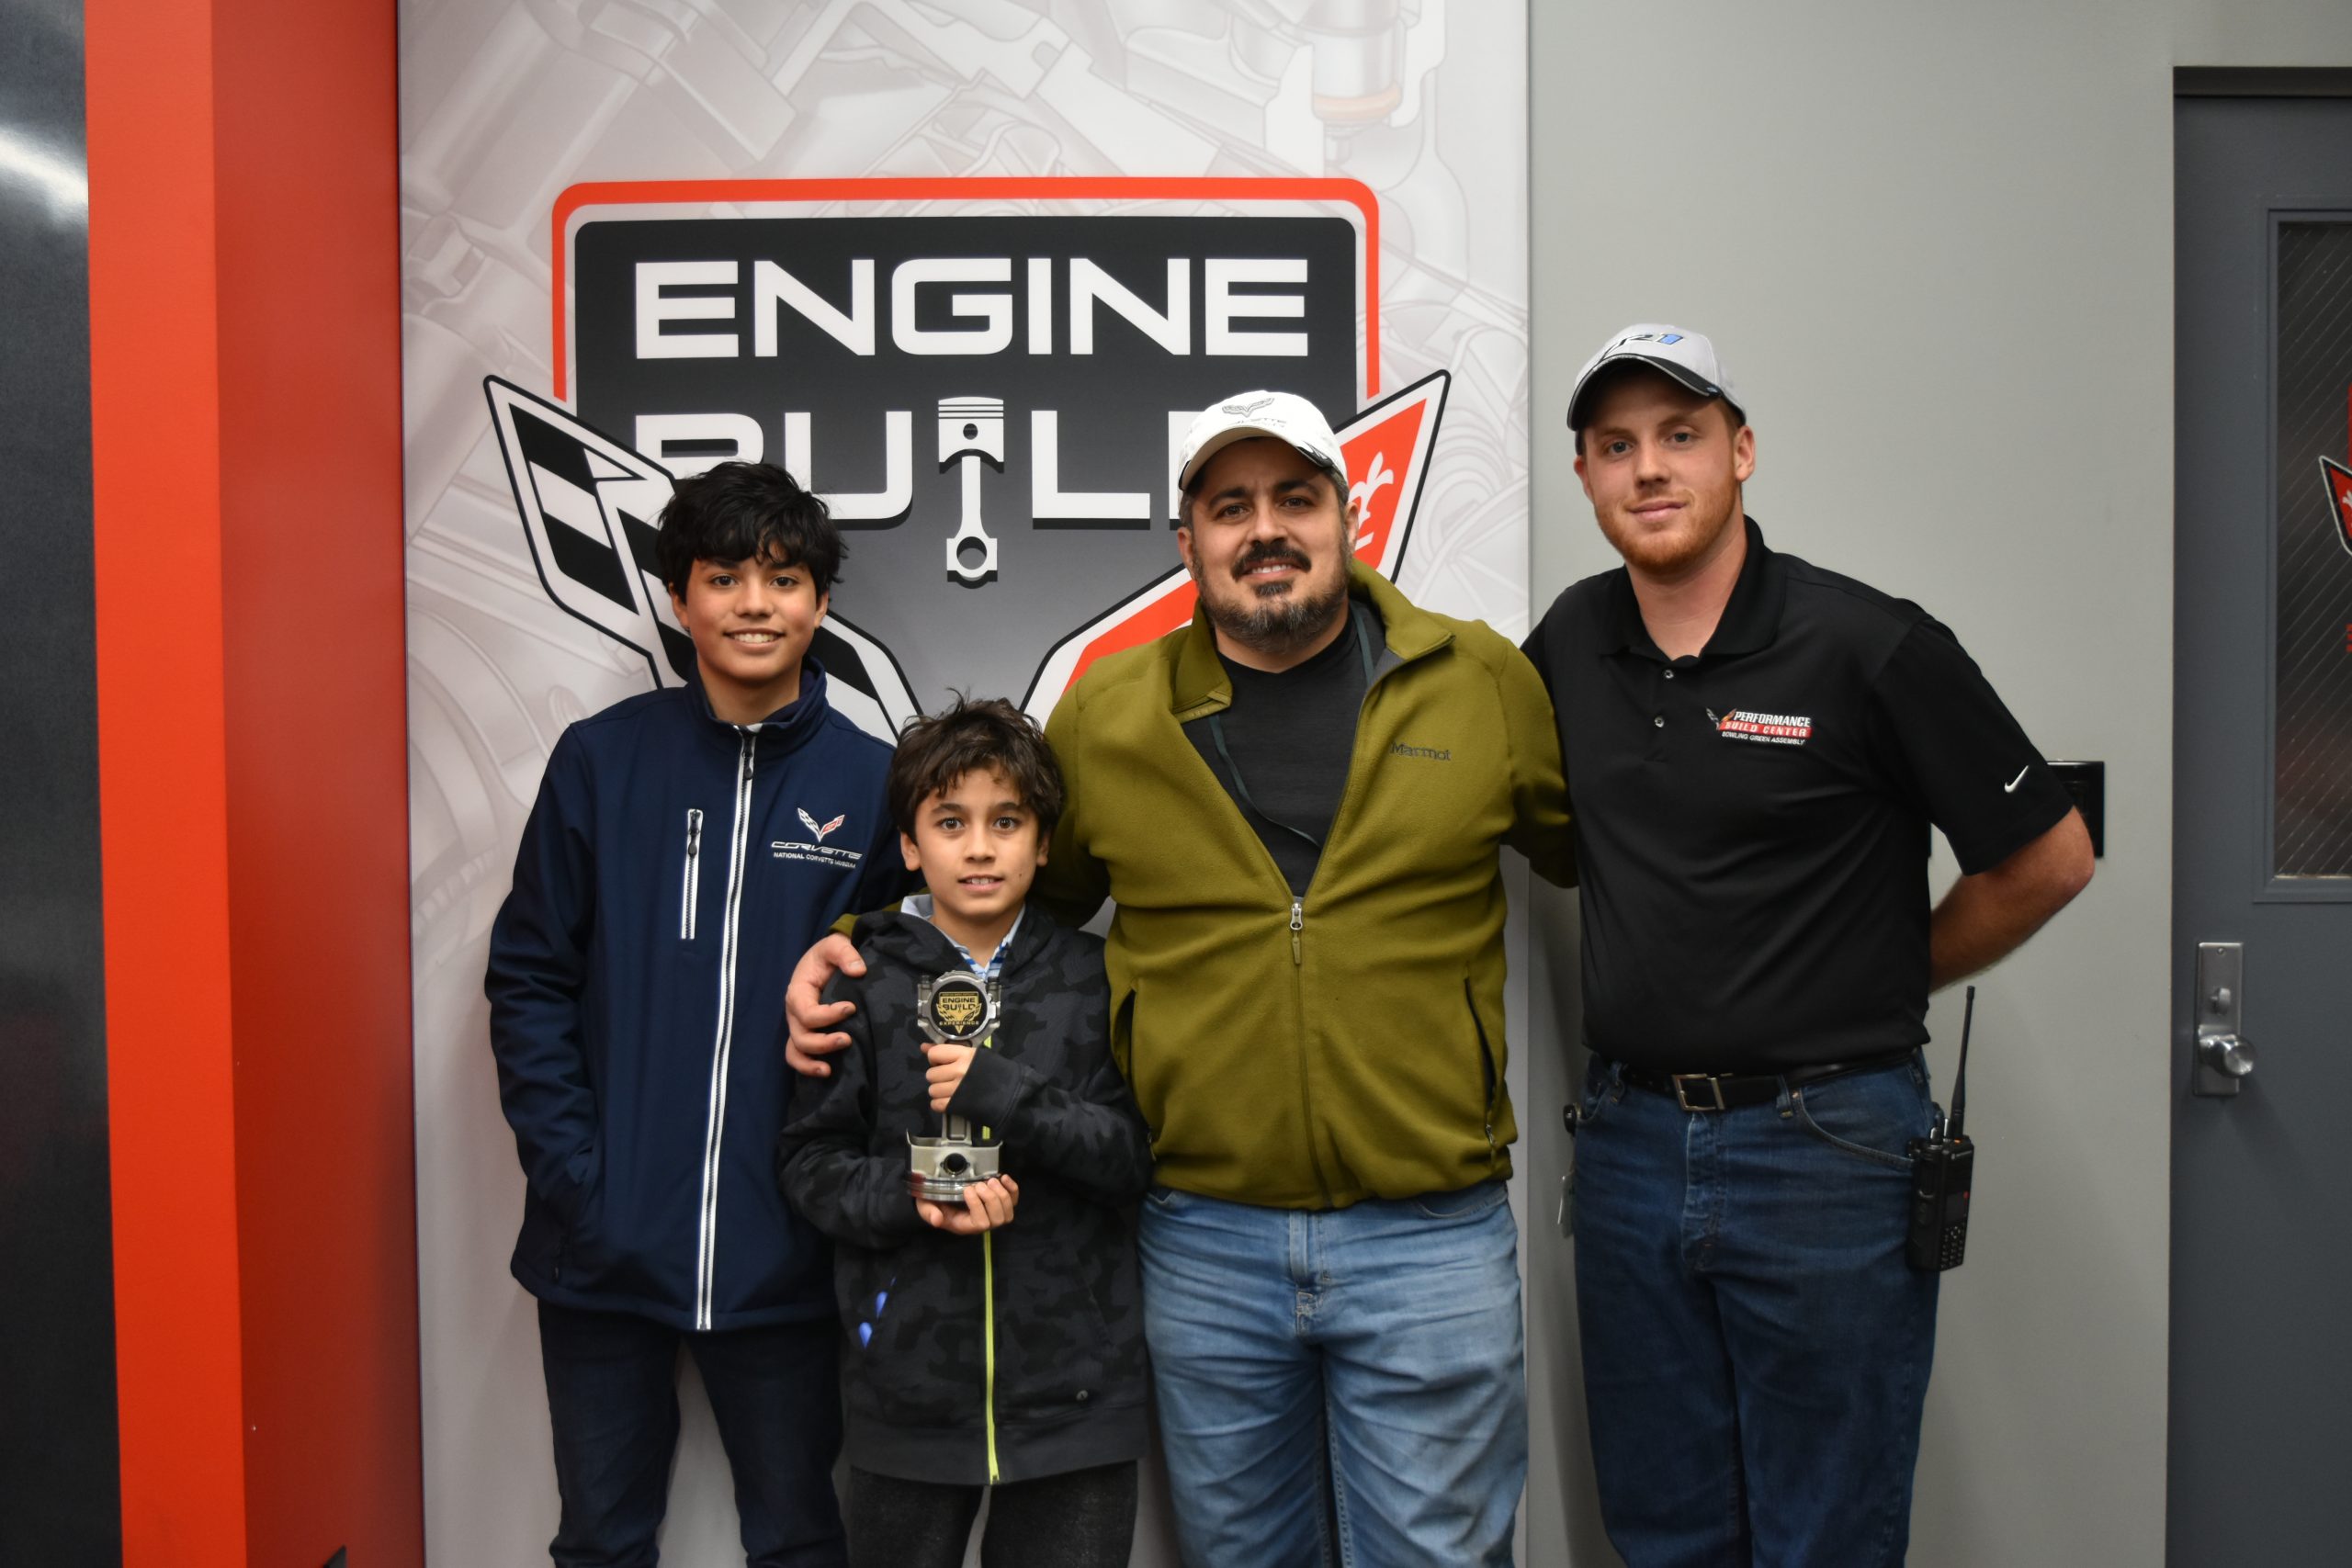
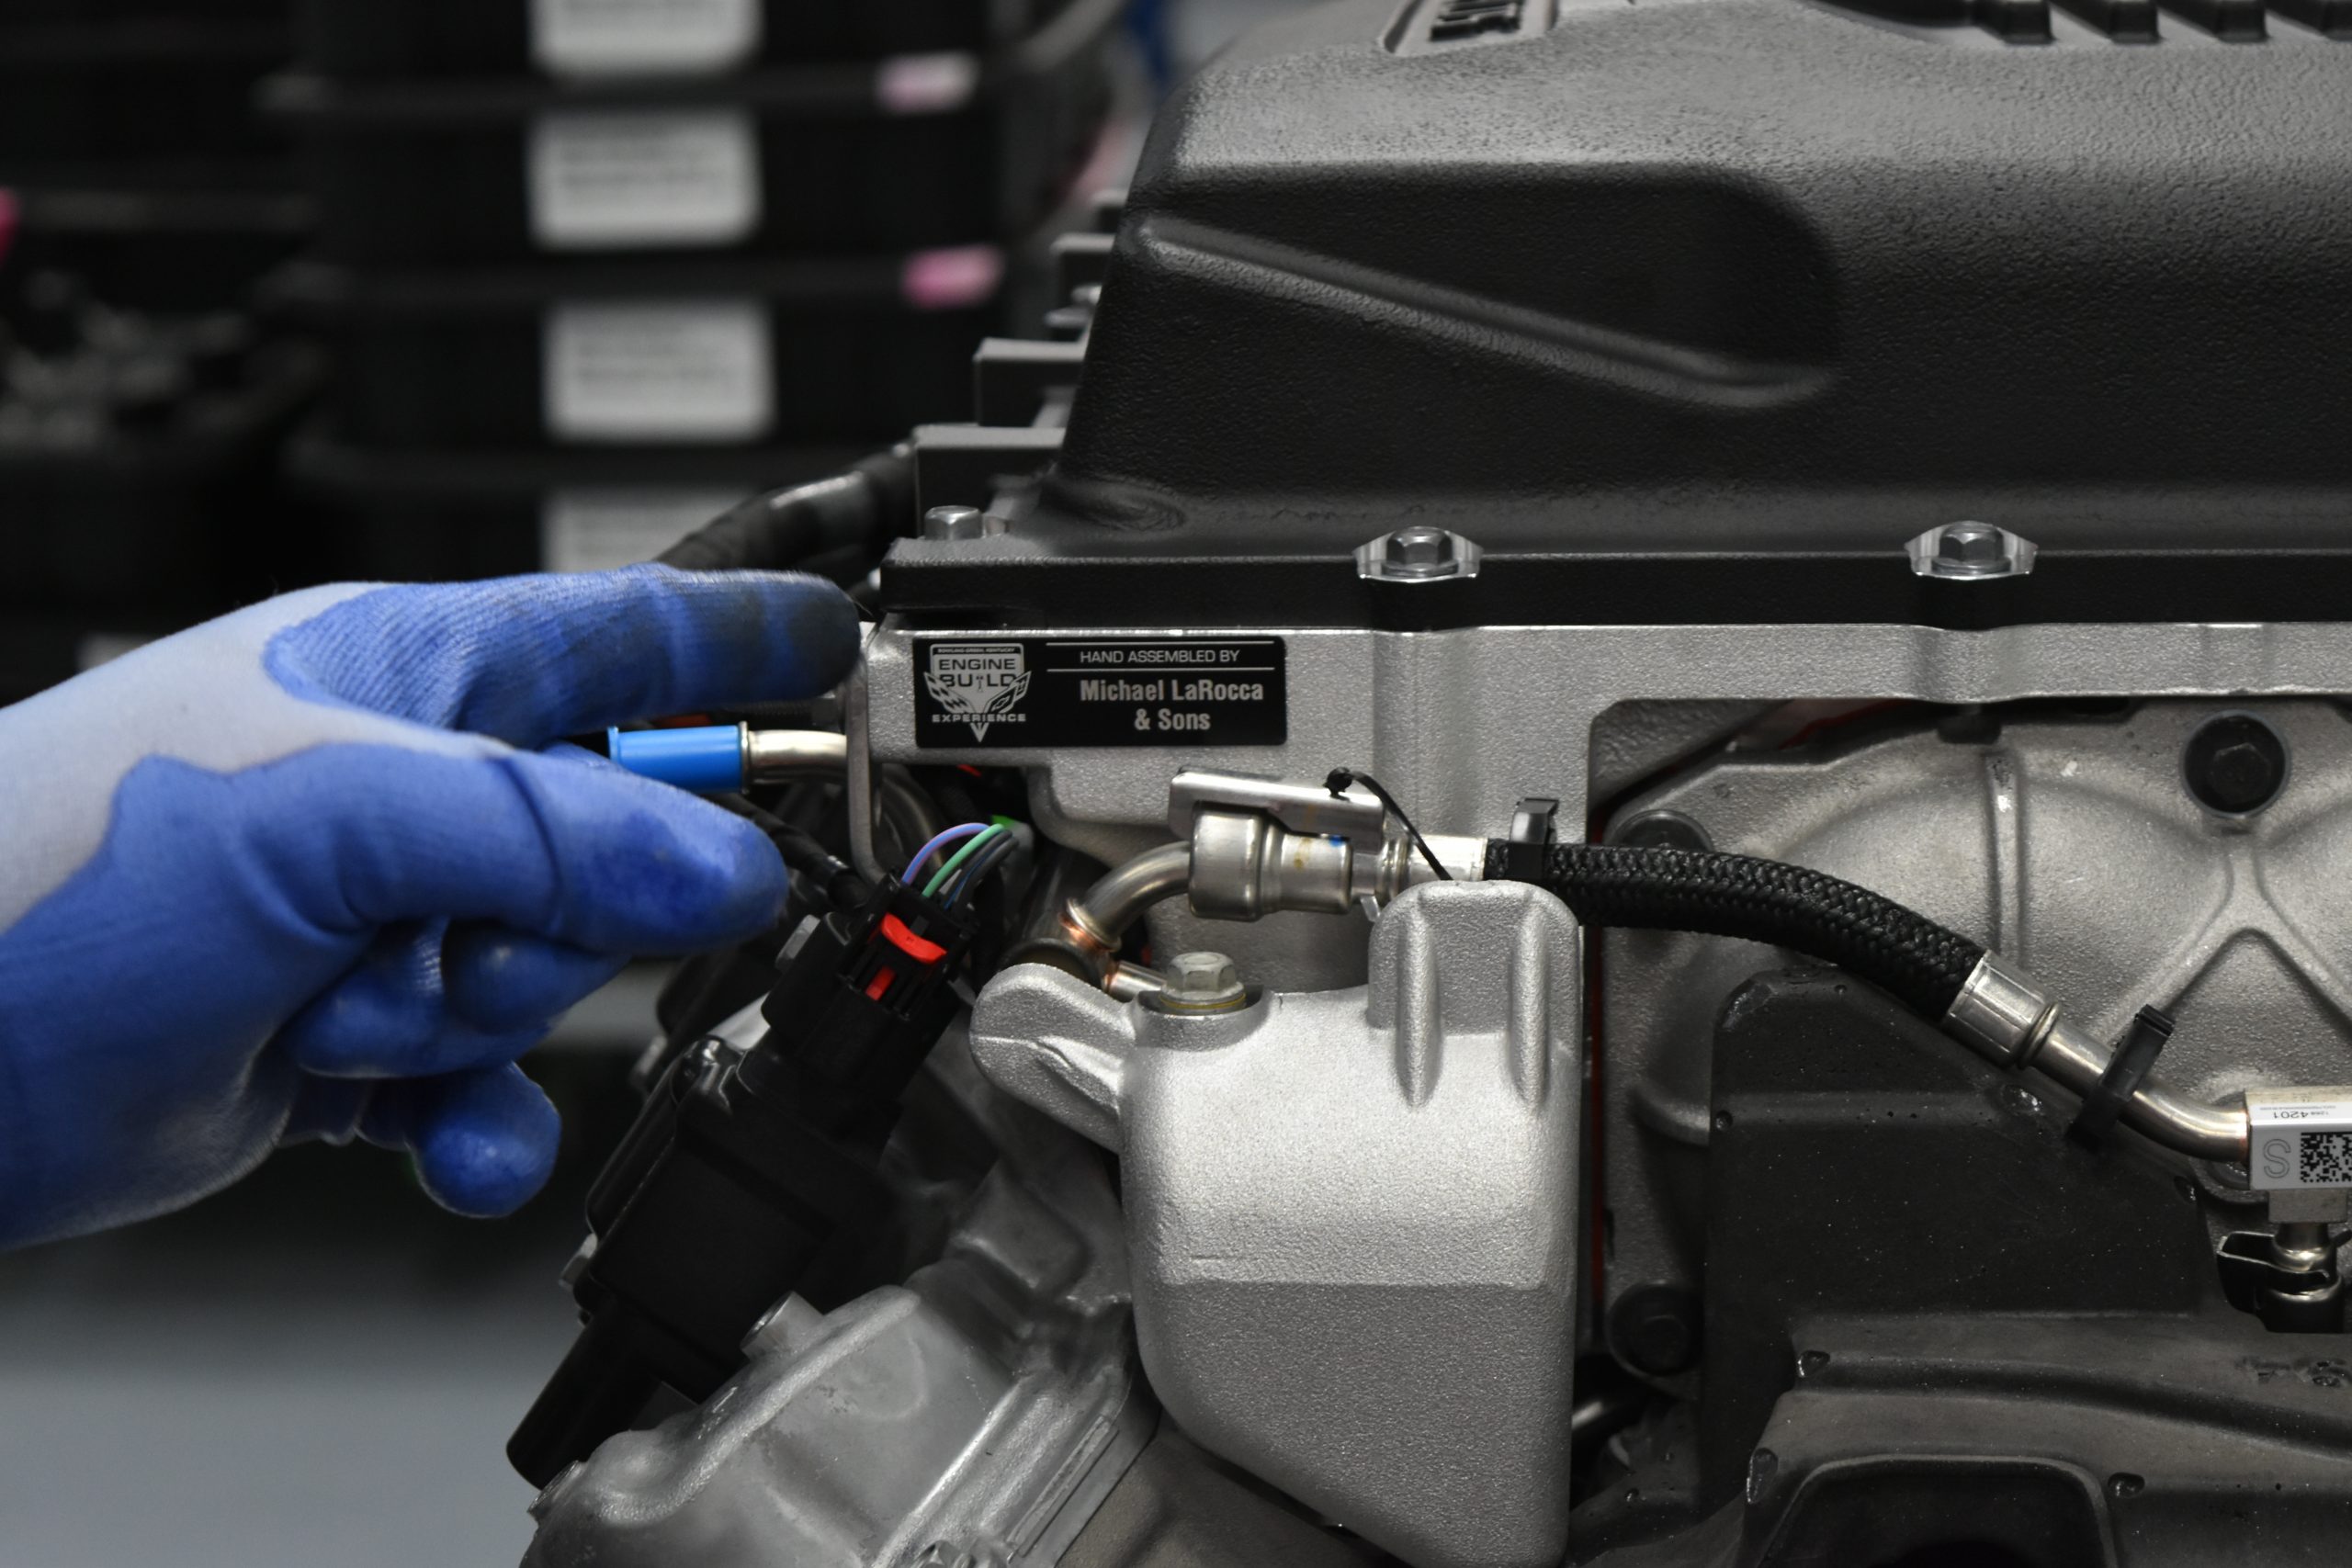
15. Get some of the accessories onto the engine, including the most important one: our badge! We’re nearly there, we’ve built an LT5.

16. Prepare the engine for compression testing, then wheel off to the final stage of the engine assembly line.


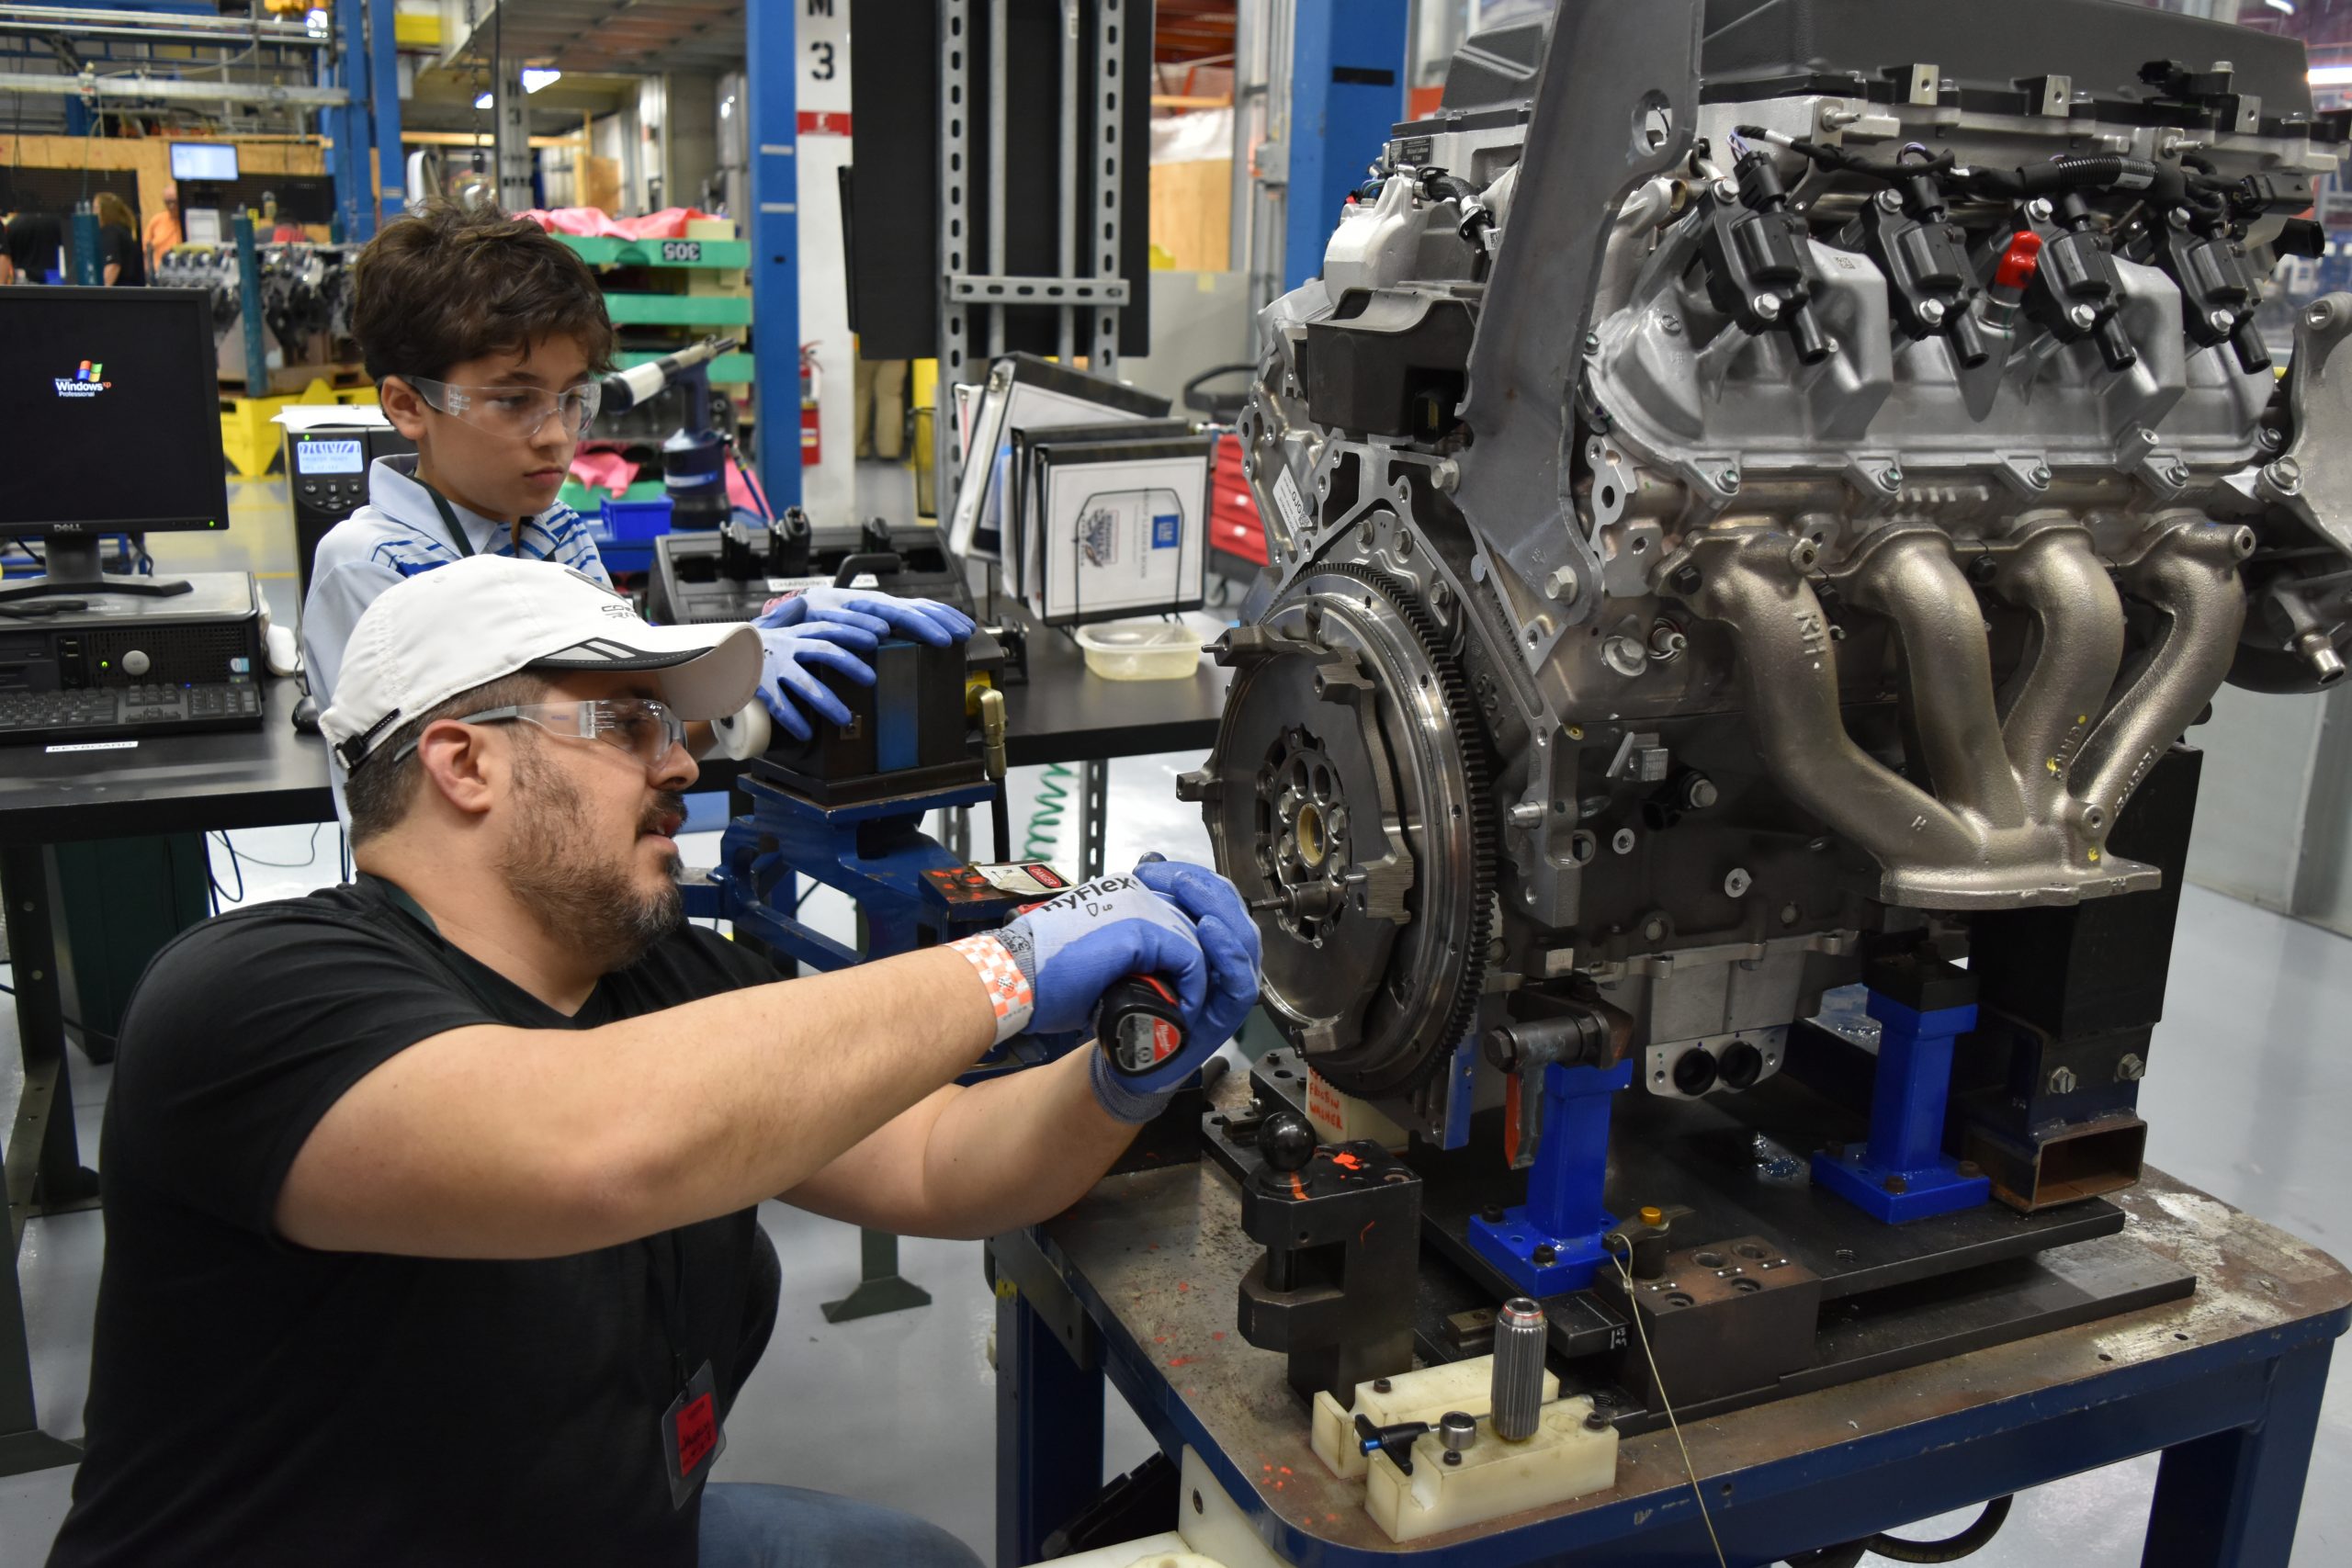
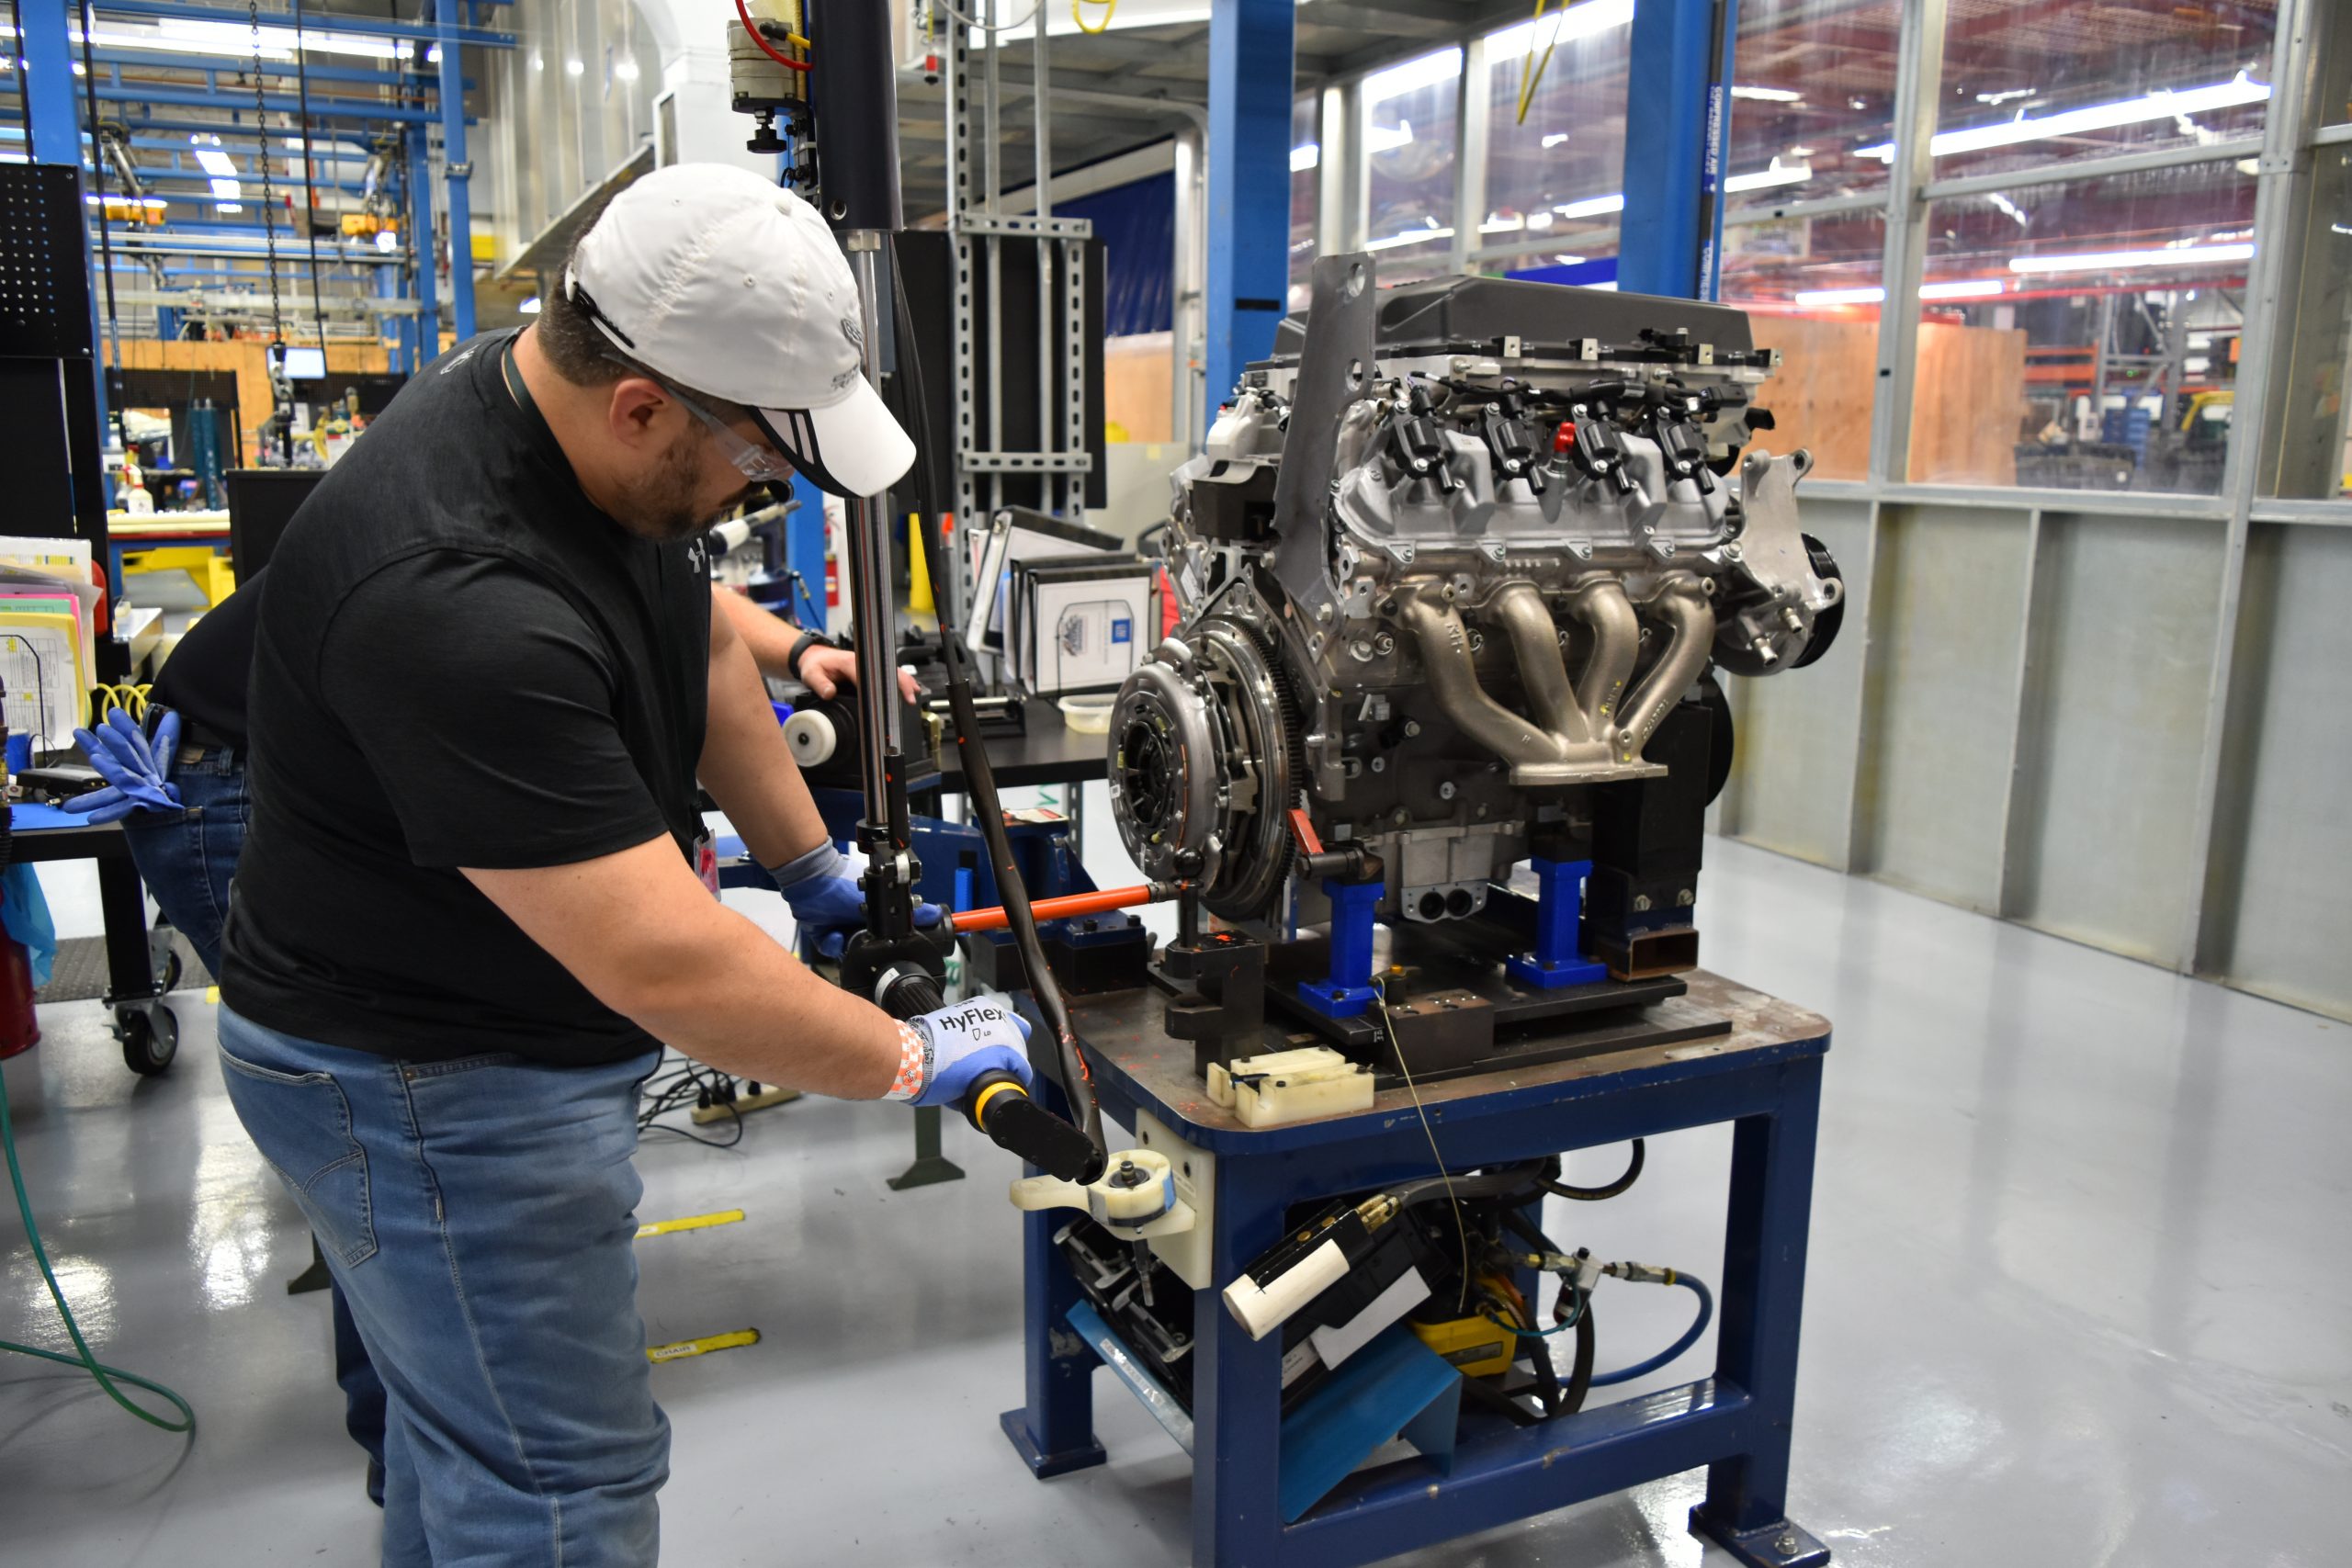
17. Install the headers, mount the engine on a new support, install the flywheel, then install the clutch. Yes, this car will have a manual transmission, as it should!

18. We have completed our build! Time to hook it up to the simulator and hear it roar for the first time. What a thrill this was! And a final photo with our amazing engine builder. We did it!